Intro
This is my car:
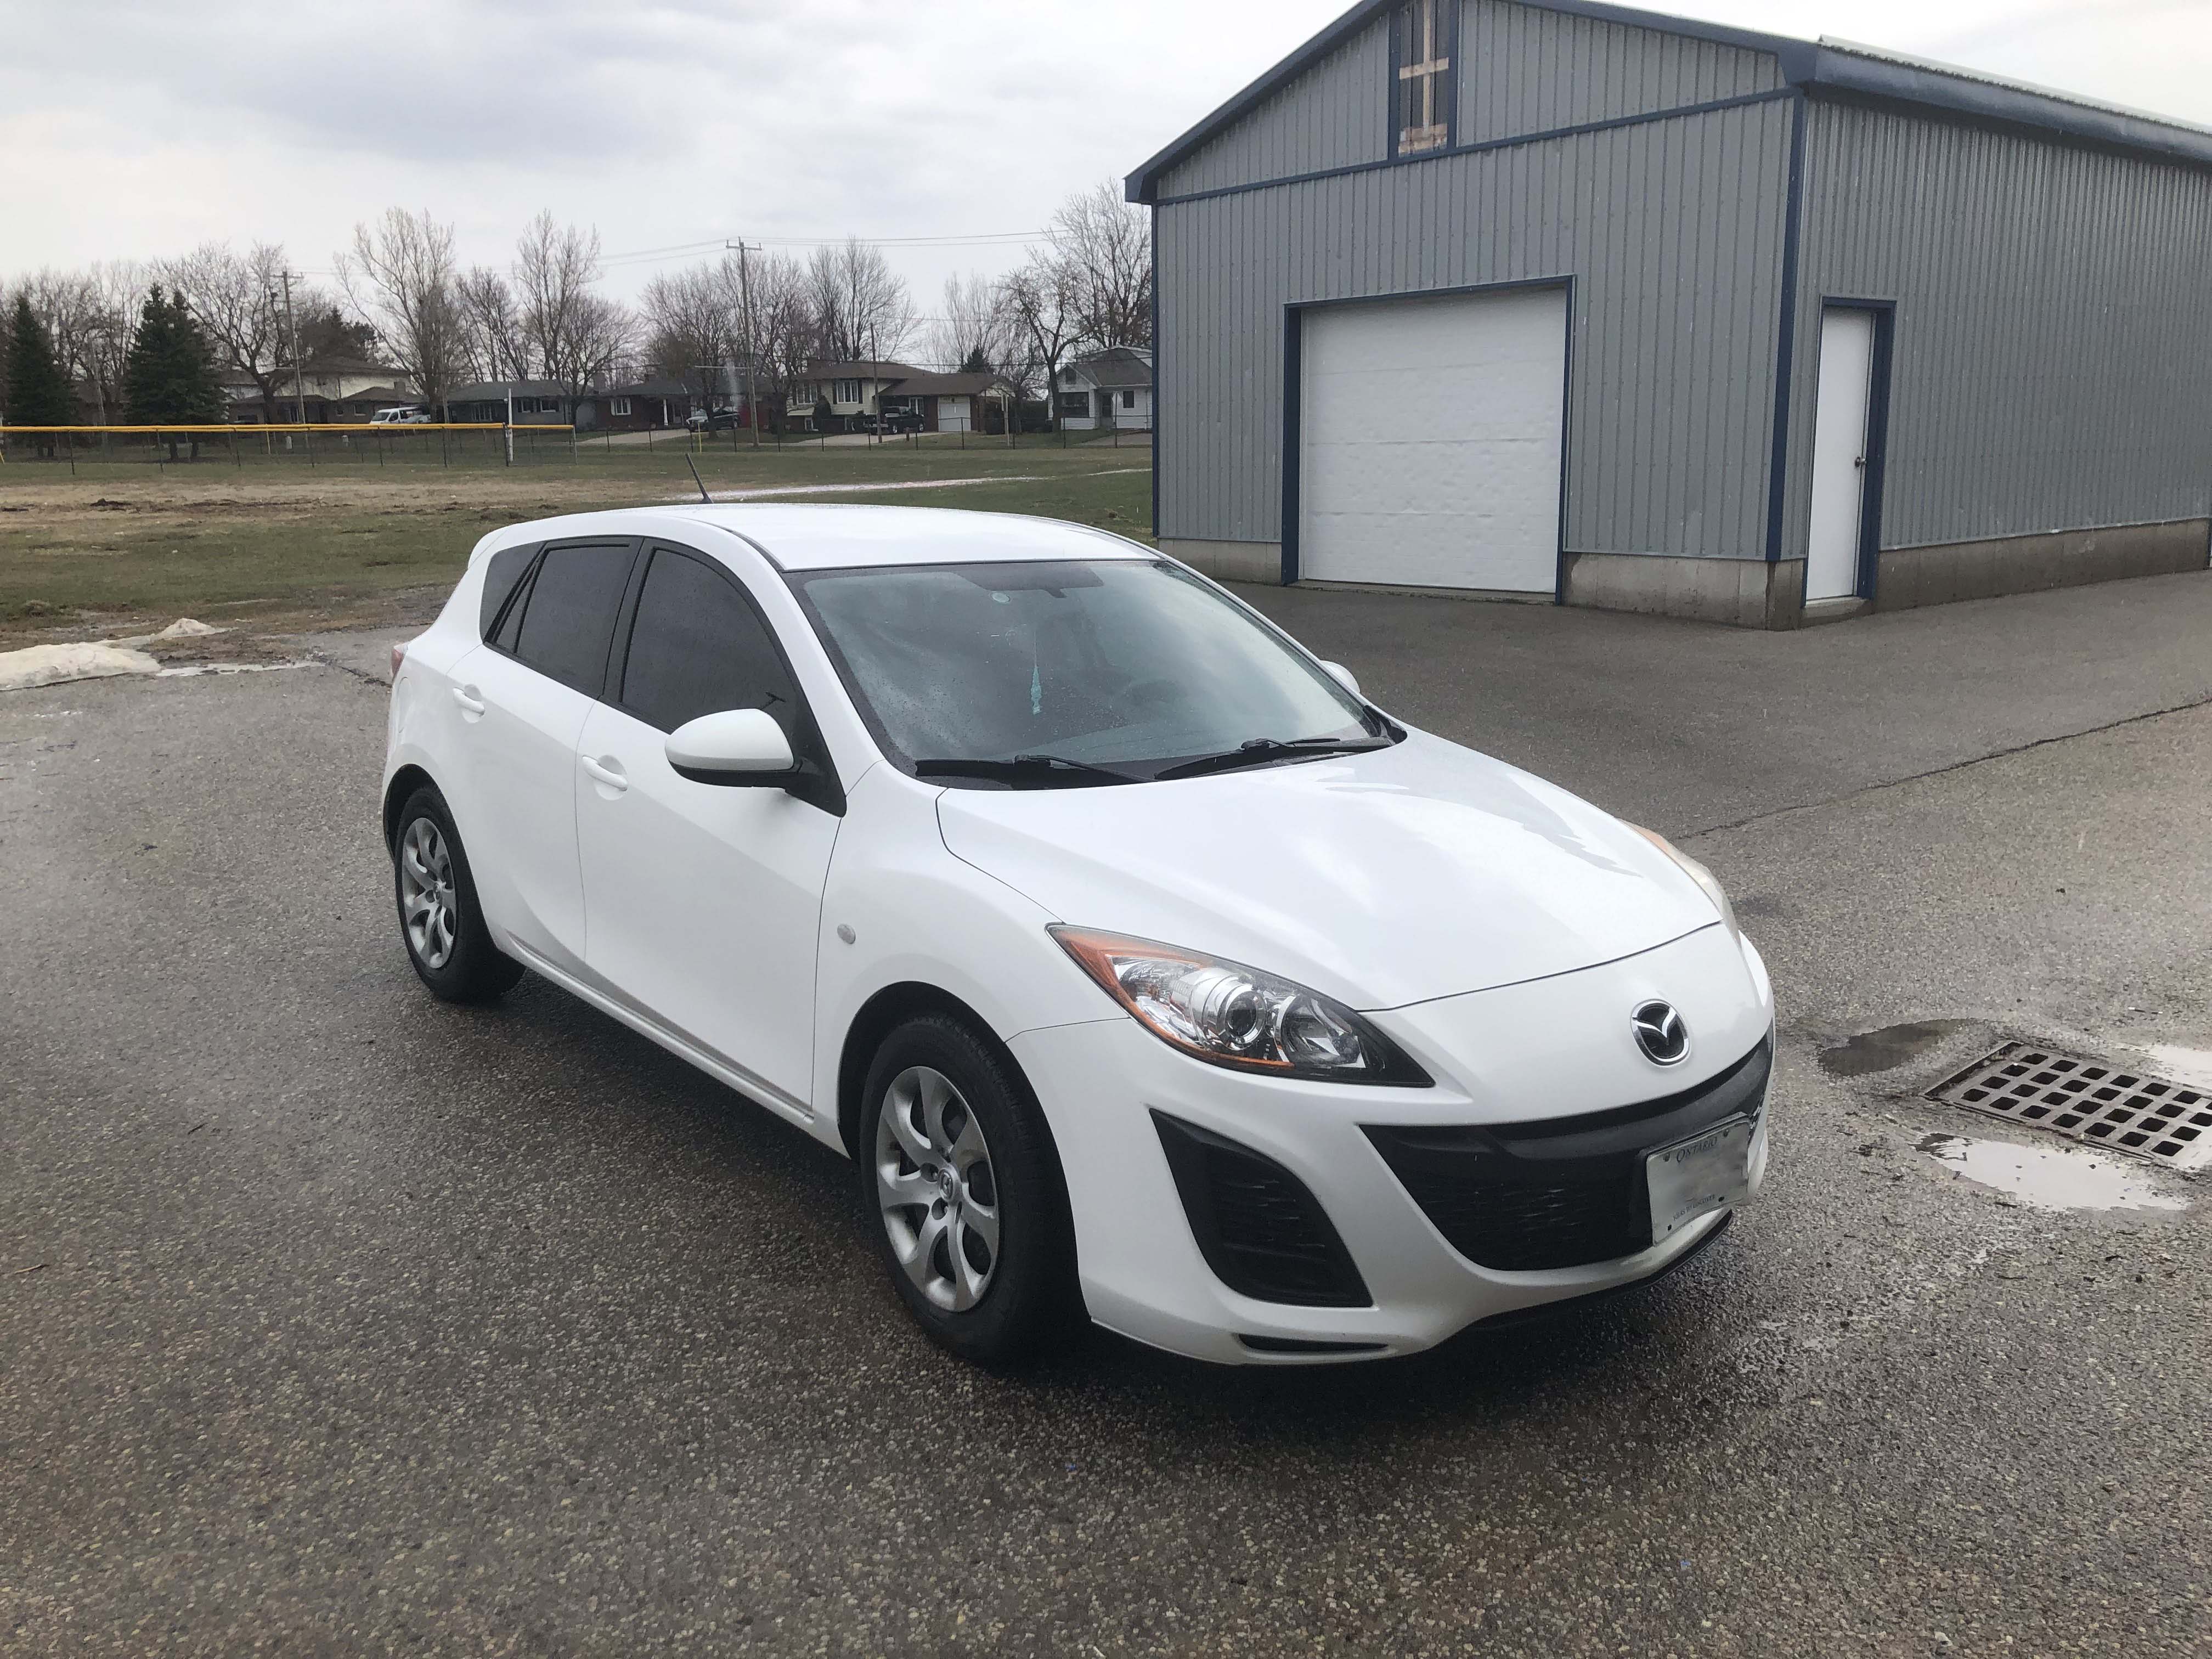
It's about as simple of a hatchback as you can get, while still having every creature comfort you need:
- No fancy computers or displays
- Manual seats and controls
- CD player and aux port
- Air conditioning
- Power windows & locks
It's perfect; exactly what I look for in a car. However, there are a couple of things I miss from my previous car... namely Bluetooth audio and heated seats. Whatever can be done about this!?
Testing The Waters
I've always loved tinkering, both with physical machines and with electronics. Why not just add the features I want to the car?
I started playing around with the idea in February this year. I decided a good place to start was Bluetooth audio - it makes listening to music (or map directions) a lot easier, and it would be a good proof of concept.
The ESP32 platform is where I looked immediately because of its support for Bluetooth Classic (commonly used for audio streaming). A quick search led me to this article, which walked through setting up an ESP32 to act as a Bluetooth audio receiver. Great.
Pair that with a digital-to-analog convertor (DAC), and you have a prototype ready to test:
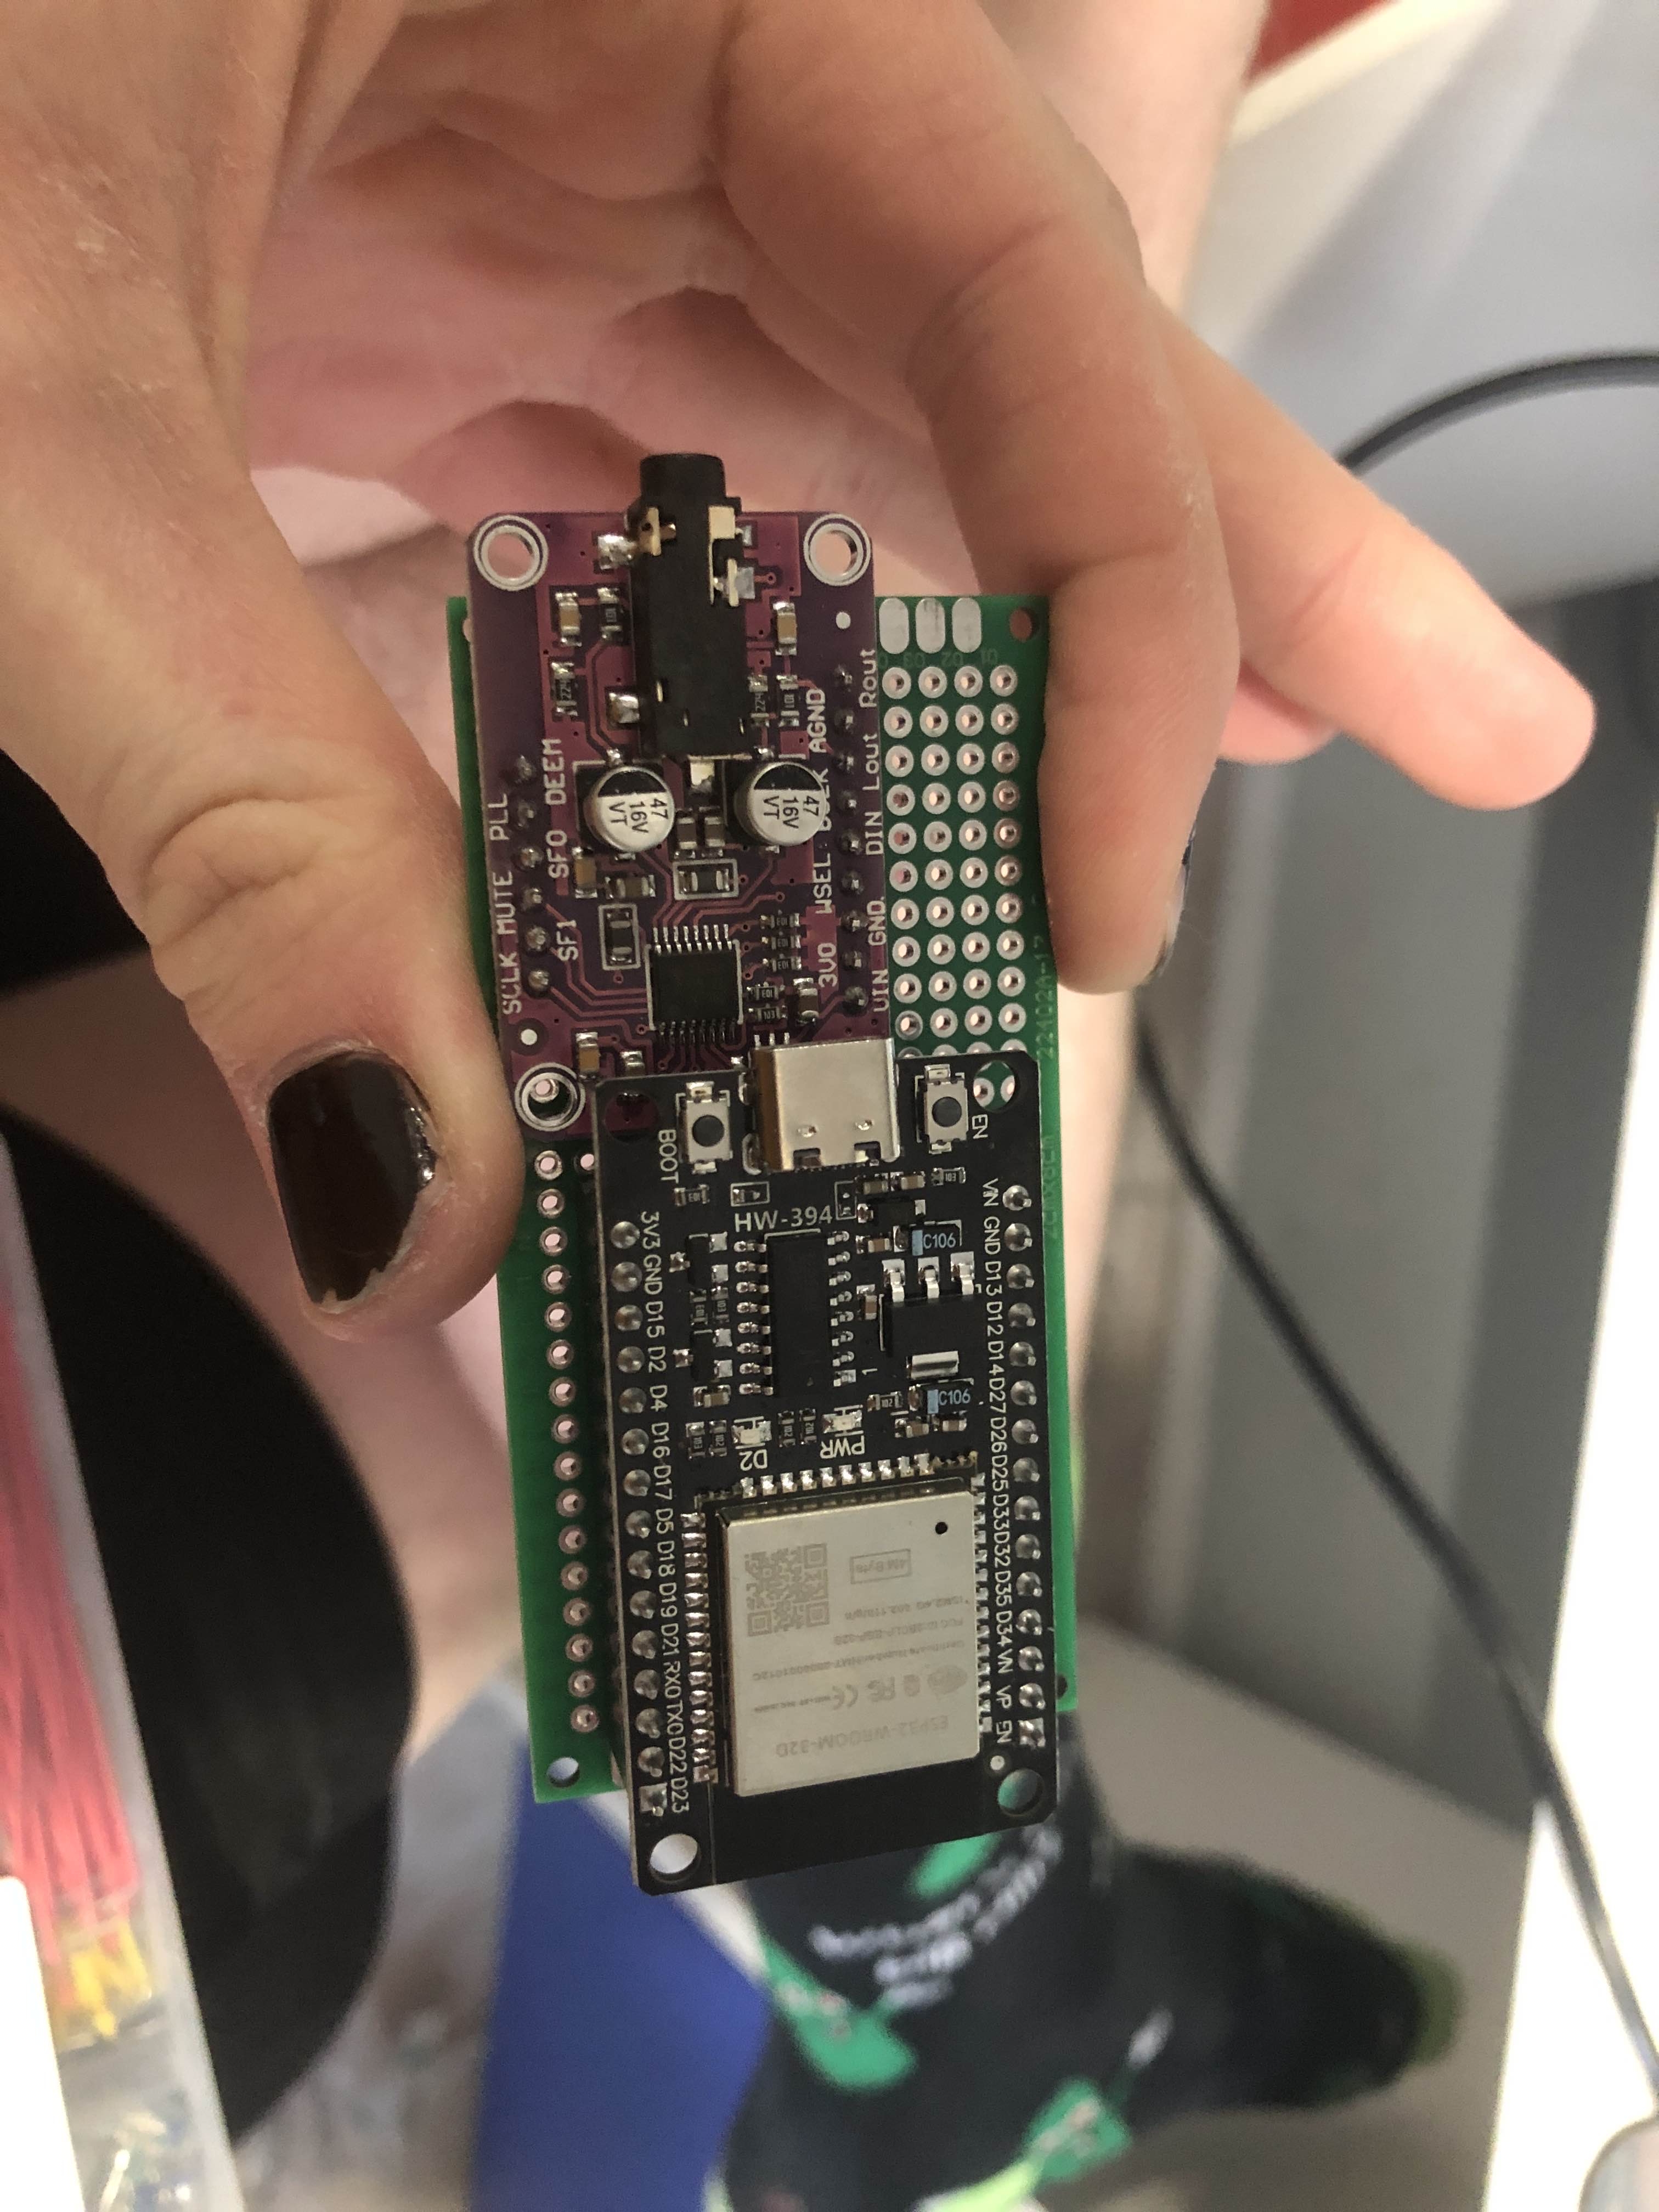
Great - the most important "mod" is pretty easily possible... what's next?
The Plans
All throughout the school year my tinkering urge was killing me. I'd take breaks from working to go learn about CAN buses or plan out little projects. Here's a non-comprehensive list of stuff I might want to do to the car:
- Bluetooth audio
- ... hooked up to the cars controls (for skipping, rewinding)?
- ... with a landline phone hooked up as a car phone?
- Custom fuse box setup with switched and battery power
- Speedometer HUD like this one
- Gear indicator using Hall effect sensors
- Custom gauges/displays for things like coolant temperature, fuel economy
- Smaller, less "angry" secondary horn for giving cars/pedestrians a little nudge
- Nixie tubes!
- CB Radio
- Ceiling mounted TV (like in a minivan)
- ... that would be connected to a computer (a car-puter)?
- Extra lights (e.g. LED lights inside the engine bay for working at night)
- Ultrasonic parking range beepers
- Heated seats
- USB ports
- ... with a built-in battery to charge stuff when car is off (not the car battery)?
- ... with a solar panel to charge this extra battery?
From Conceptual to Physical
That's a lot of ideas. How will I actually get any off the ground? Well, I've already started.
Bluetooth Prototype
As seen above, I've already made a prototype for the bluetooth audio system. What if I want to hook it up to the car's controls?
The CAN bus(es)
Cars use what's called a CAN bus to allow all sorts of systems to communicate. The Mazda has 2: a high speed bus for critical systems (e.g. engine), and a medium speed bus for less critical systems (like the stereo).
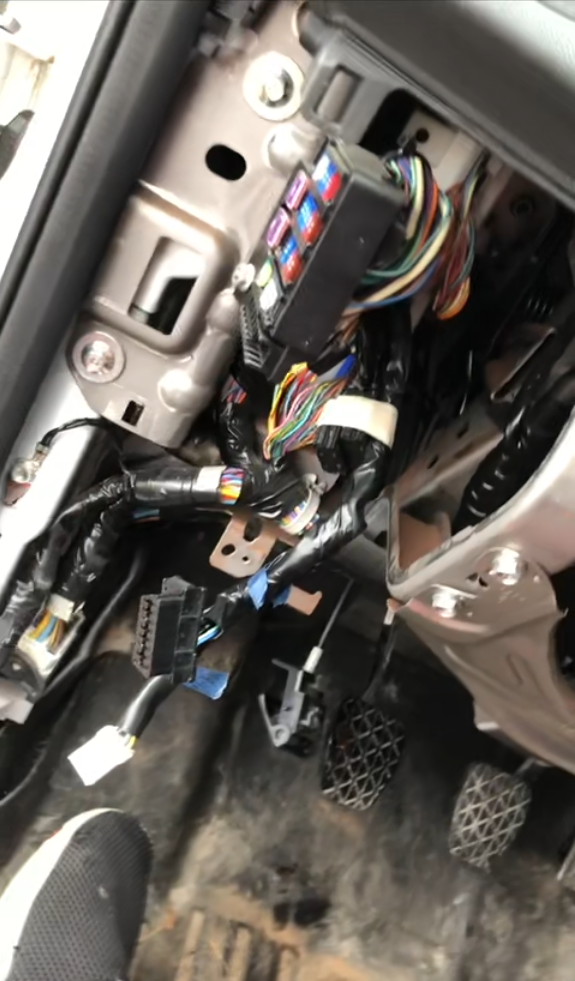
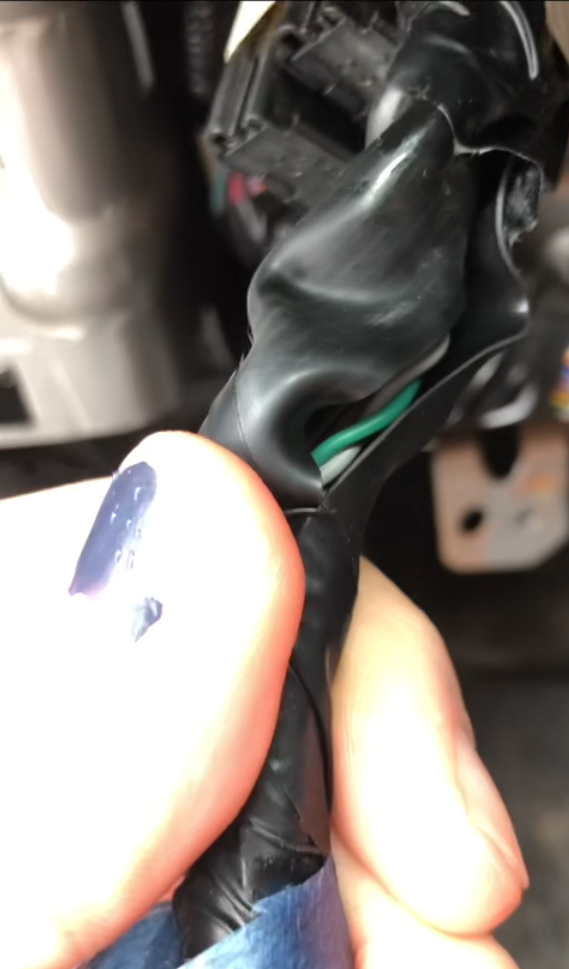
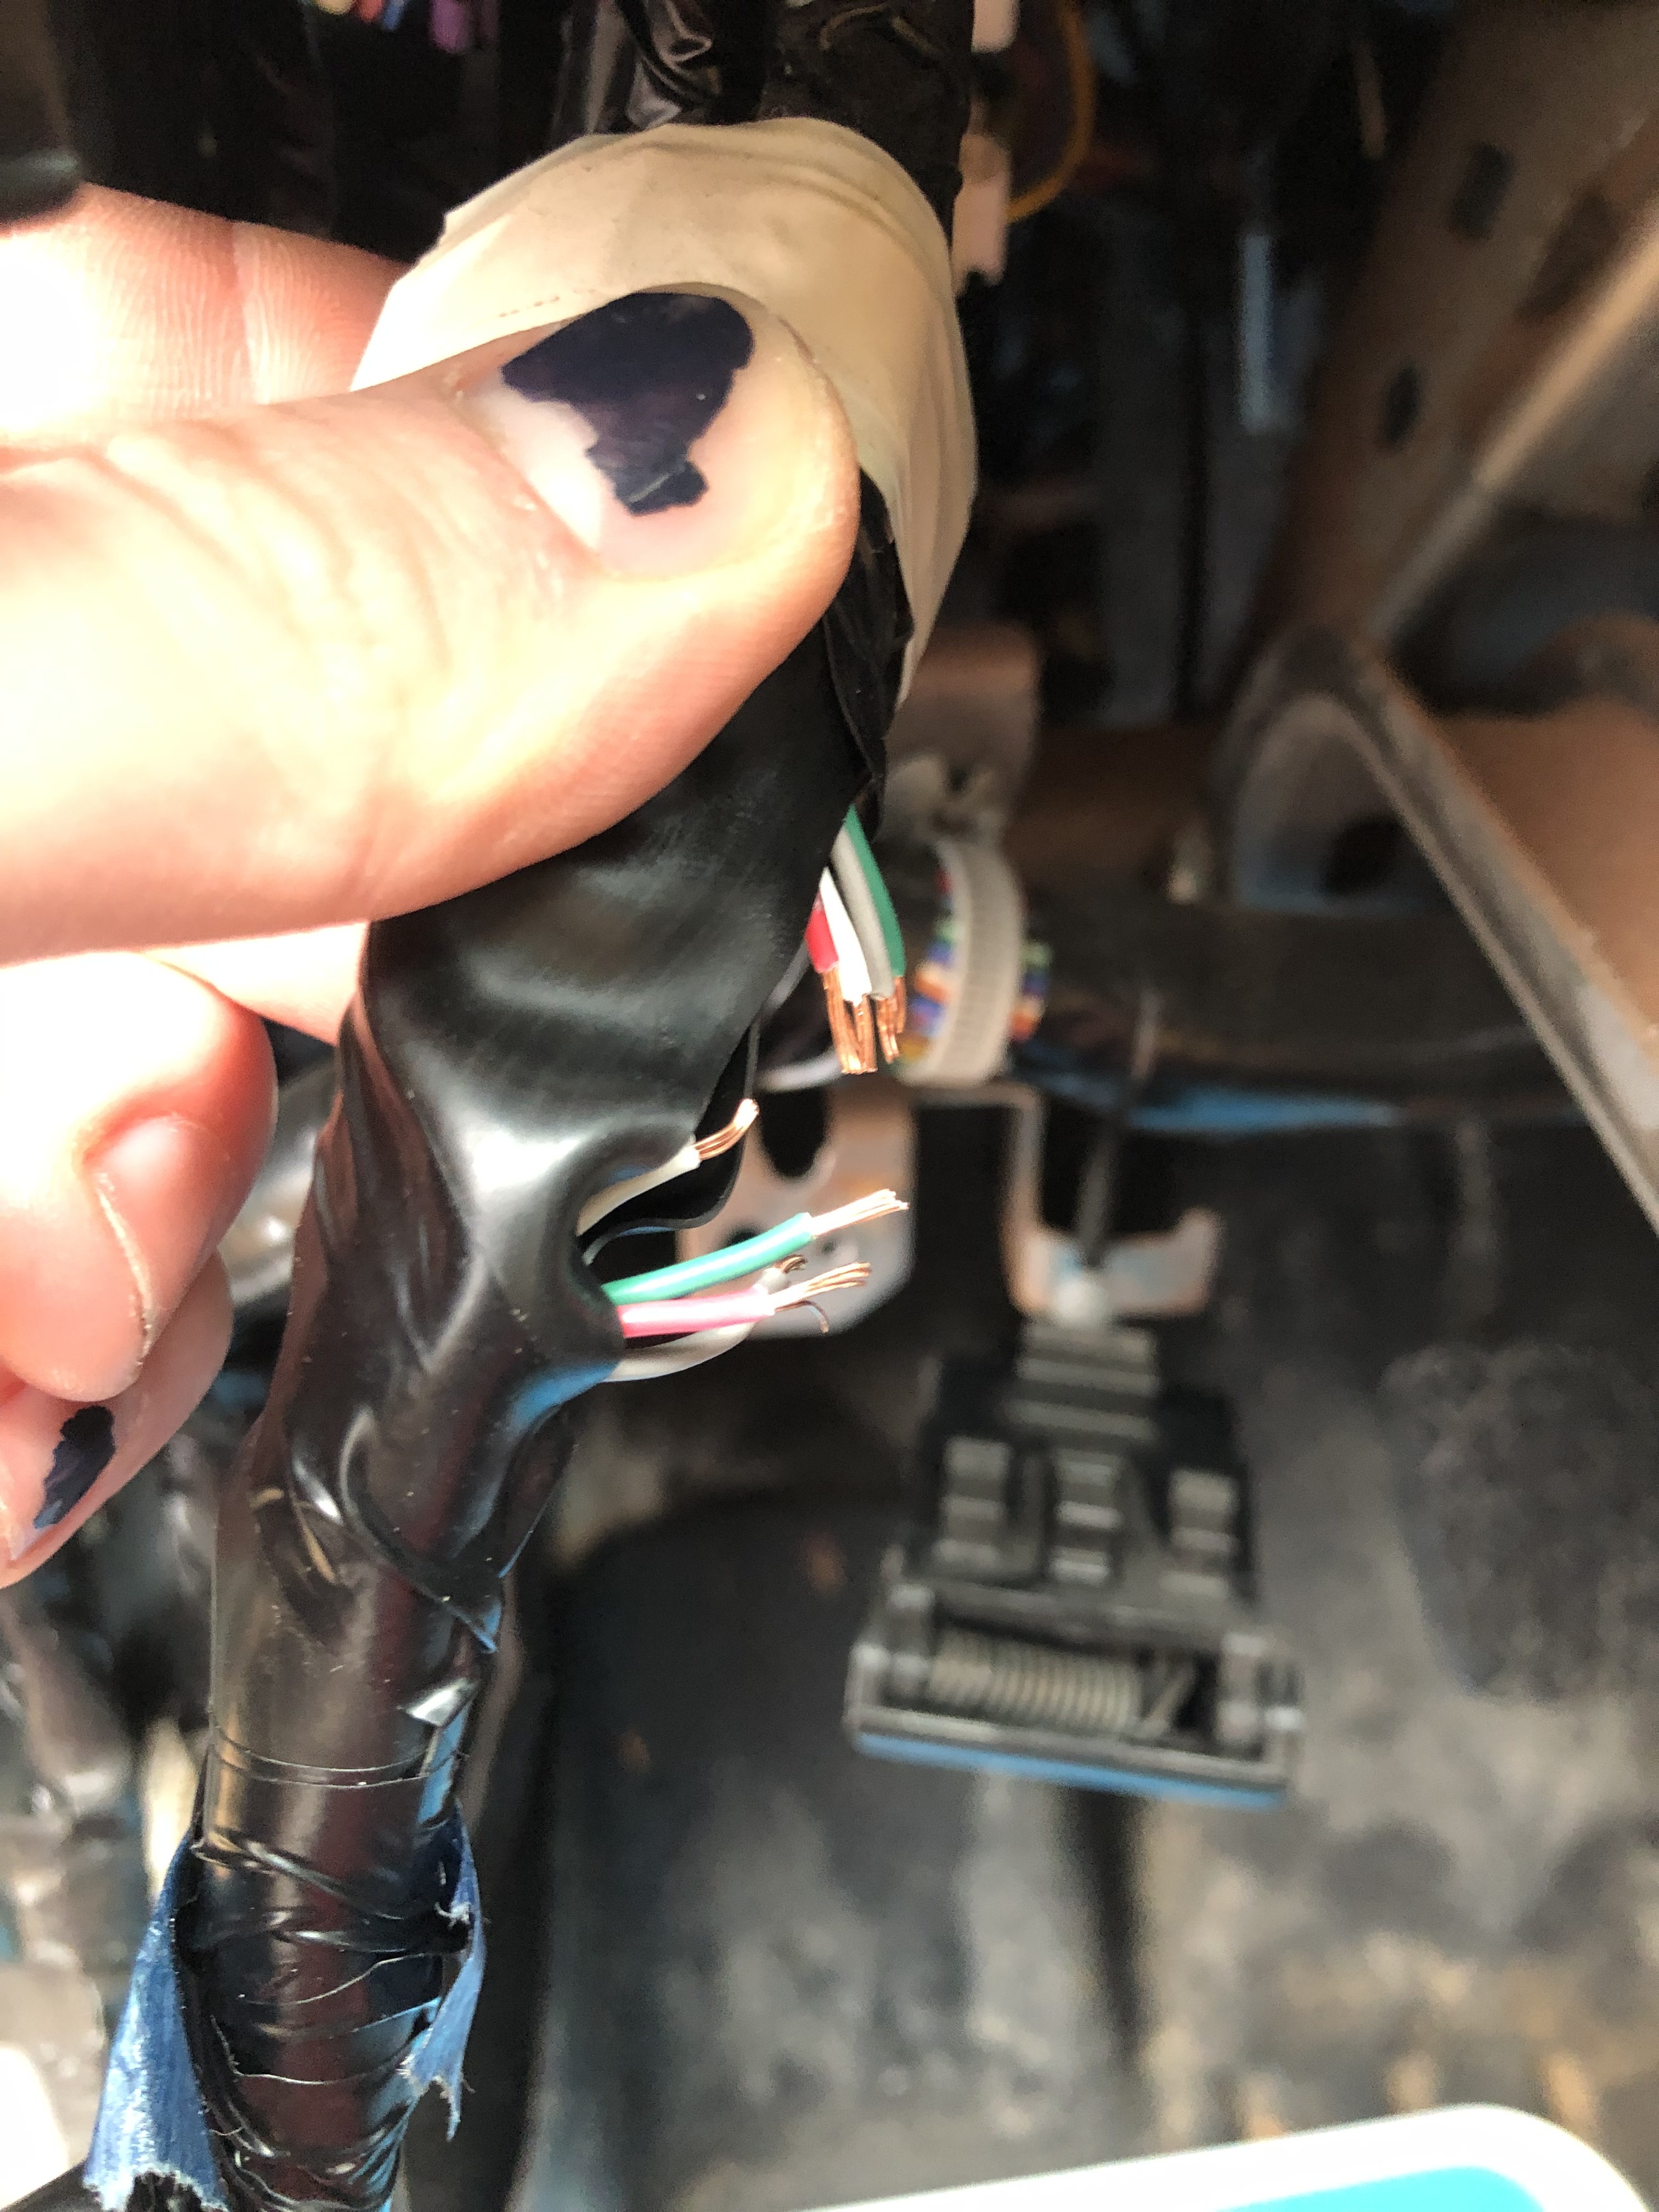
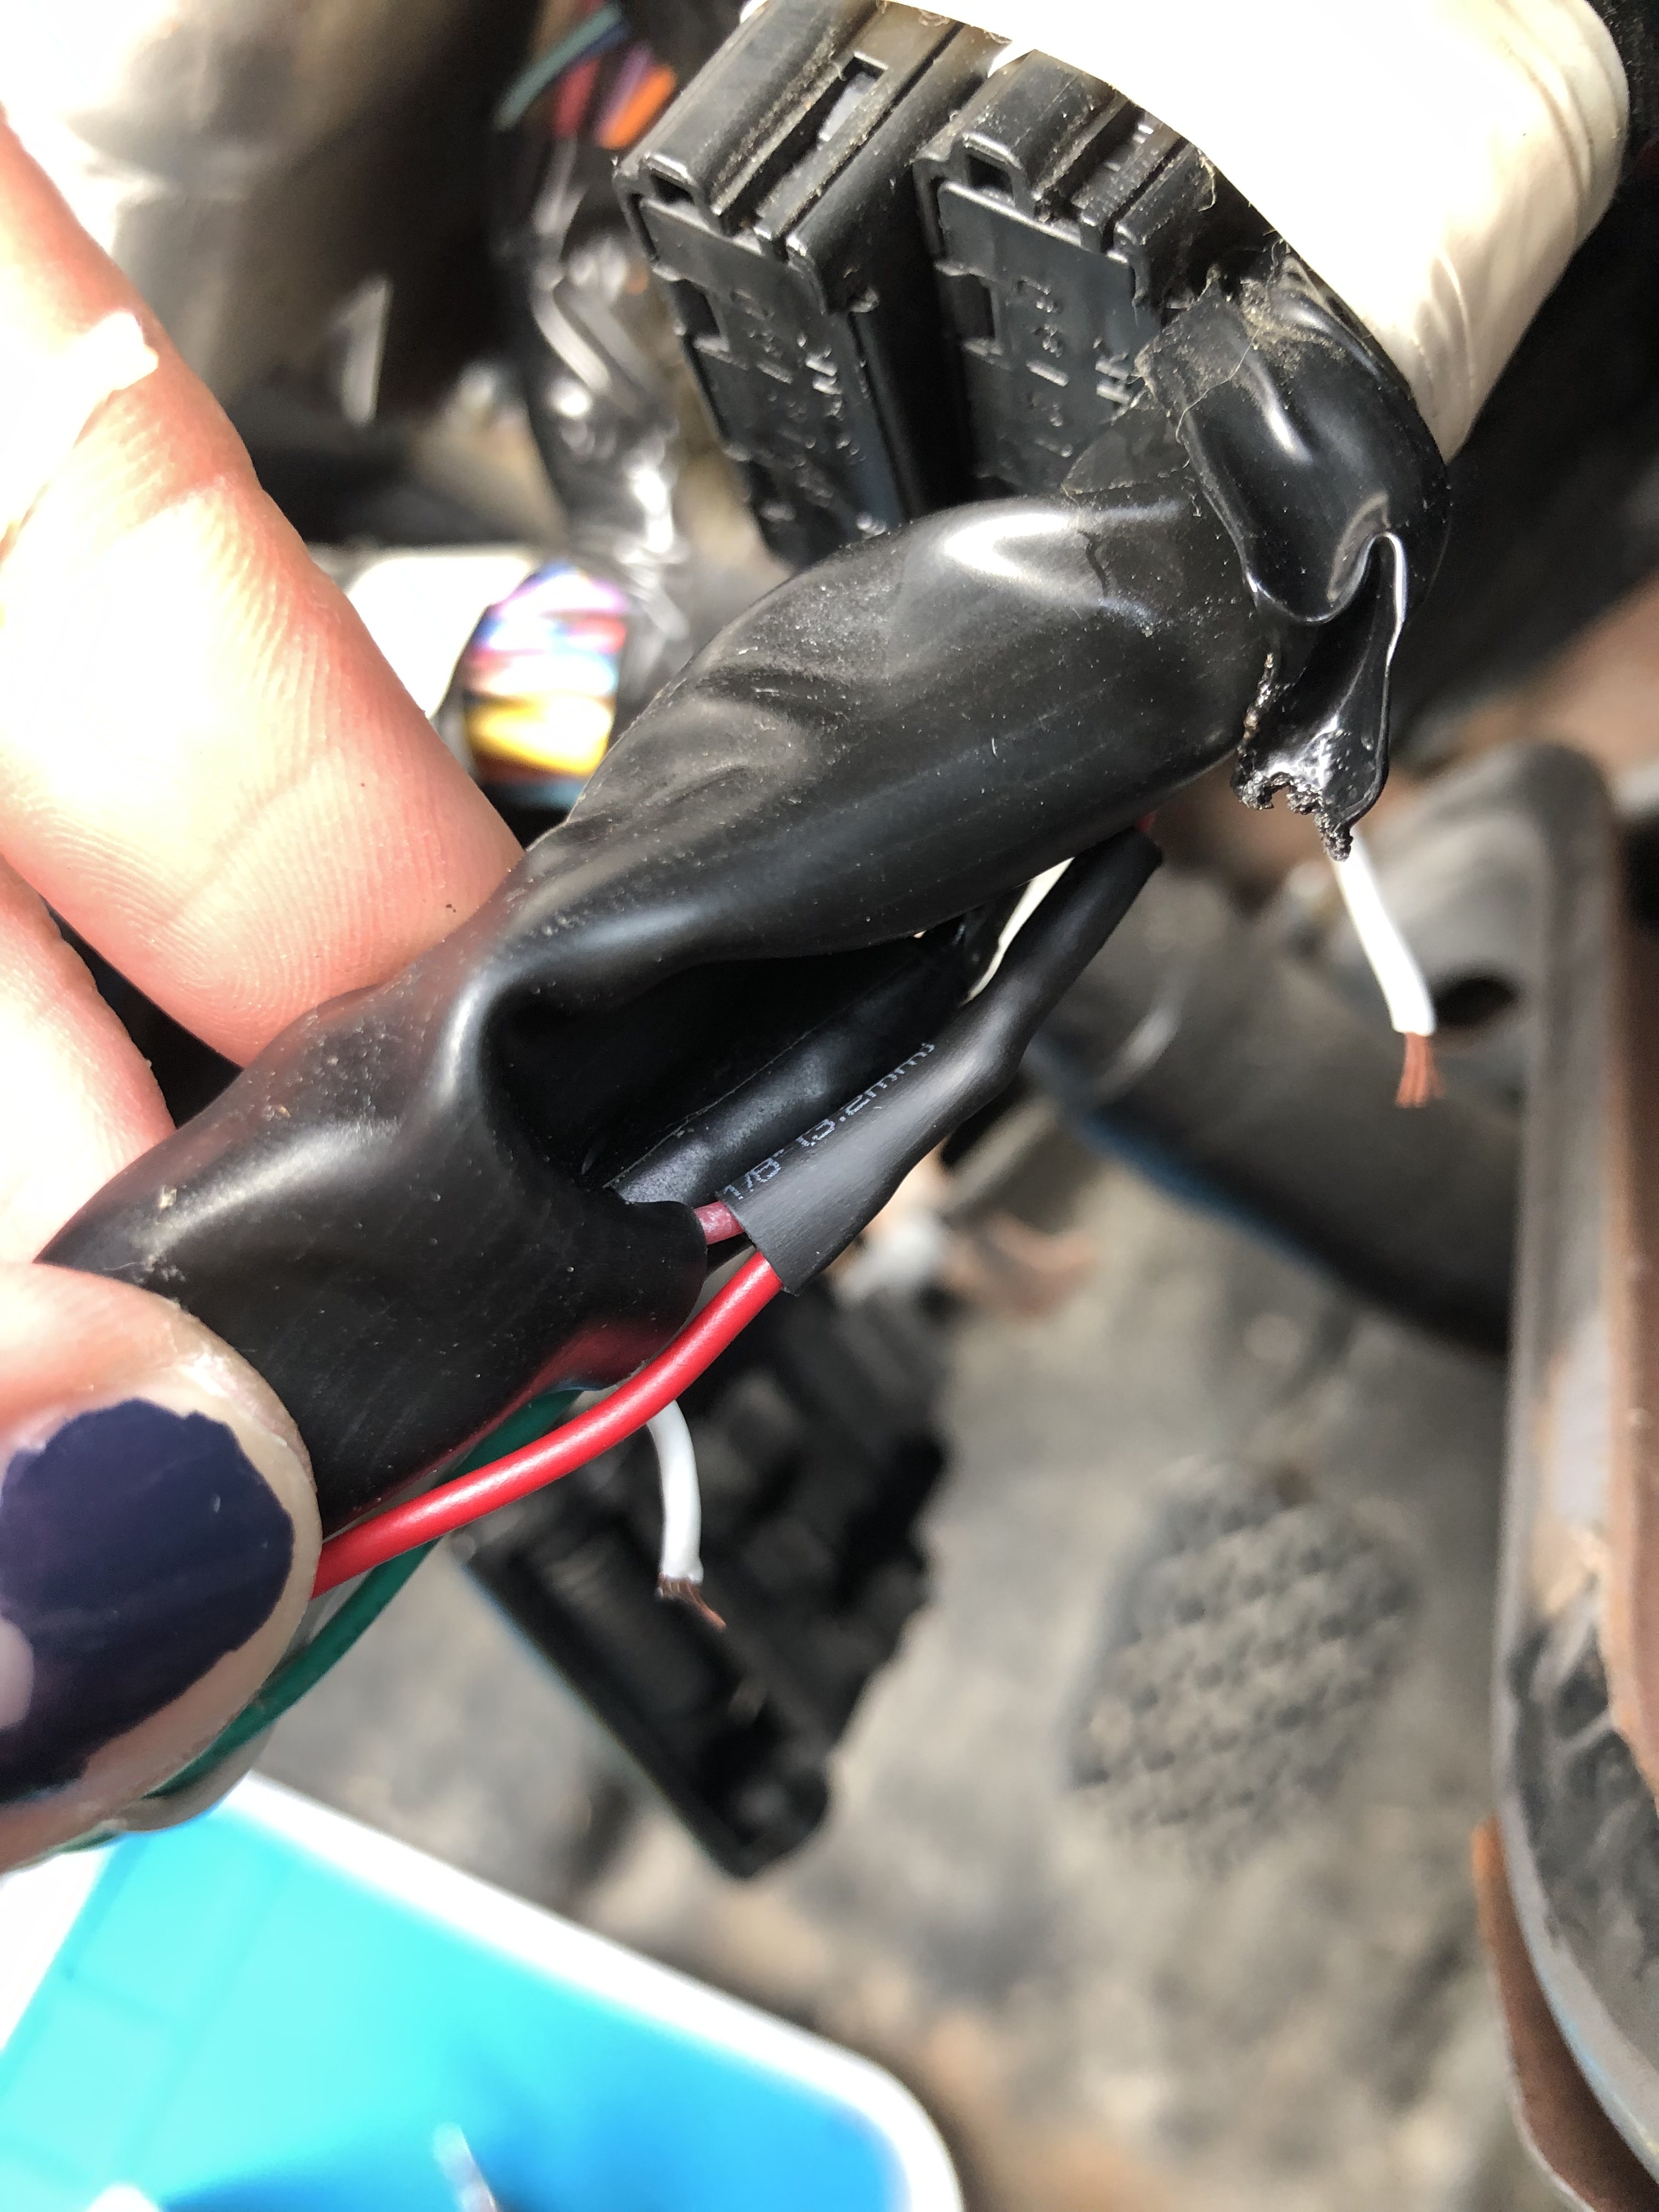
I spliced in to both buses (busses?) at the OBD2 port:
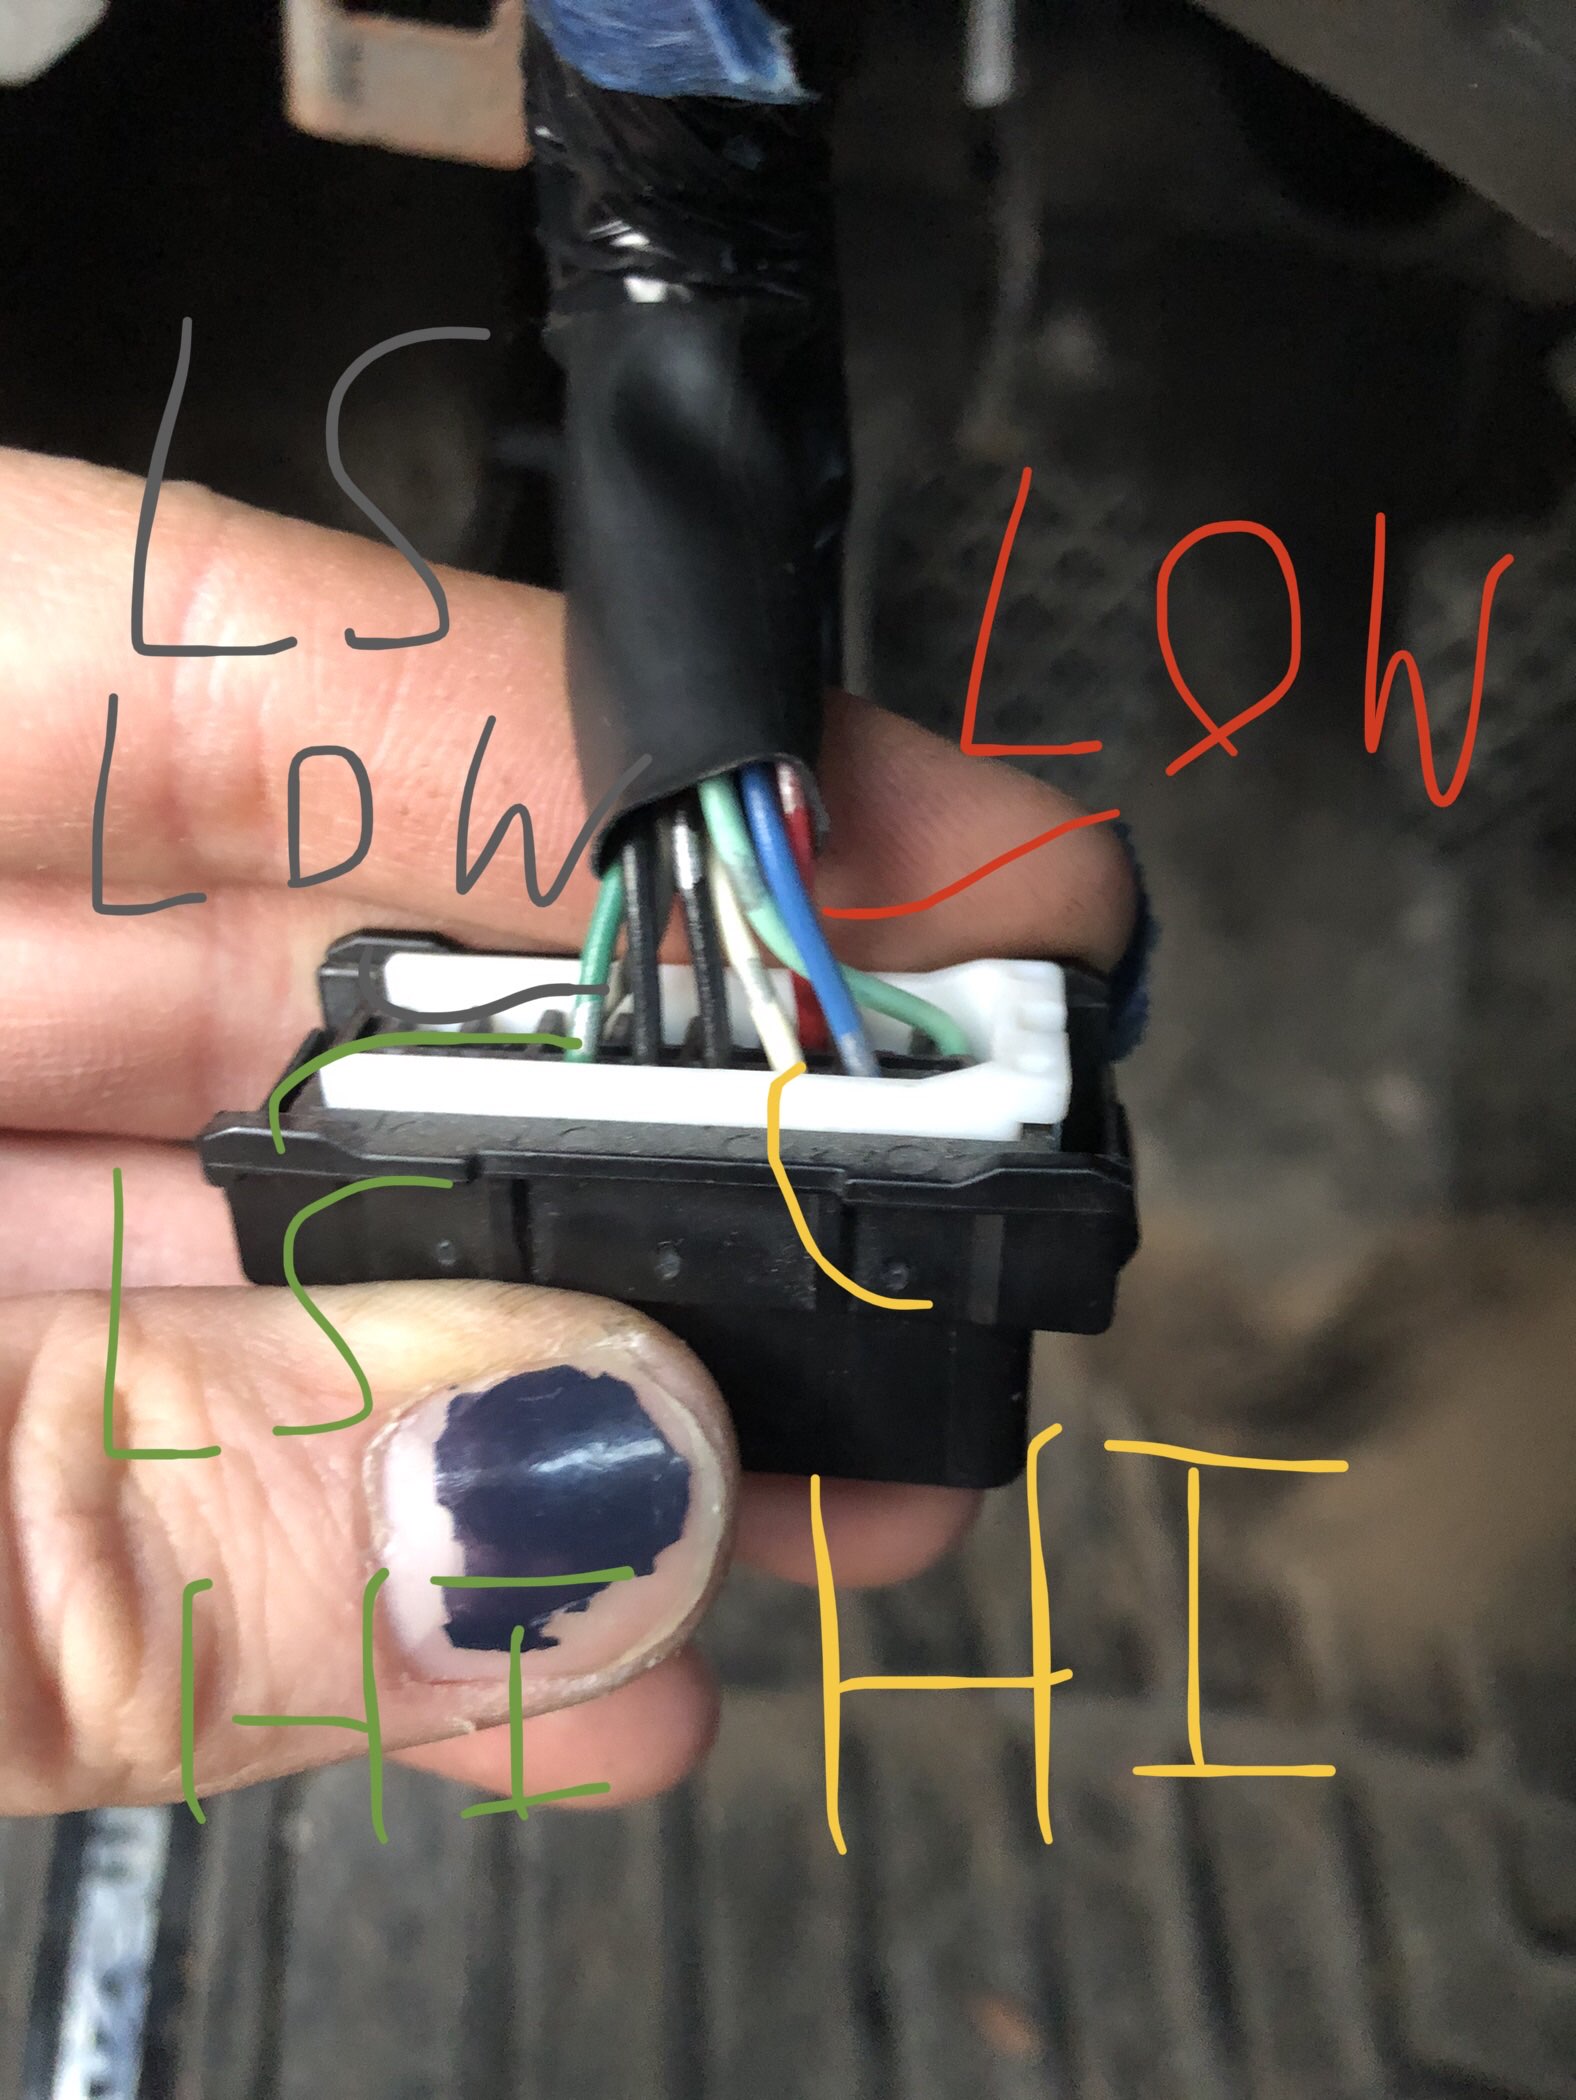
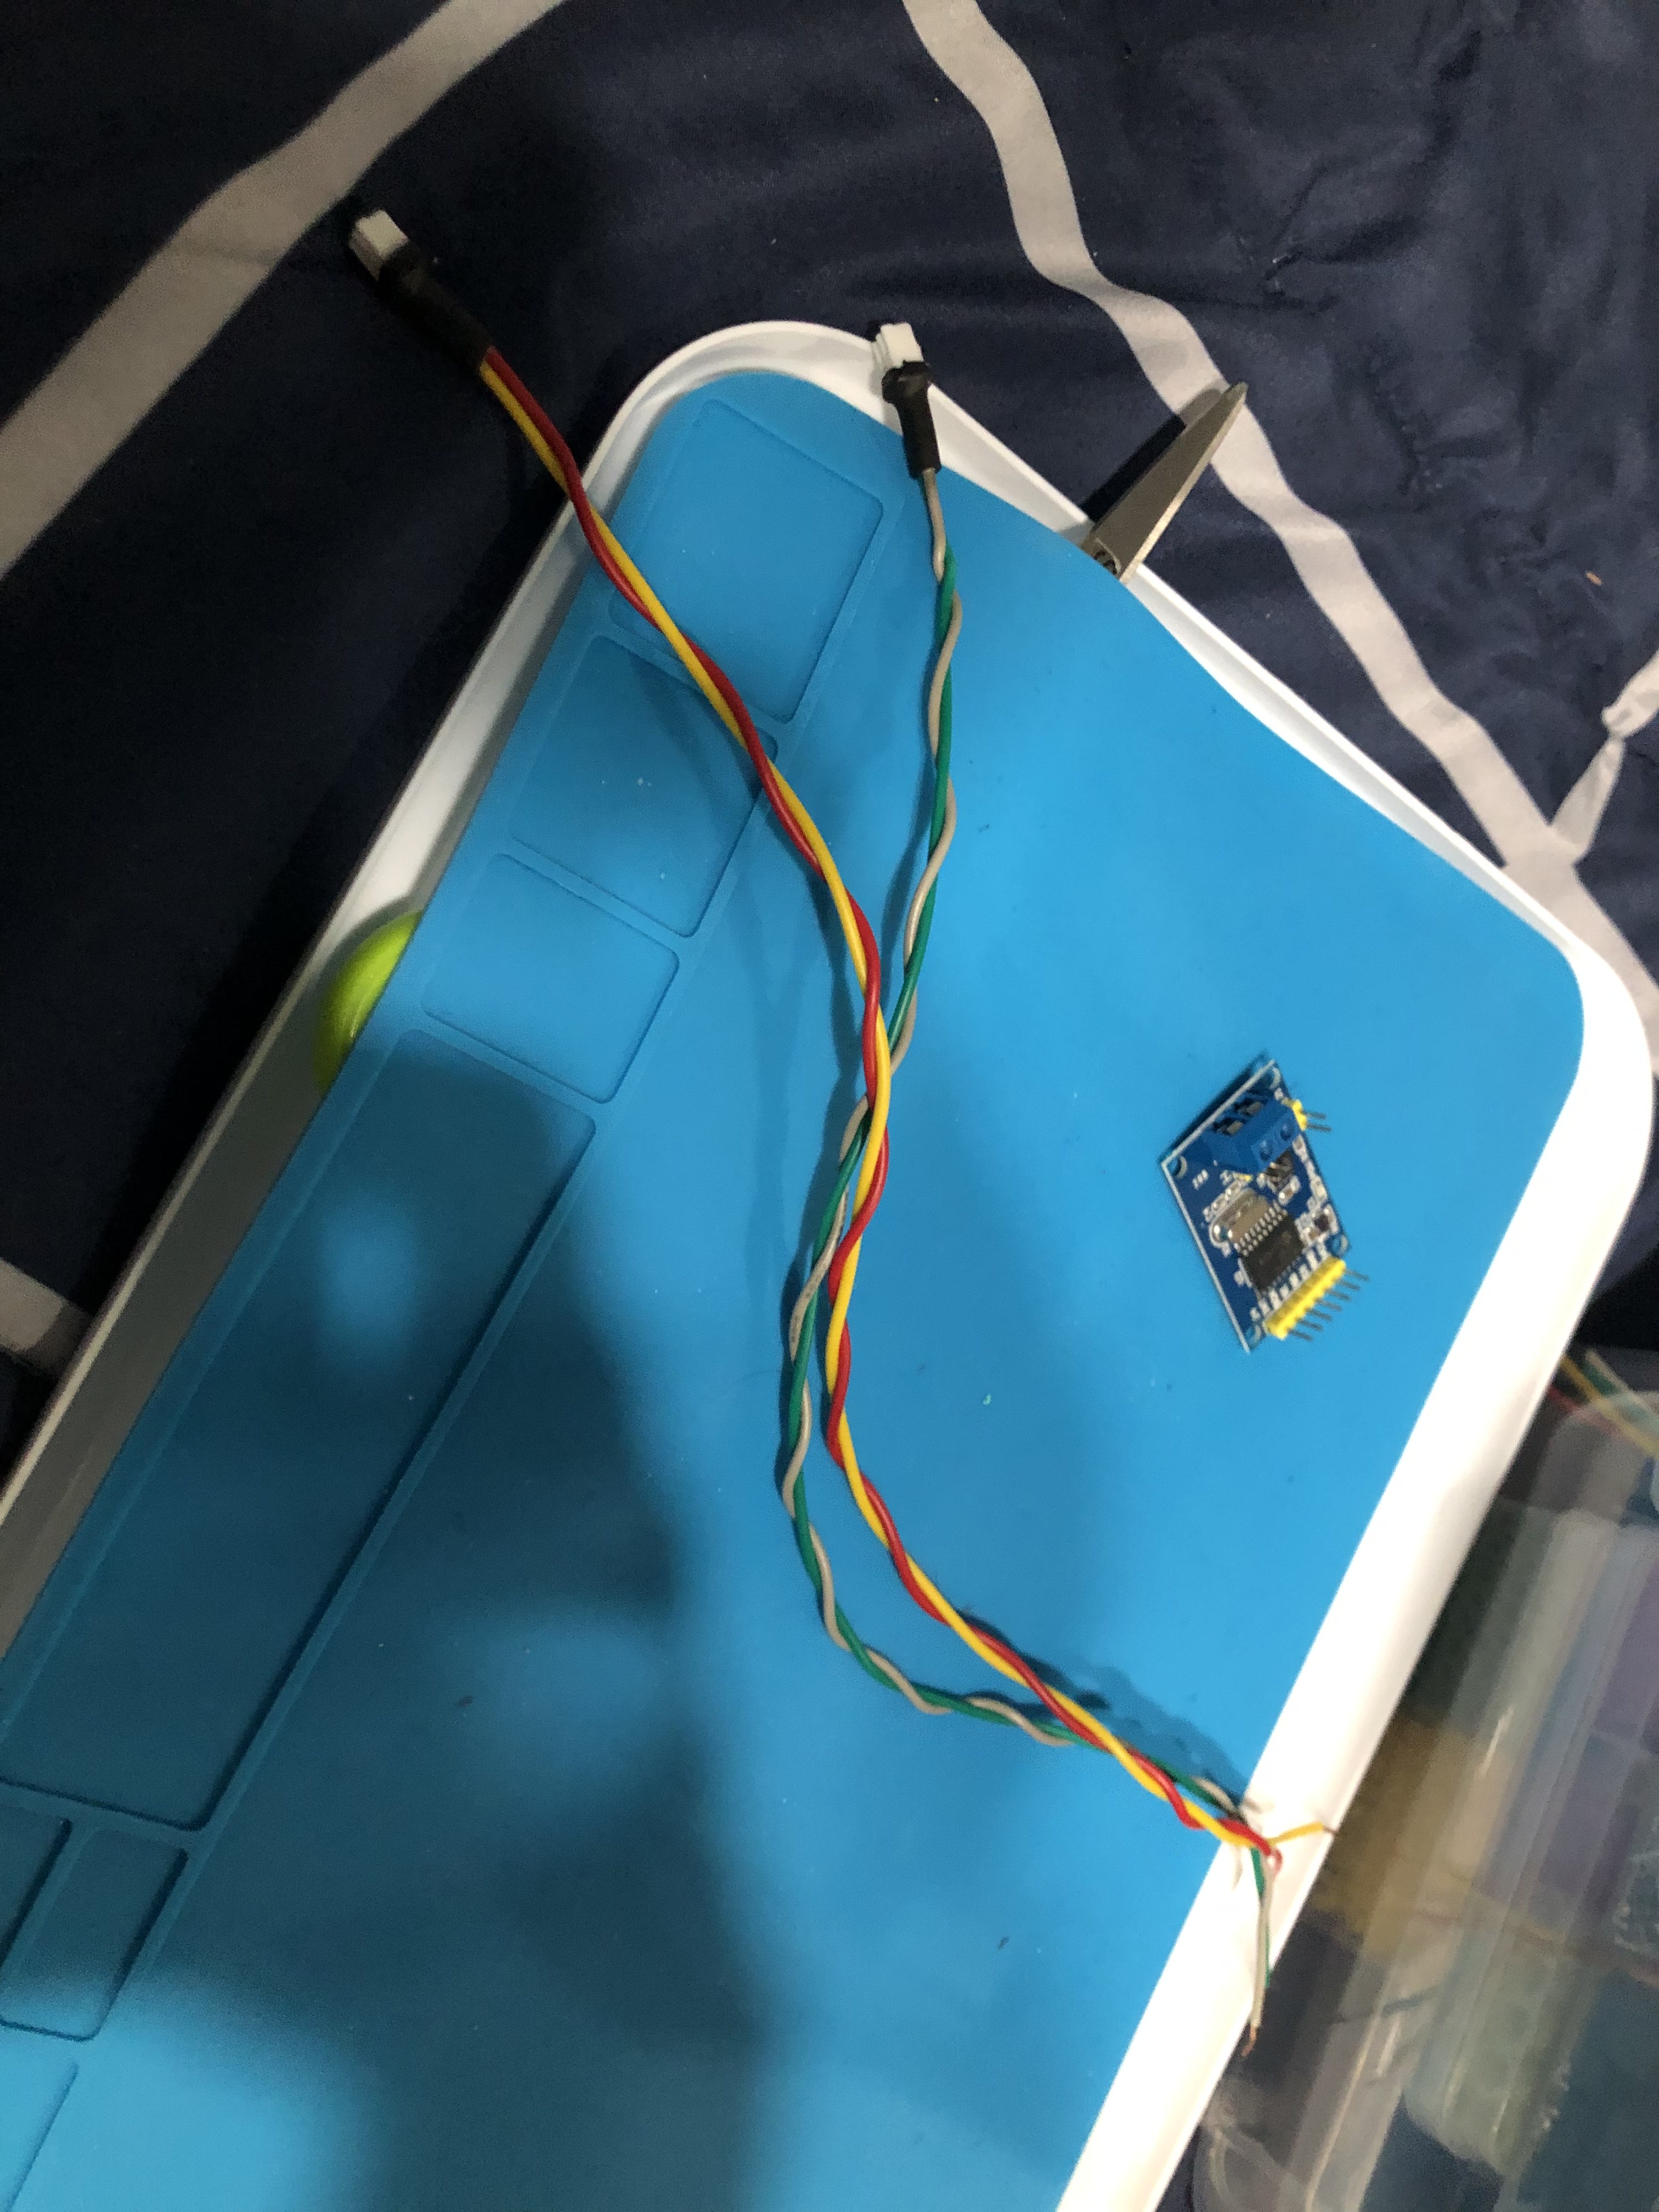
Now that I had access to both buses, I created another scuffed little board to read in the data:
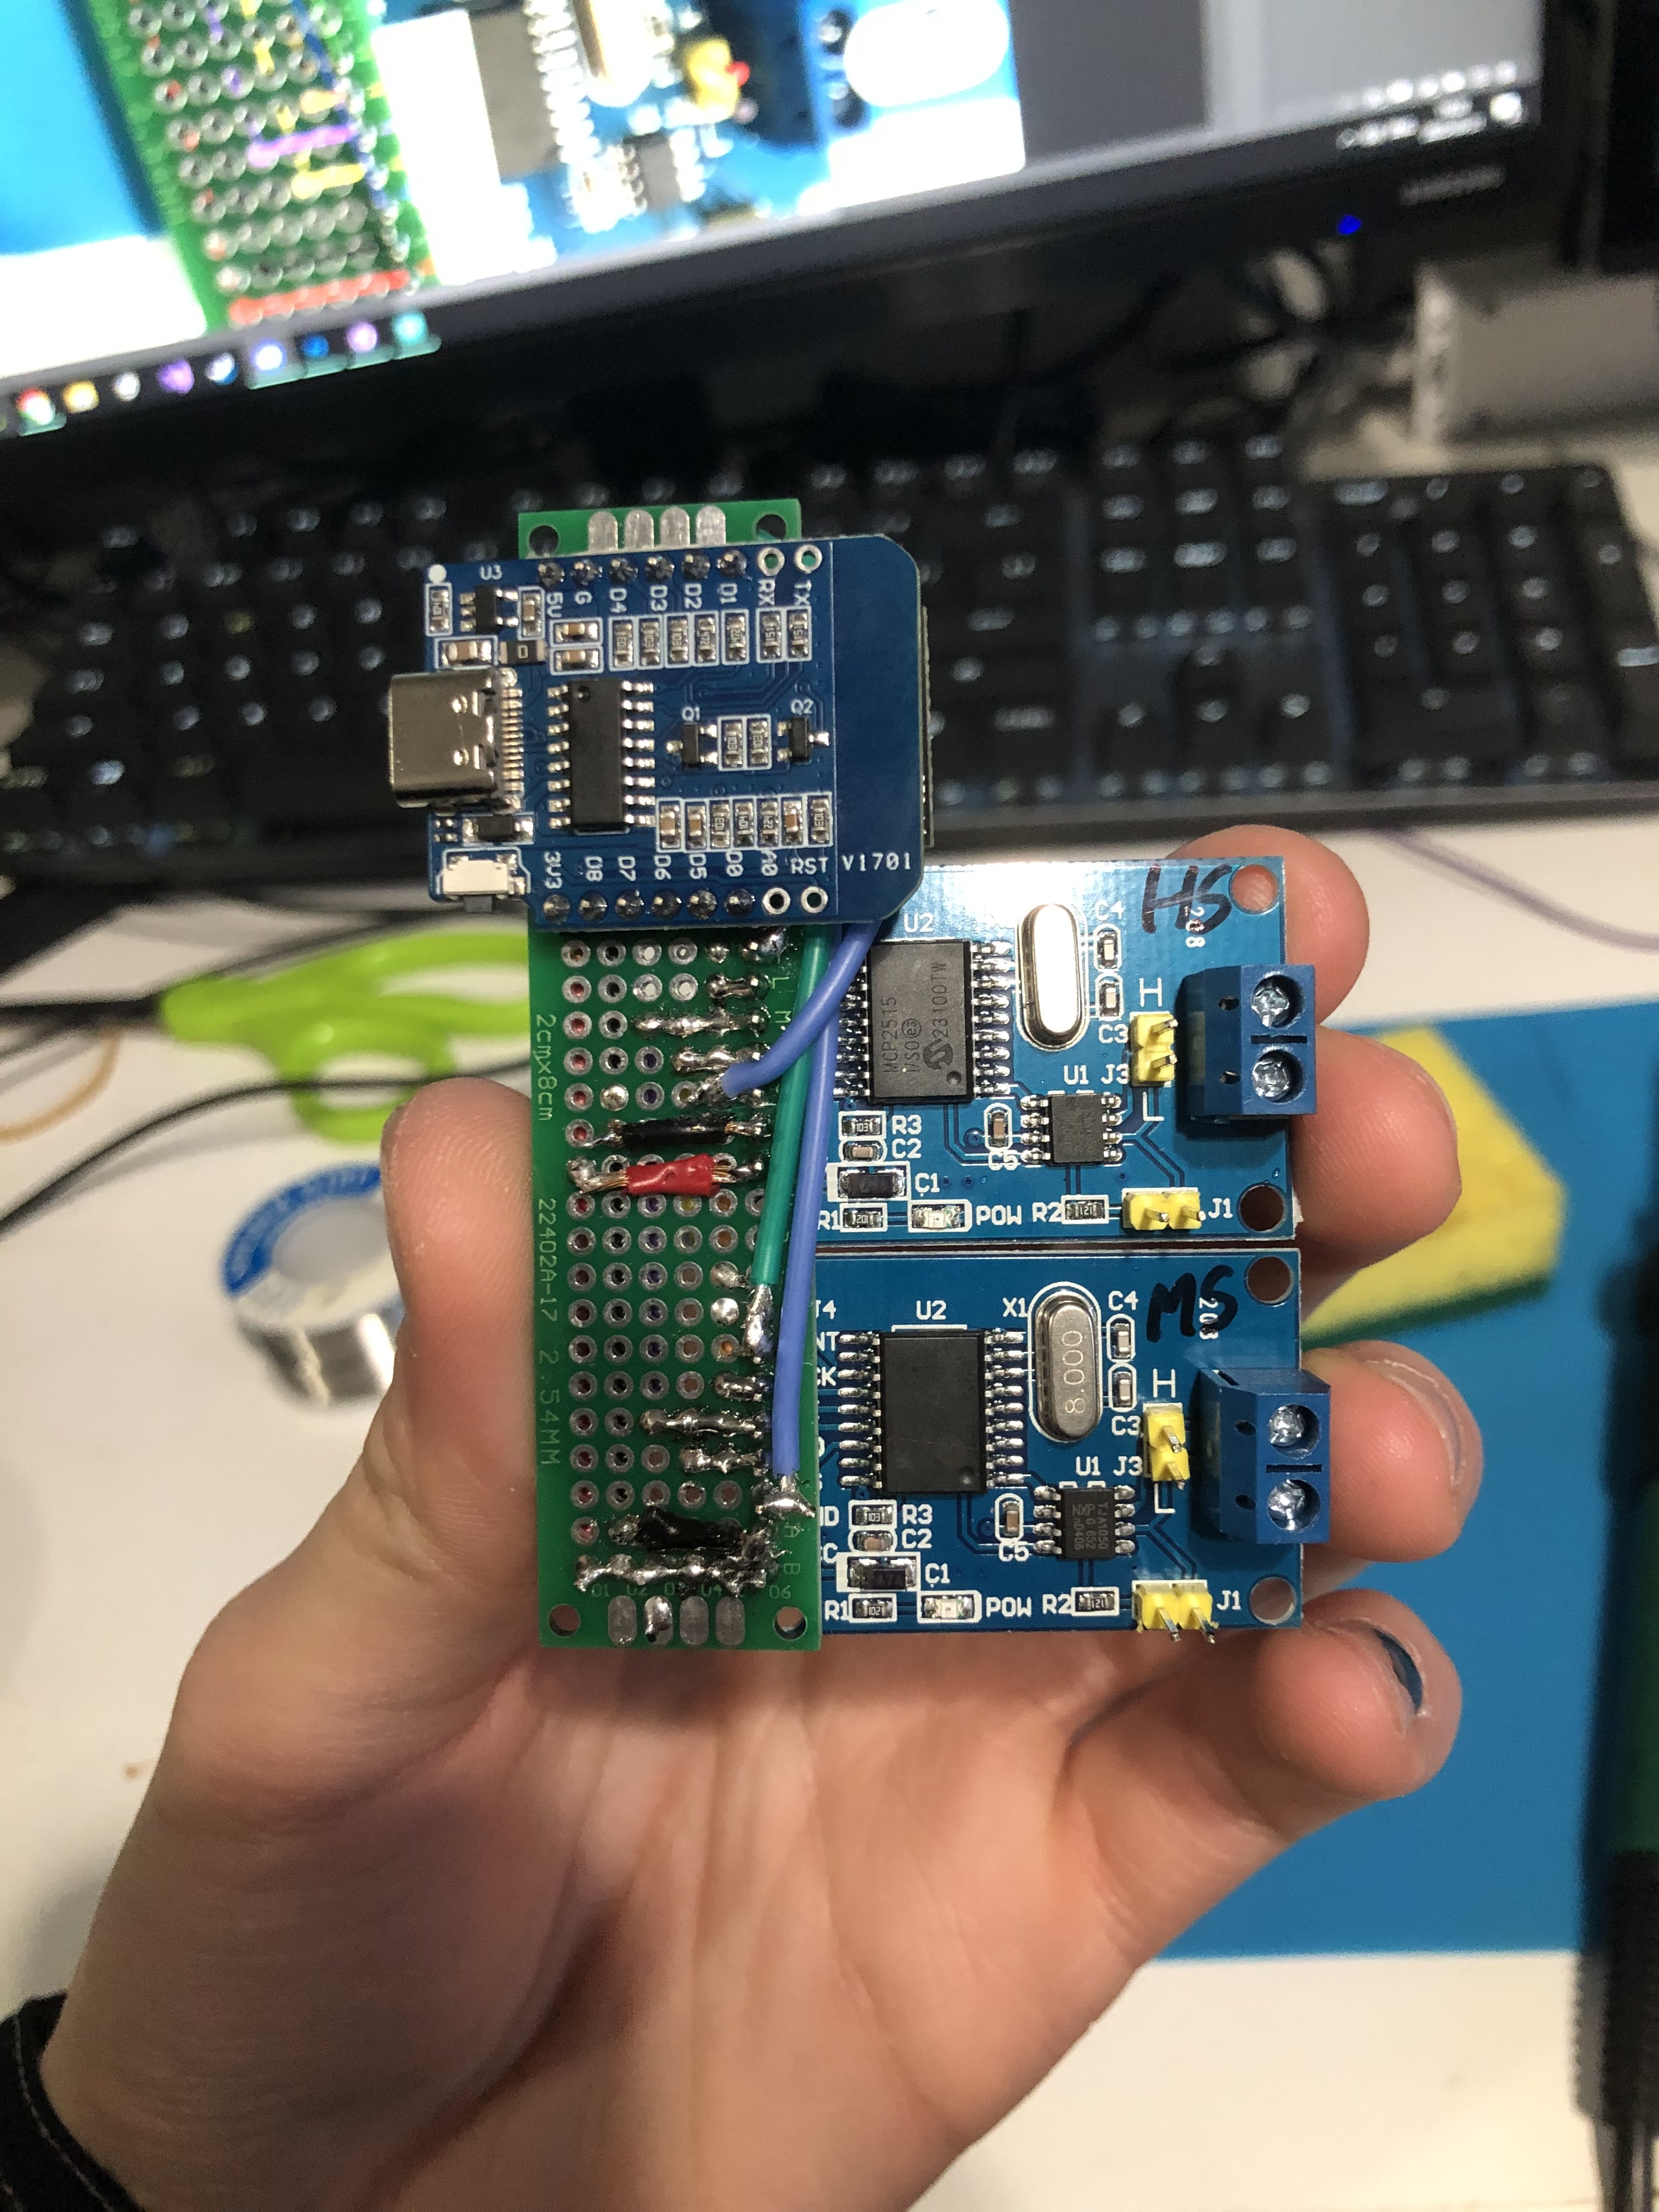
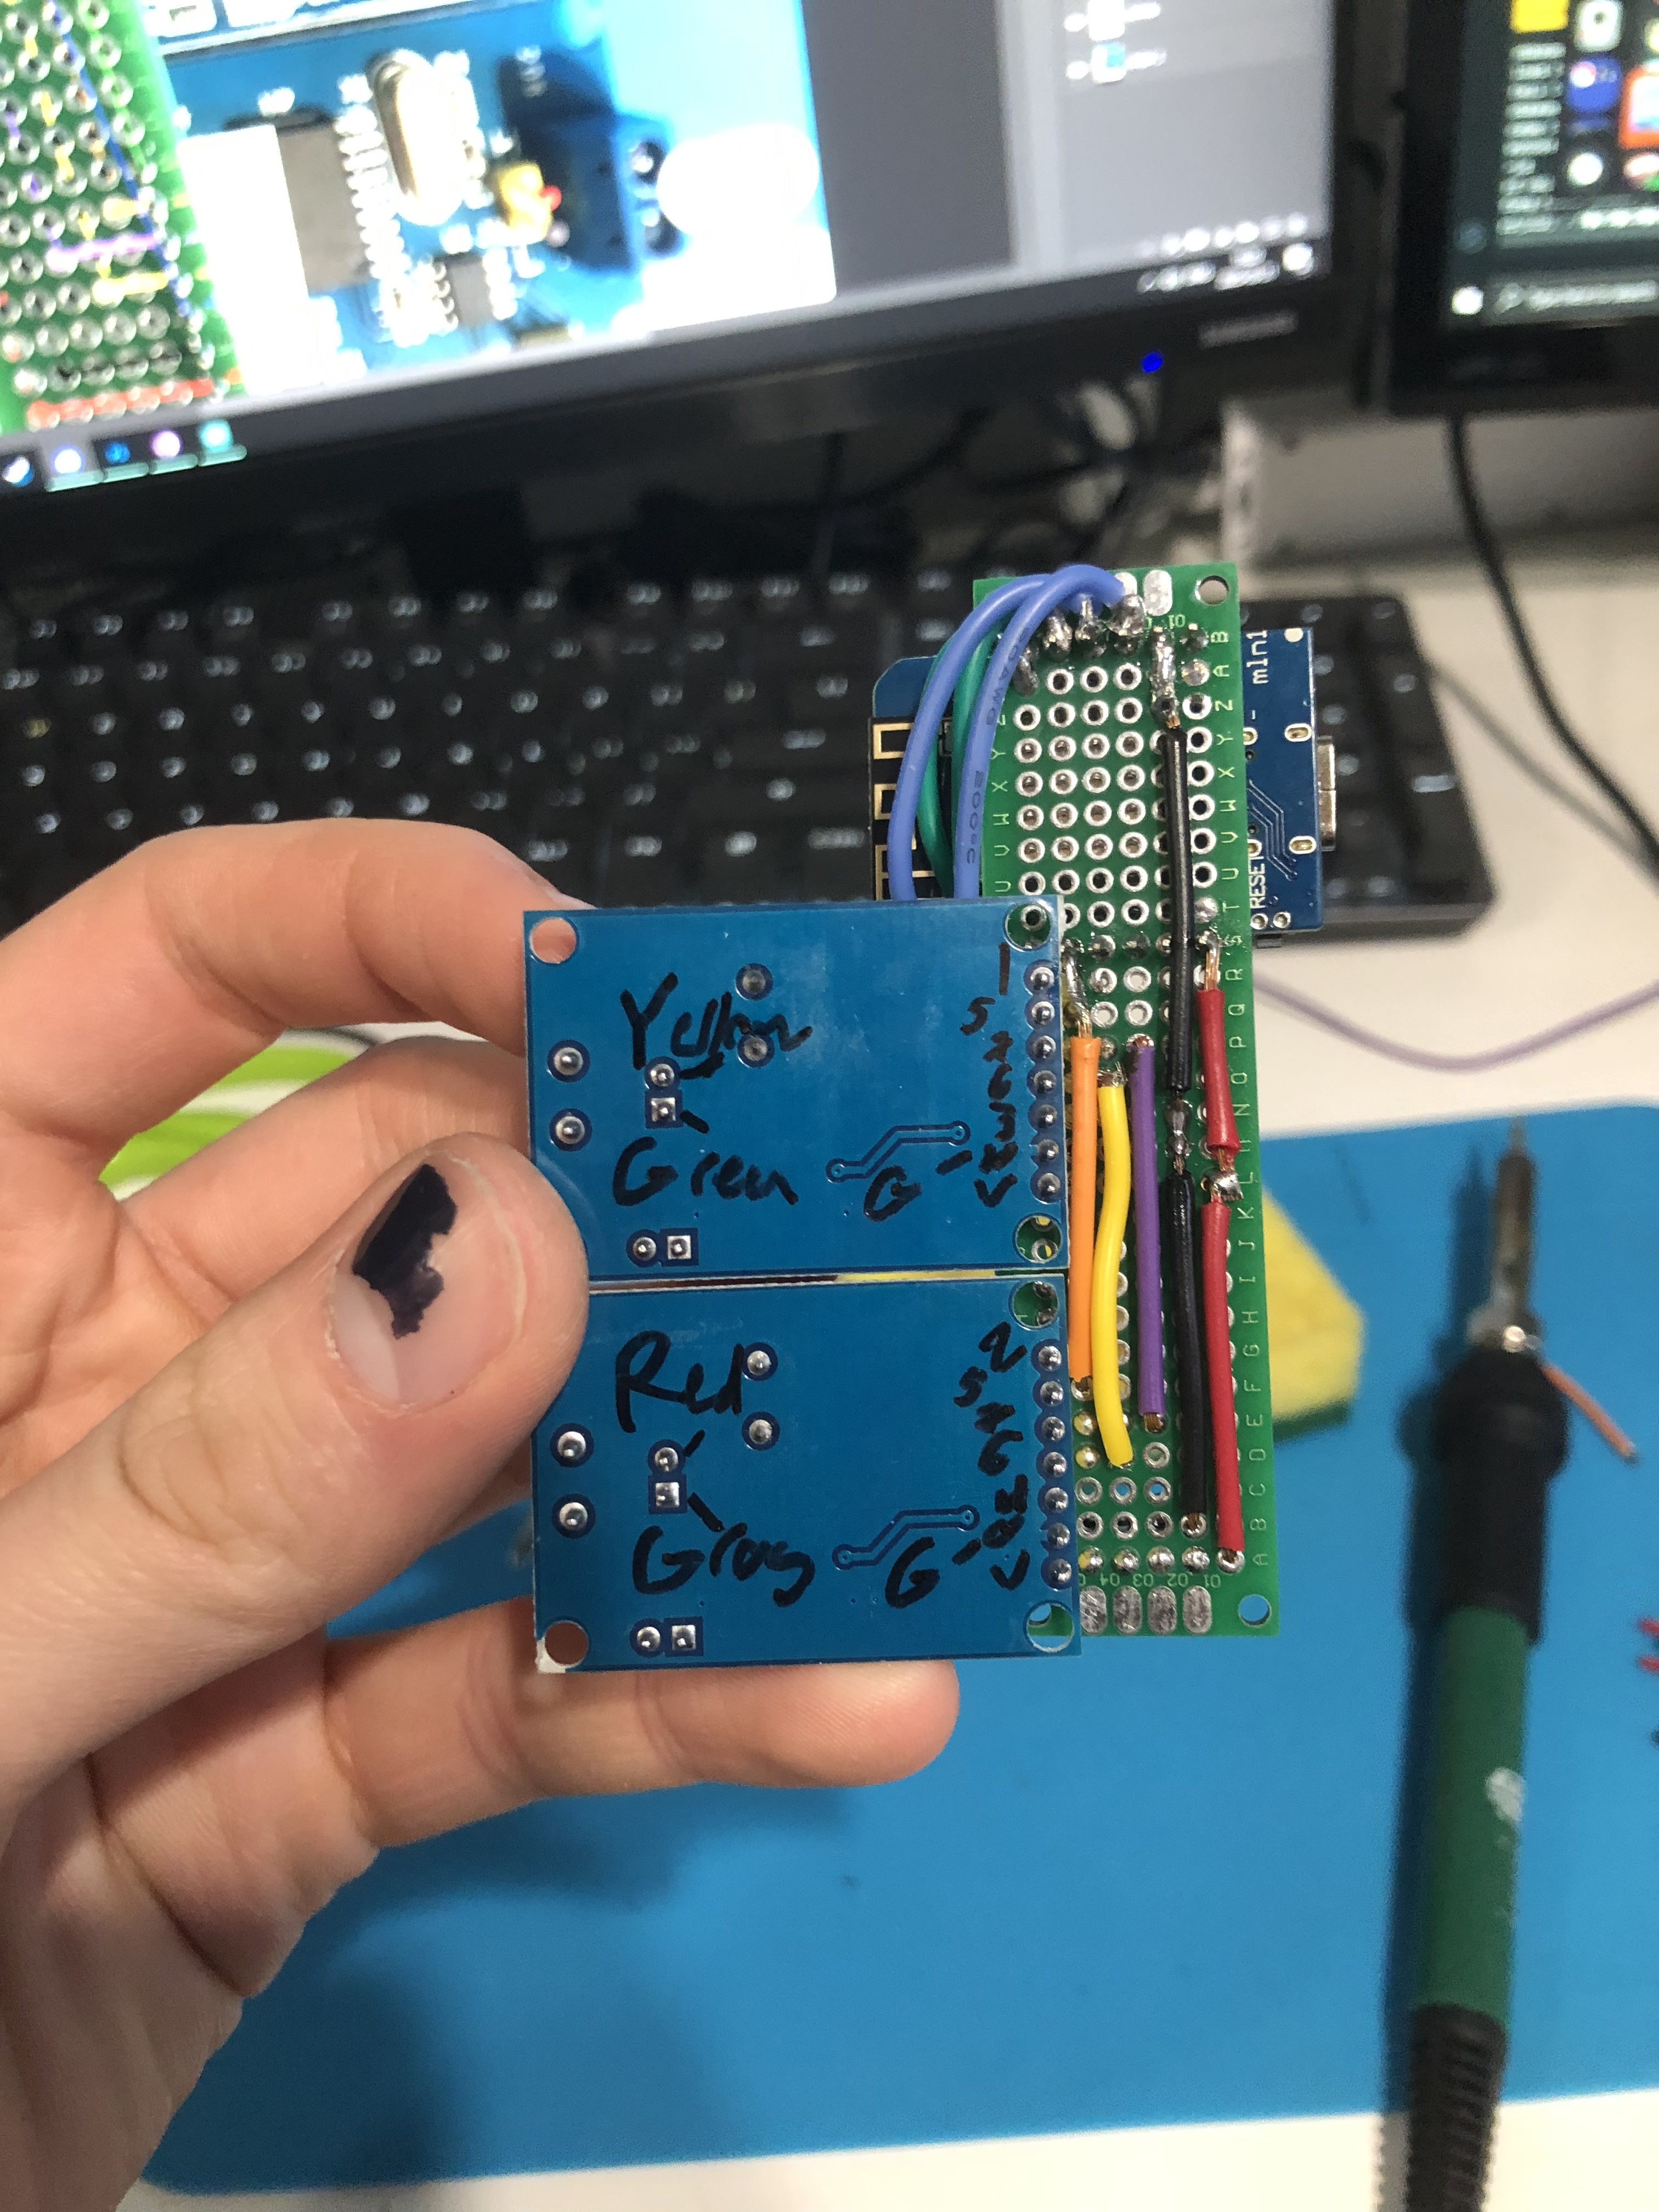
Note: the colour labels (yellow, green, etc.) are not correct here. It caused me a headache later.
The ESP8266 on this module reads in the data from both CAN buses, parses information I want, then broadcasts it out using ESP-NOW (a wireless communication protocol for ESP8266 and ESP32 based boards) to whatever other modules are listening.
I need to finish decoding all the CAN data I want to read in, but then it'll be up to each individual module to listen for the data and do stuff with it.
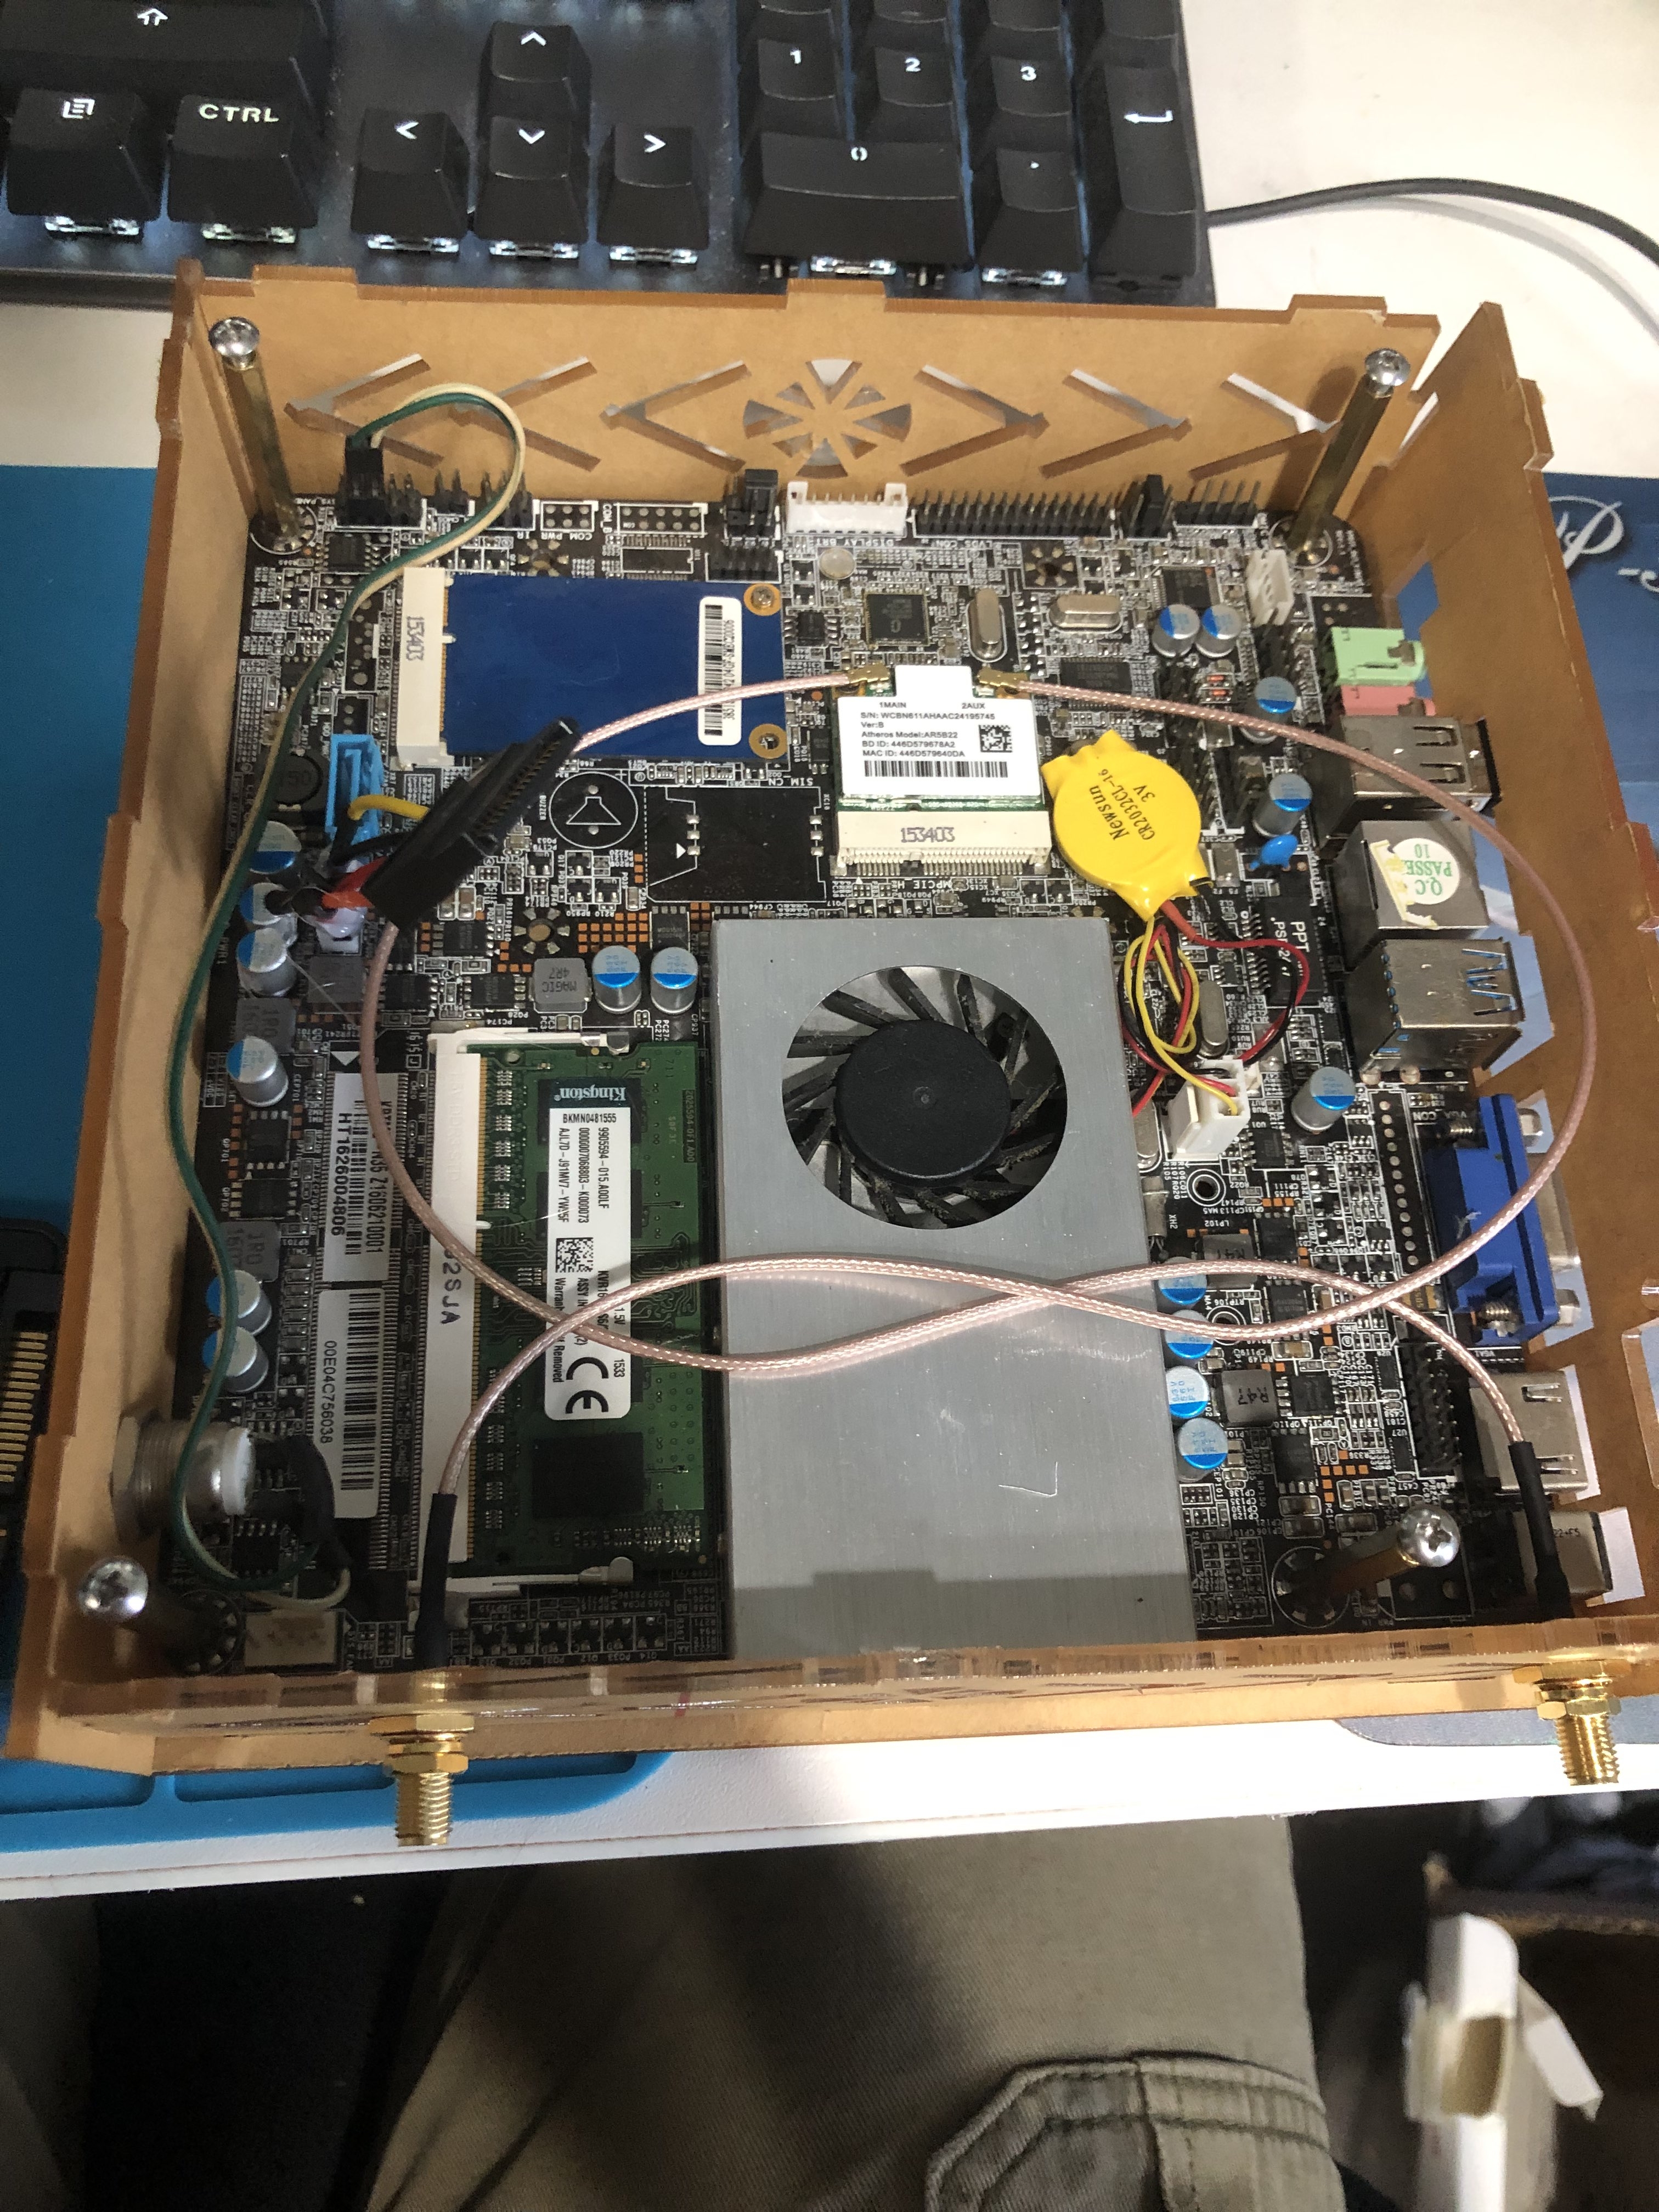
Carputer
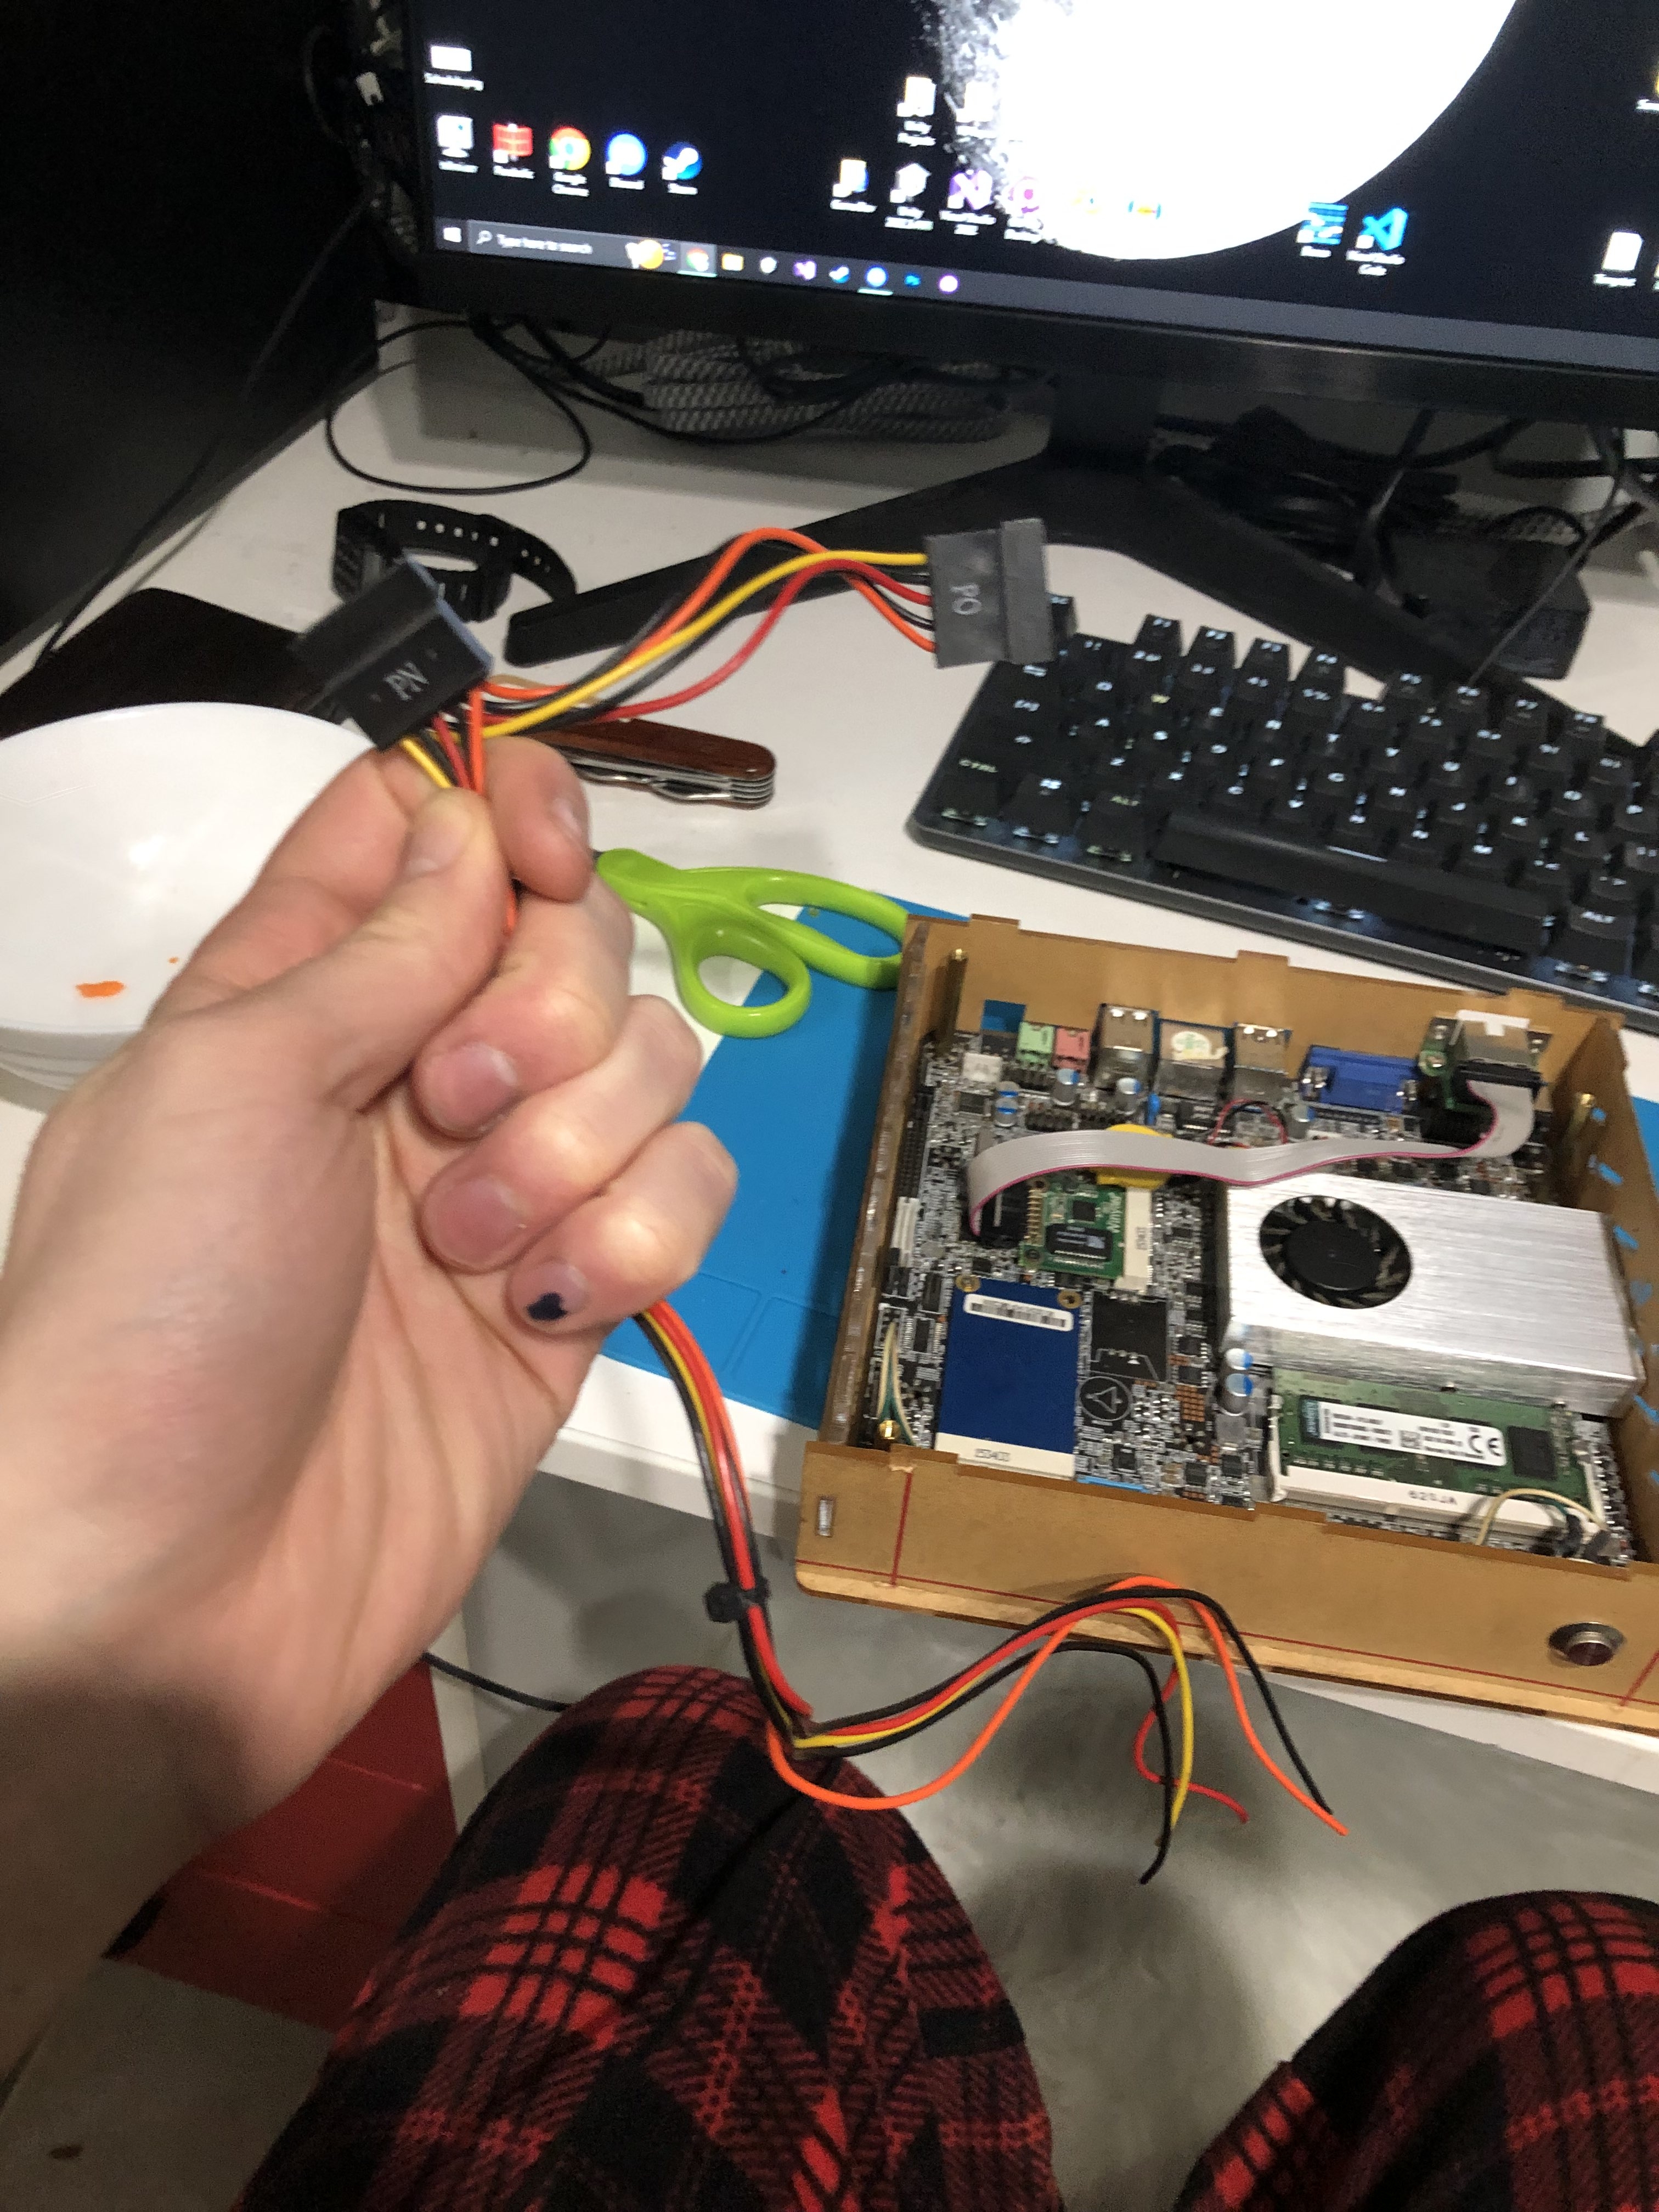
I saw an x86 based router for sale on Facebook marketplace. Recent enough 4 core processor and 2GB of DDR3. What really piqued my interest was the power draw of the computer: ~7.5 watts, and the input is 12 volts. Perfect for the car's existing power system! I went and bought the router/computer for $40.
The biggest hurdle to get over initially was the storage: It had 4gb of EMMC storage. Perfect for installing RouterOS, but not great if I want to watch movies or play some games. I decided to see what I could do with this limited space:
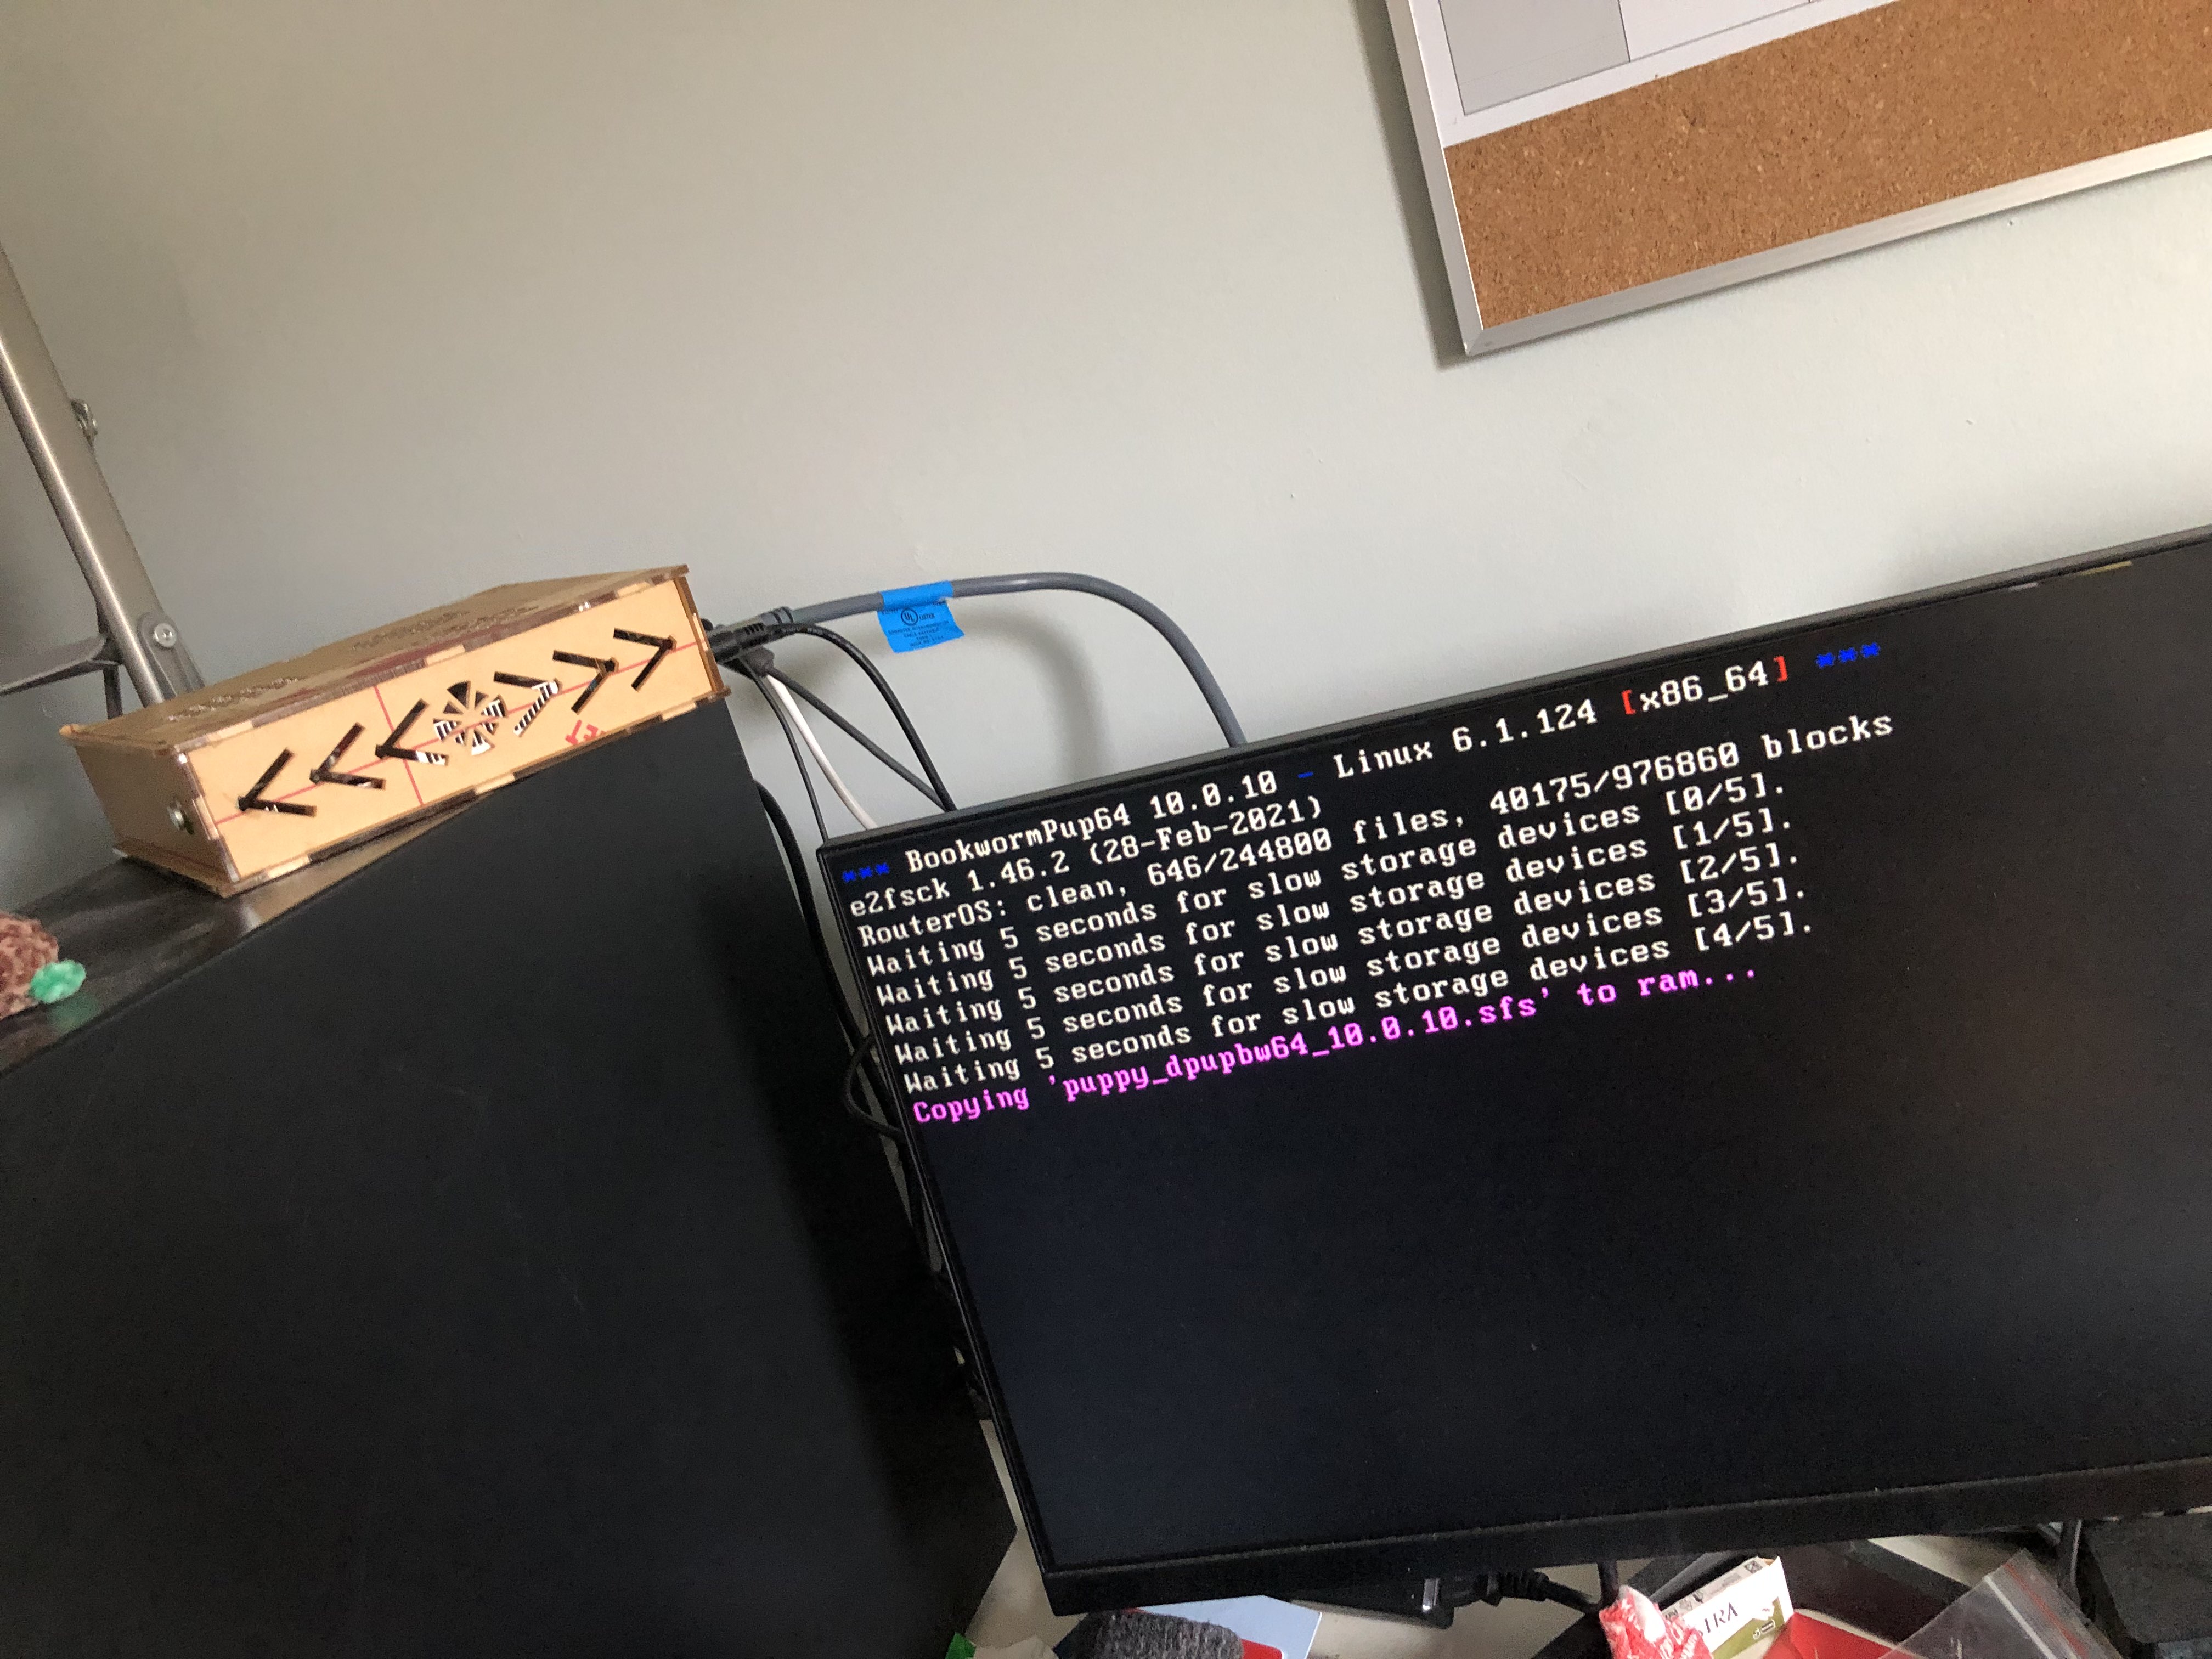
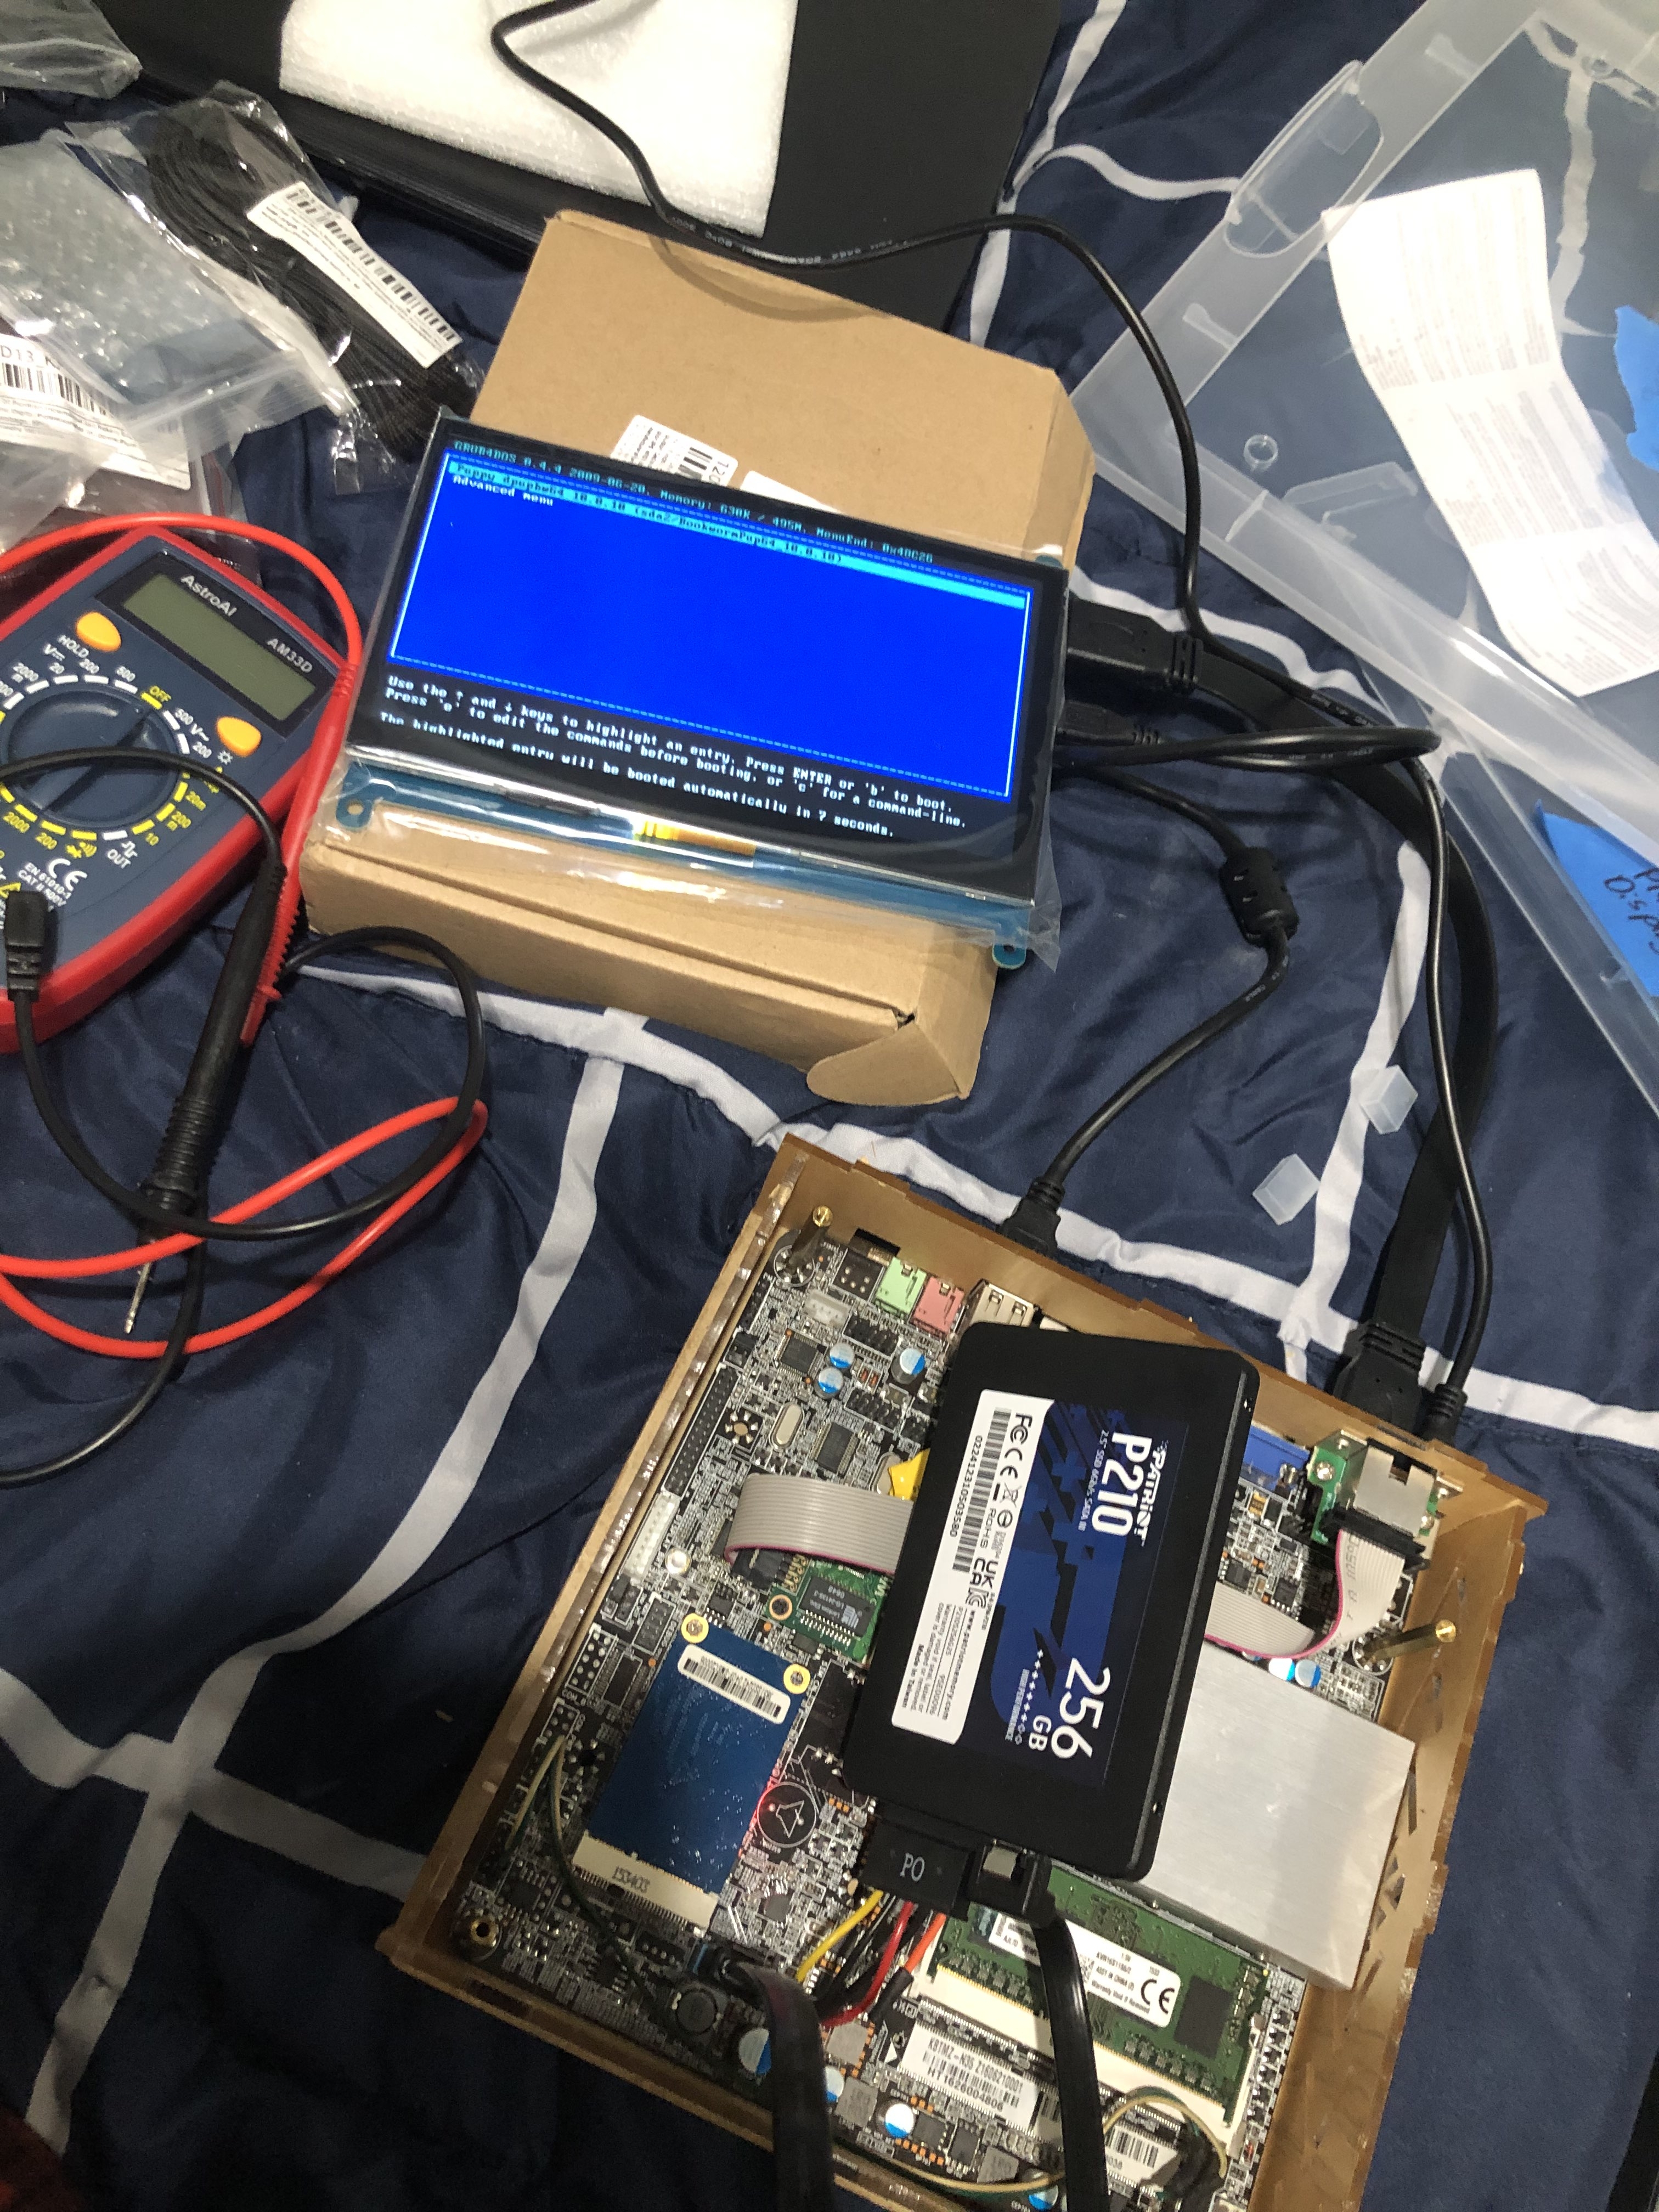
Puppy linux seemed like a great way to test whether it was even feasible to turn this router into a car-puter. It was easy enough: clear CMOS to get into the BIOS, then just boot from a USB.
My initial plan was to install puppy linux onto the 4GB internal drive, then bring movies to the carputer on a USB drive. After a bit of deliberation, I thought that seemed a bit boring. If it doesn't have fragile, janky wiring, does it truly have my touch?
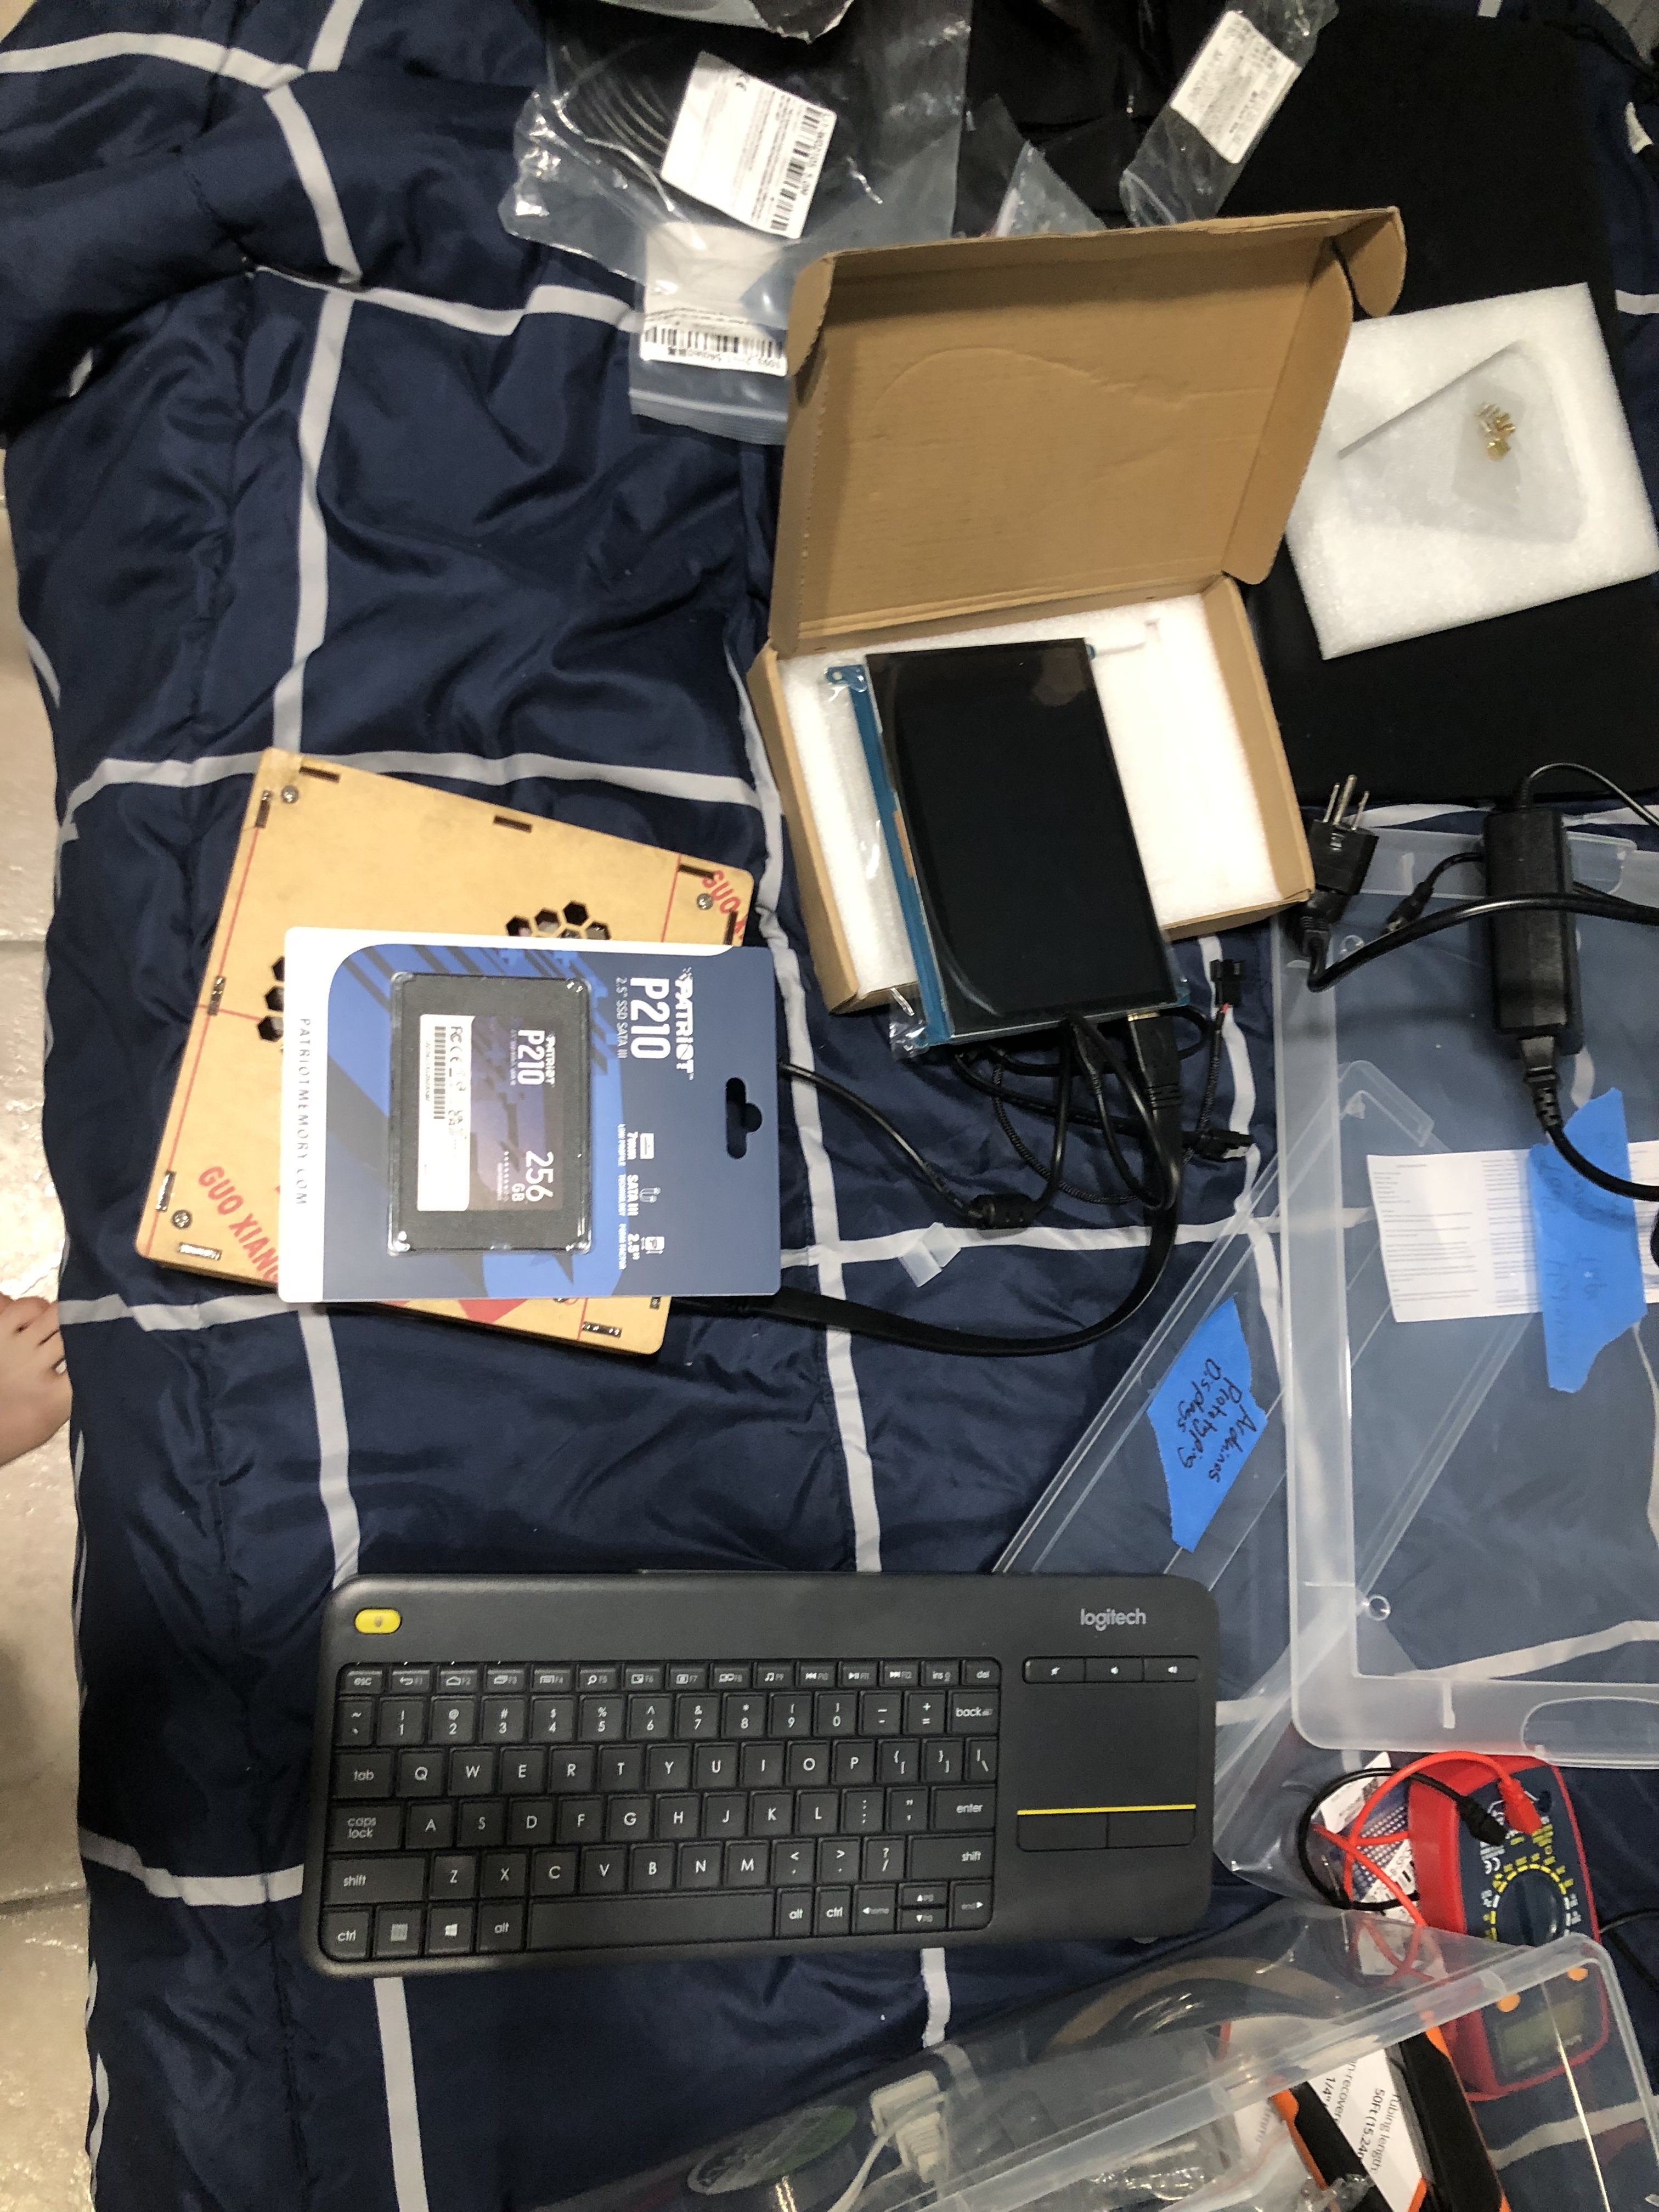
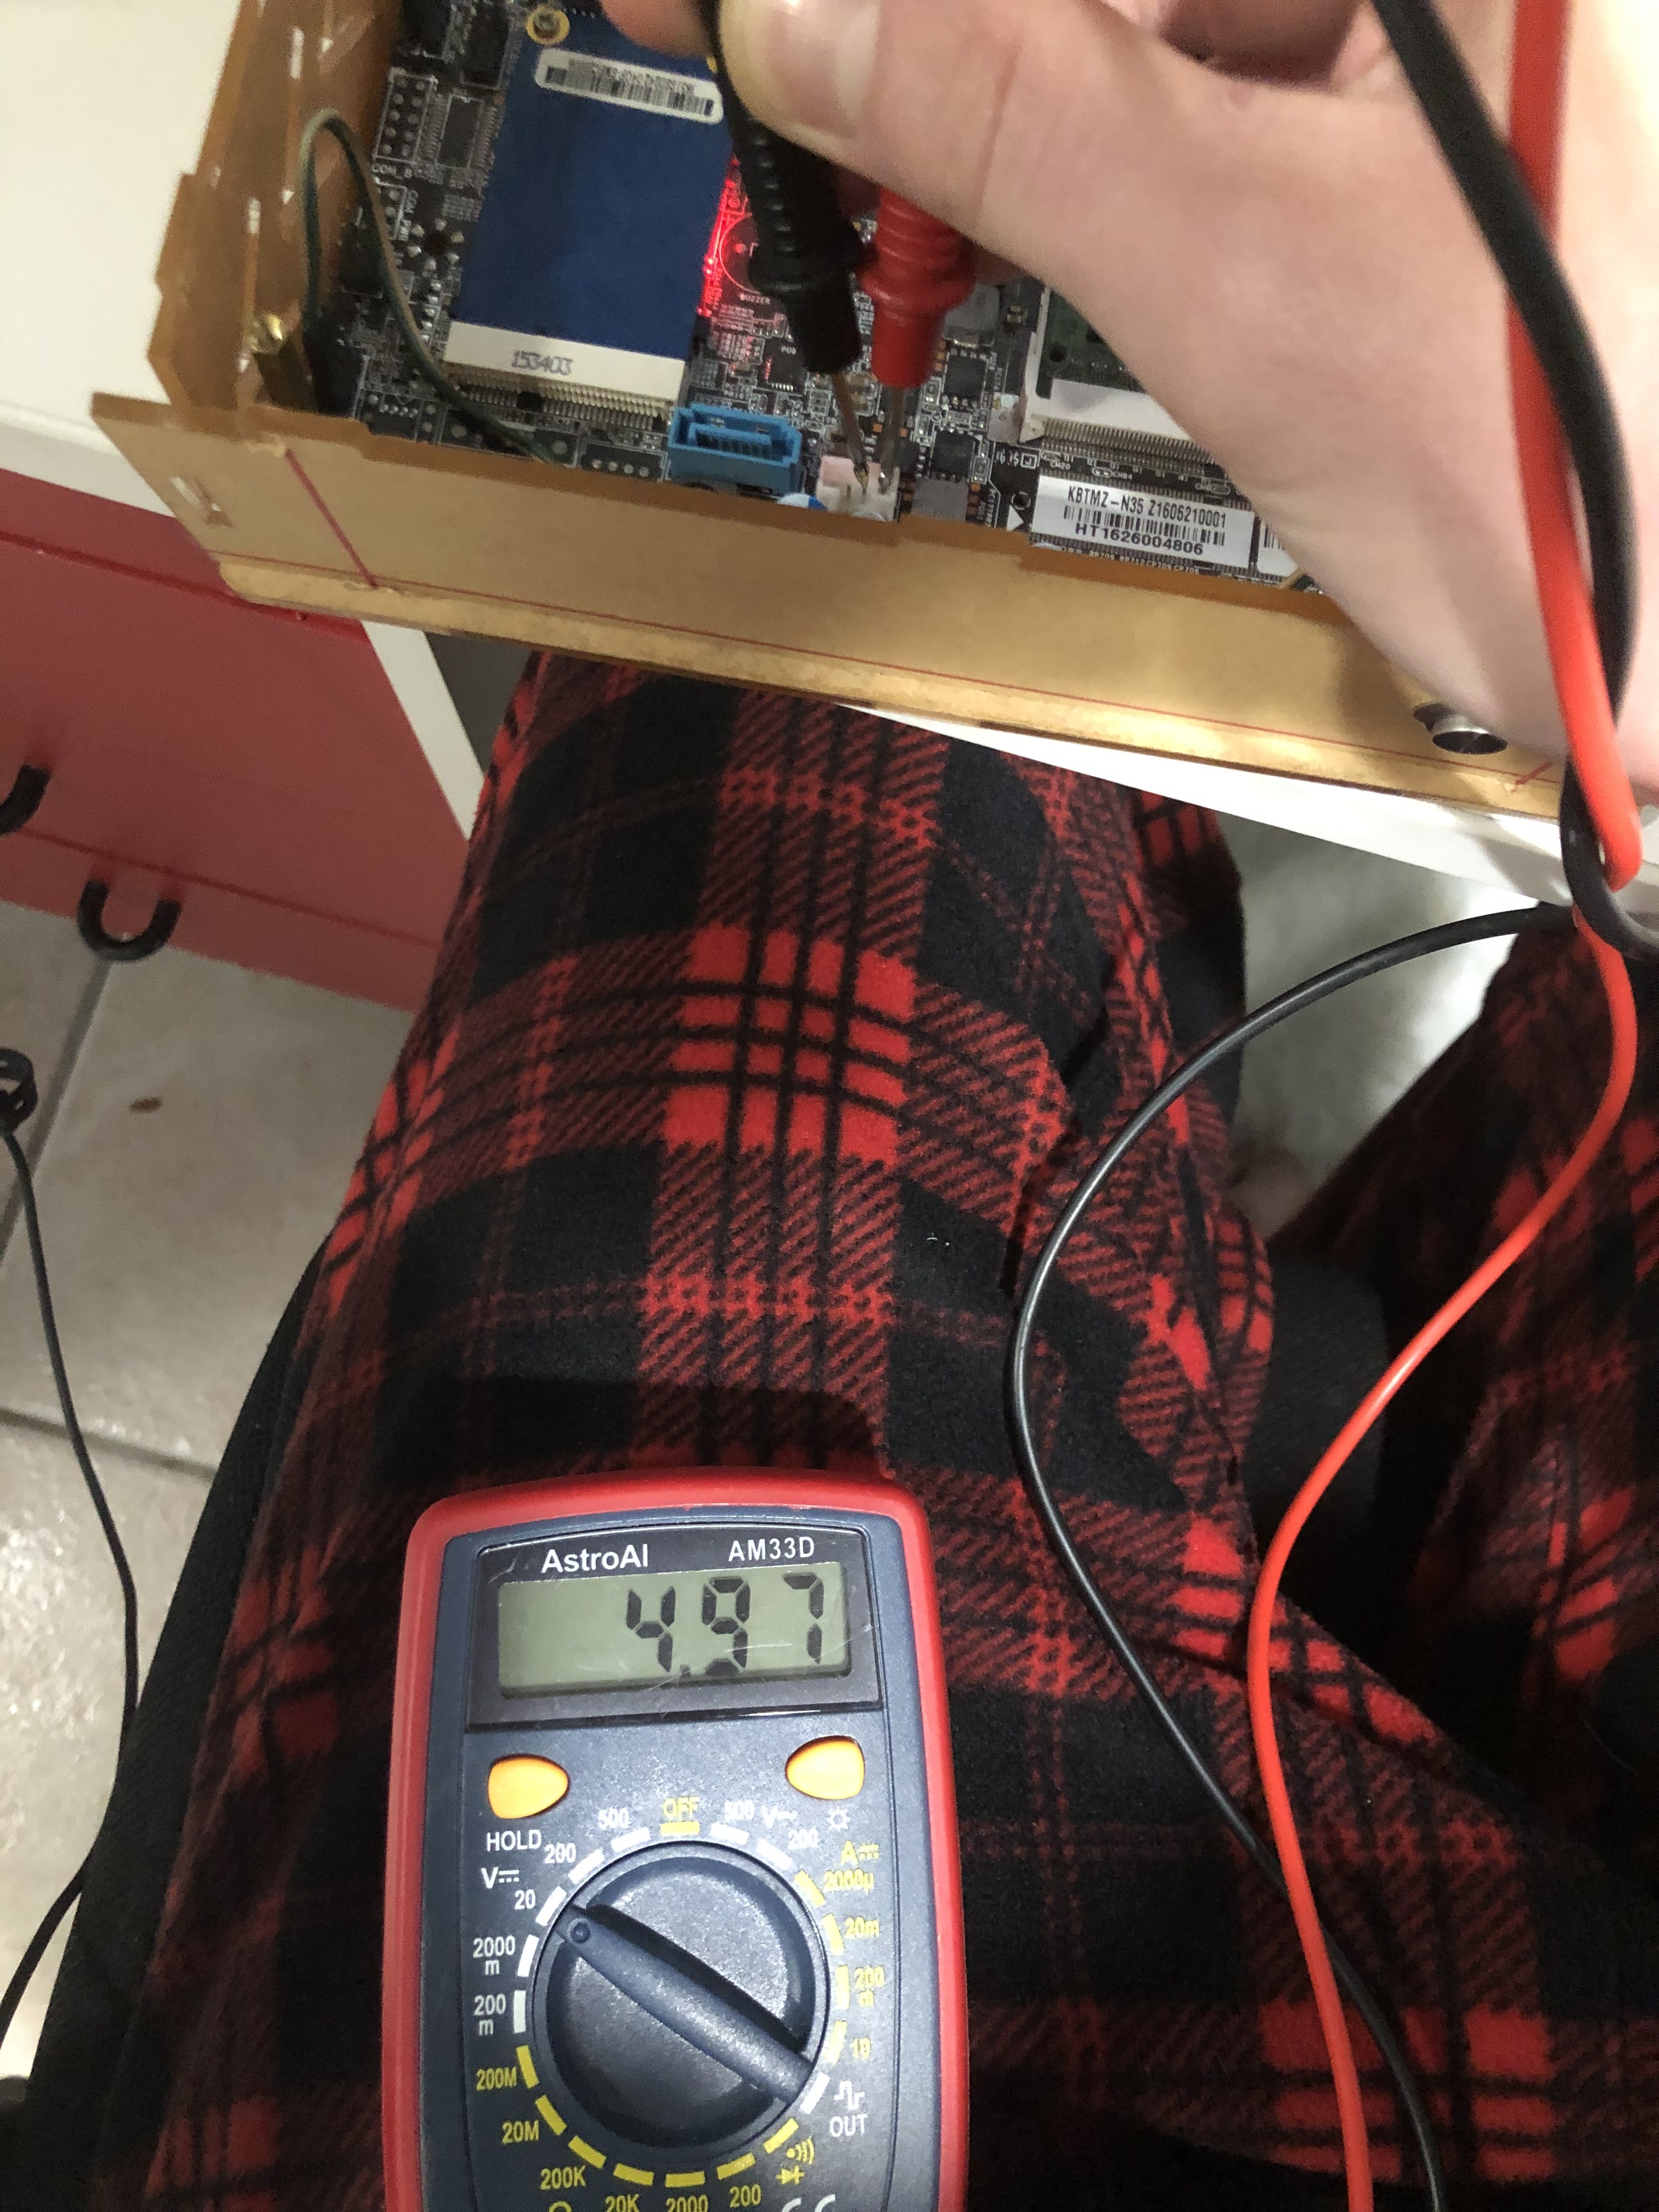
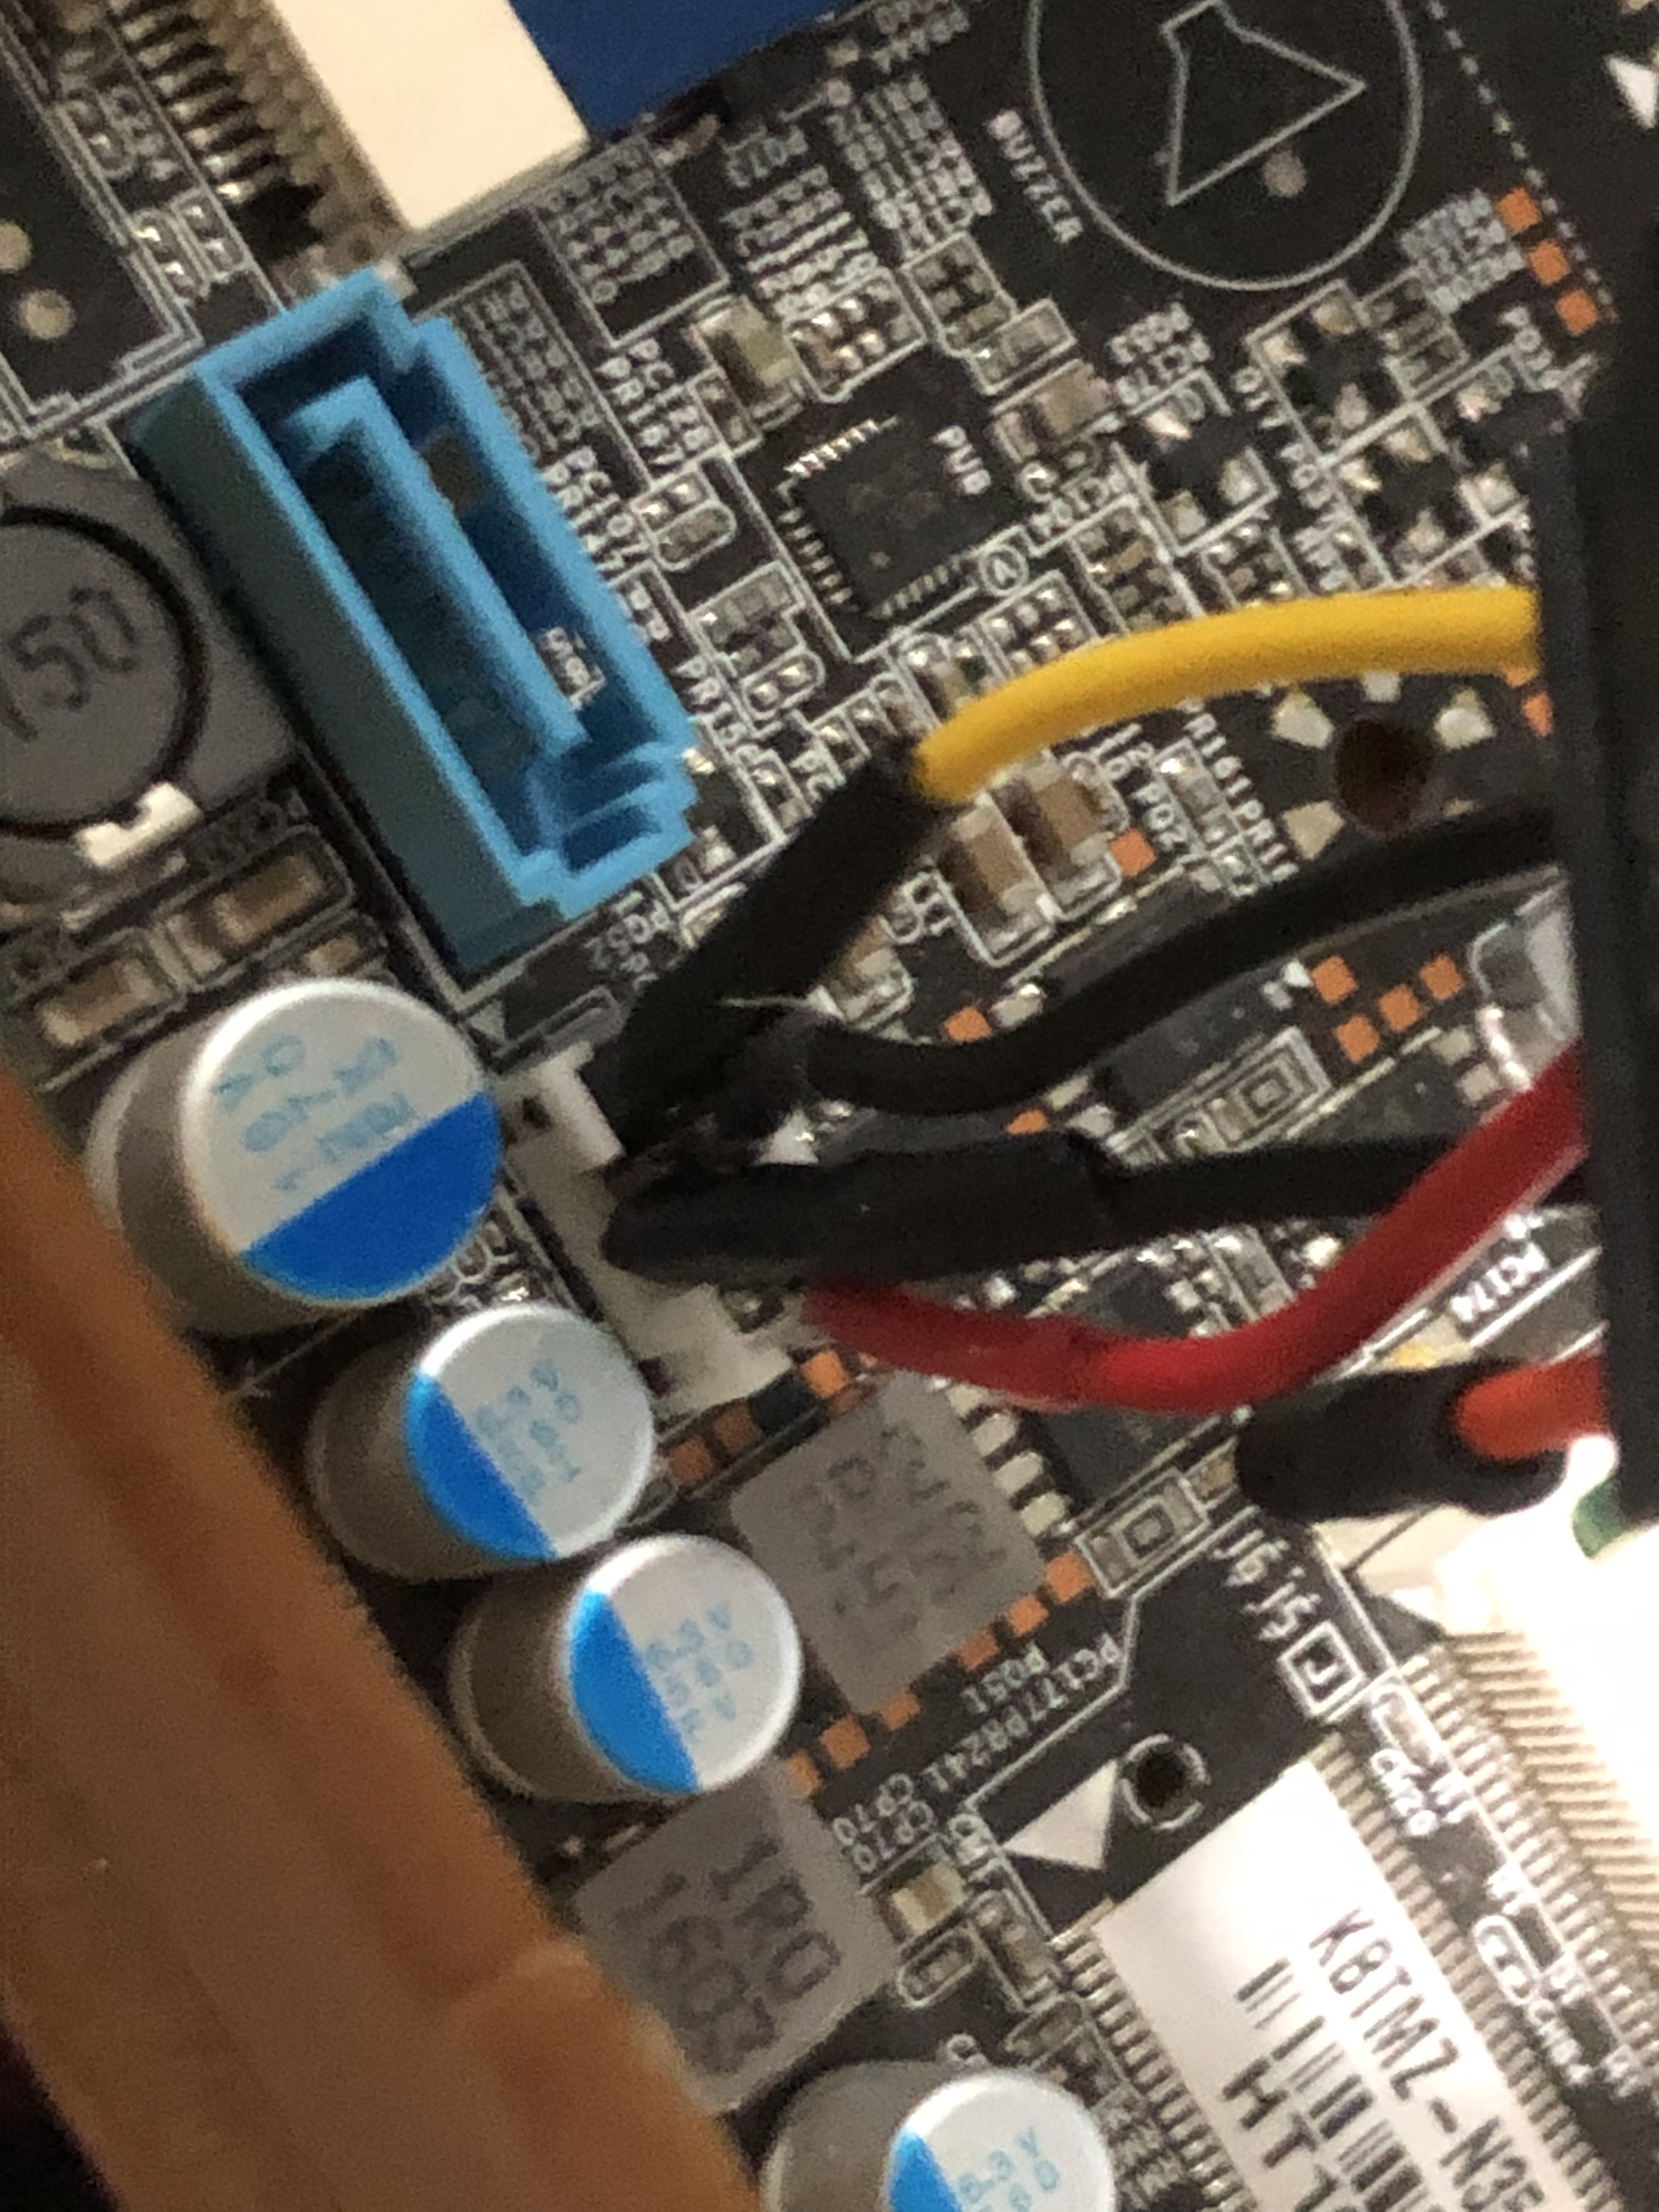
However, it has 5v and 12v, so it seems like it's meant for SATA power?
I ran into some odd issues with the little display: everything would work great on my desktop monitors, but when I was only connected to the little display it would be scaled wrong (looked like the computer thought it was larger than it was - things were cut off, I couldn't see my windows, etc.).
After switching to linux mint didn't fix these issues, I discovered the actual cause - it was the cheap HDMI cable that came with the display. Another HDMI cable fixed the issues immediately. Occam's Razor, huh?
With the carputer having the storage space and ability to play movies, I decided to give it WiFi as a final touch:
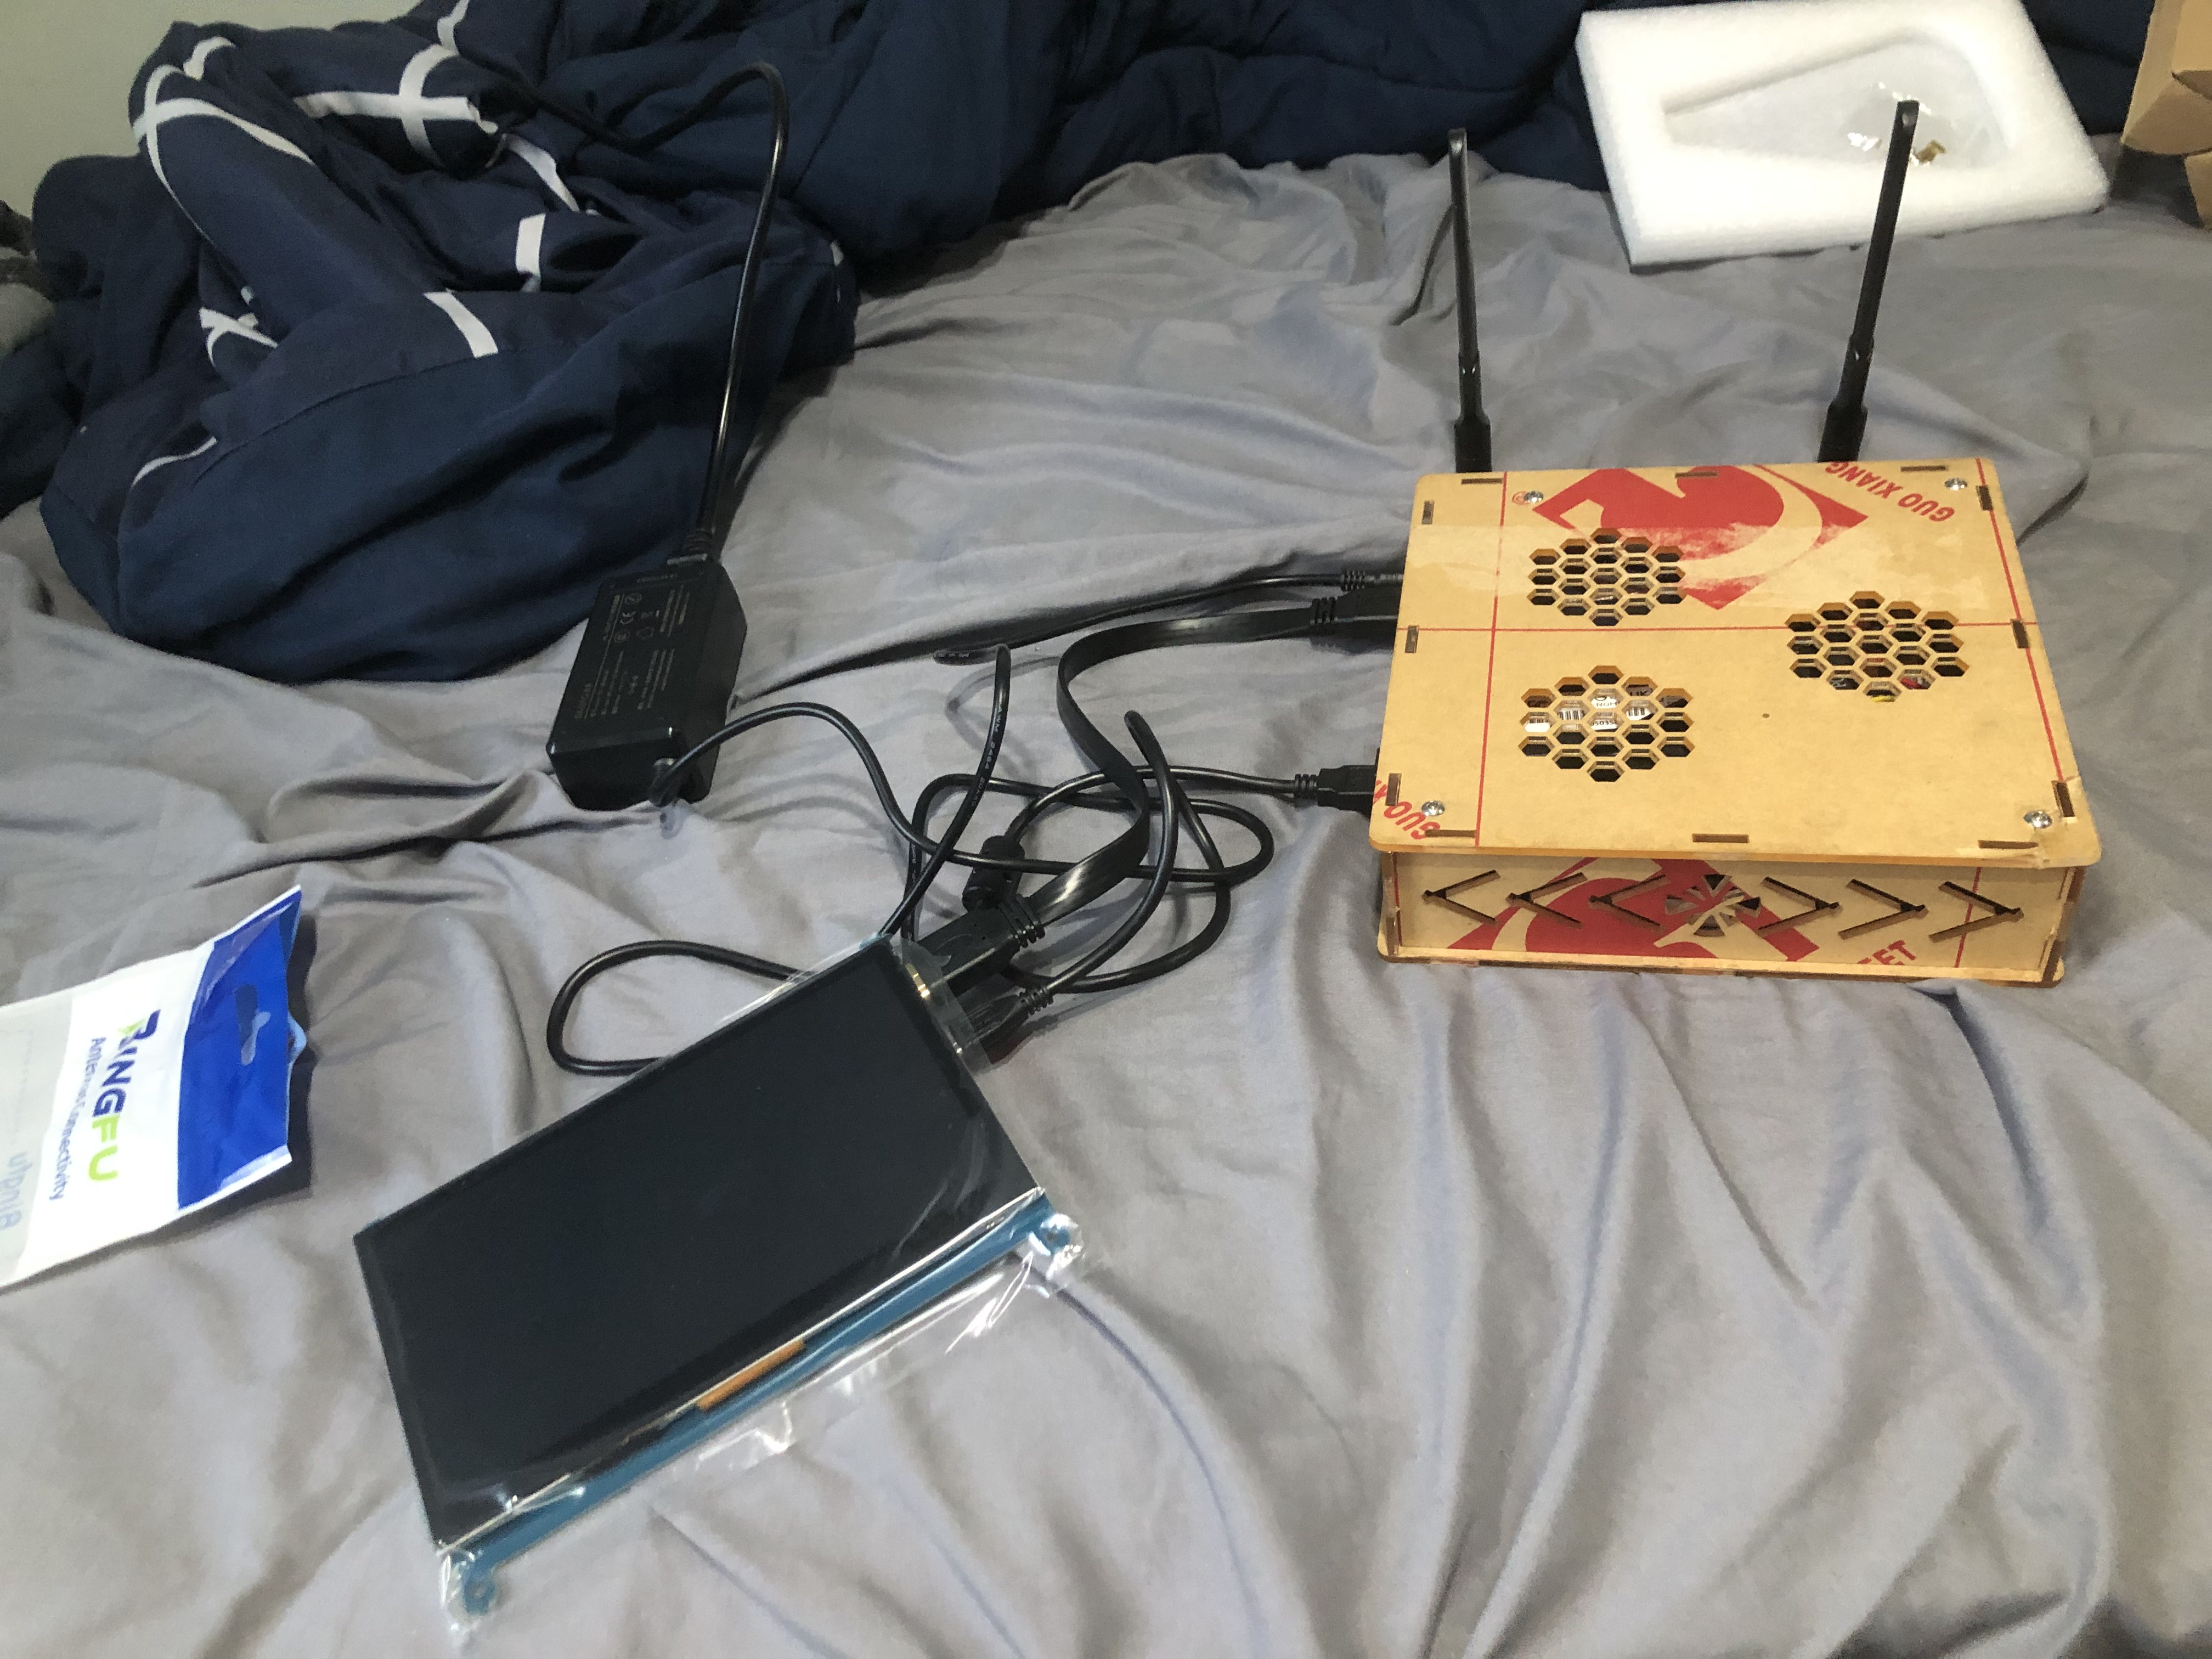
Now I should be able to park in a driveway or parking lot and stream/download videos, catch up on emails, even play some basic games. Not bad, huh?
So... What's Next?
I've got plans, and I've already tinkered around with a couple of tricky pieces. I don't have a concrete idea of what I want to start with, but I've got all summer to play around and learn along the way. Here's my basic idea of how I want to do things (subject to change):
Prerequisites
Most electronic mods depend on some core work being done first:
- Get the custom fusebox installed and wired correctly and safely. All of the electronic mods will get power from here.
- Get the CAN data sender module installed. This will involve a lot more sniffing (deciphering what packets have what data) and finishing up the firmware.
- Add some OLED modules to the dash (for things like Bluetooth, car data like coolant temp, backup proximity sensors, etc.)
- Create an audio multiplexer. All audio I want to feed to the car is going through the aux port, so I need a way to switch between a ton of source inputs.
Projects
- Hardwire my dash cam to the custom fuse box and install the back cam
- Get the Bluetooth module fully integrated, including getting hooked up into the car's controls. This will probably be the largest QOL mod for me
- Custom gauges/data displays so I can see coolant temp and fuel economy
- Add USB ports to the car to charge devices
- Speedometer HUD
- Gear indicator (maybe a shift indicator too?)
- Carputer installed into car
- CB Radio
- Backup proximity display/indicator/beeper
- ... etc
Summary
I want to do lots to this car. I get to learn about tons of electronic components, make my ride a little nicer, and it's a ton of fun.
I have lots of plans, have done some tinkering and experimenting, and am ready to jump into it with the warm weather.