Intro
School's back in and things have been a bit busier. We just got off of reading week, which means Design Week at Sheridan (for Game Design students).
Design Week is a week-long design challenge where students from years 1-3 collaborate to complete a specific design challenge (kinda like a game jam). This year our challenge was to make an alt controller (PERFECT!!!)
As you can tell from my blogs and stuff, I love microcontrollers and tinkering. I even started a club about it with my friend Max this year (the technomancy club). All that to say I was hyped for this week!
The Project Page
I'm going to (eventually) make a project page for this Design Week, so I won't be going into all the details here. This blog post is mainly focused on the electronics side of things, not so much the design choices we made. But I'll touch on them a bit.
Ideation
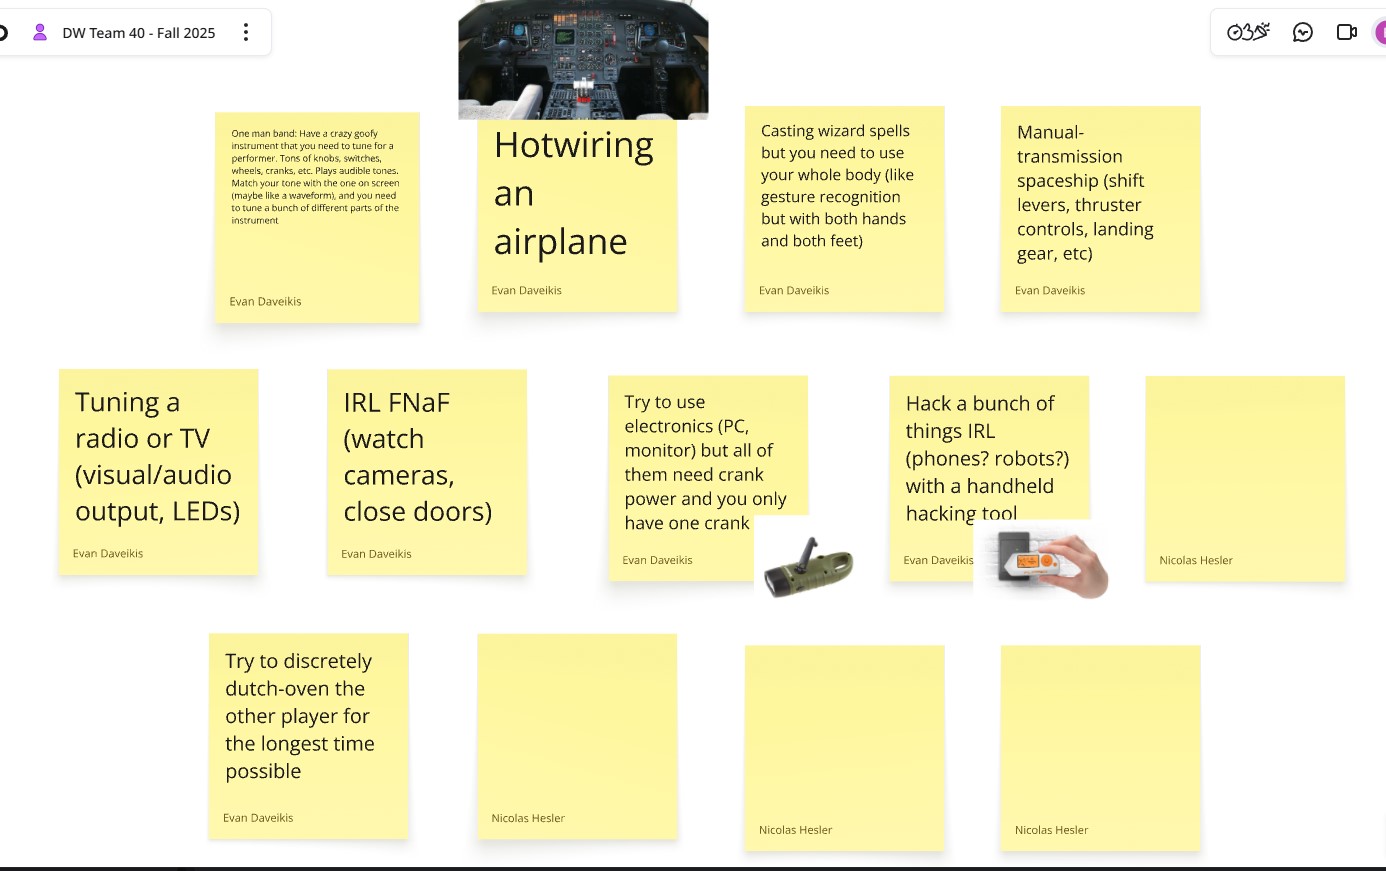
I came up with a bunch of ideas and the team ended up really liking two of them:
- A wacky instrument you are trying to tune before a performance
- Hotwiring an airplane
We did some mockups to present to the class, and immediately the "one-man band" idea resonated with people:
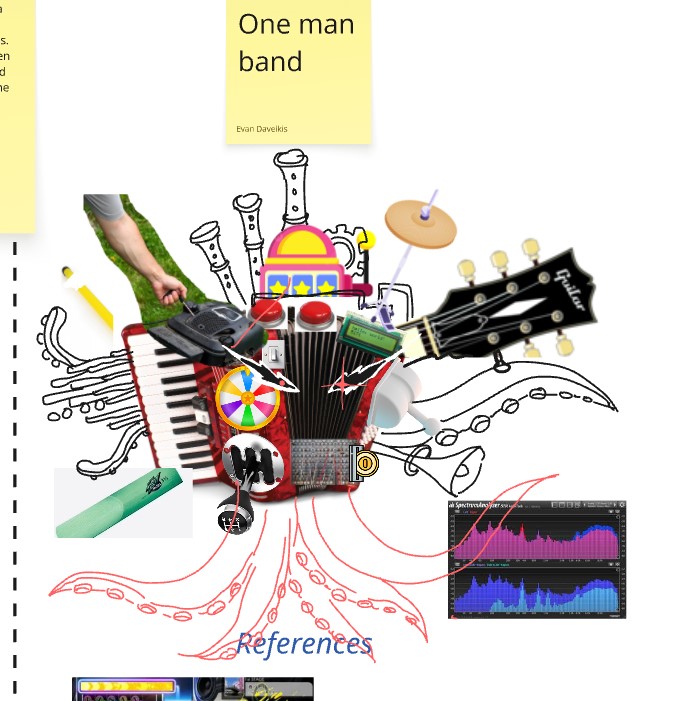
From that point on we stuck with the "wacky instrument" idea.
We ideated what the actual gameplay would be - everything from a "Just Dance" style rhythm game to spellcasting.
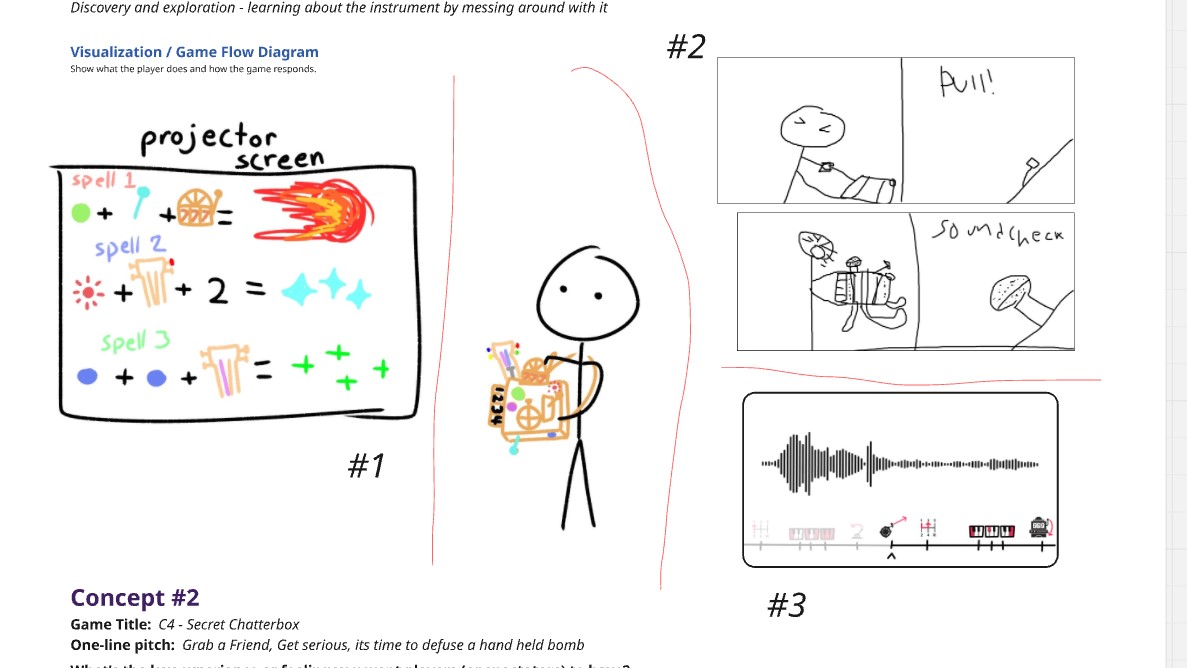
We settled on having the controls fly towards you, and you play them on the instrument (like DDR). We wanted to encourage exploration of the instrument and shift the focus to the controller itself, rather than the game. We wanted something not possible with a standard control scheme.
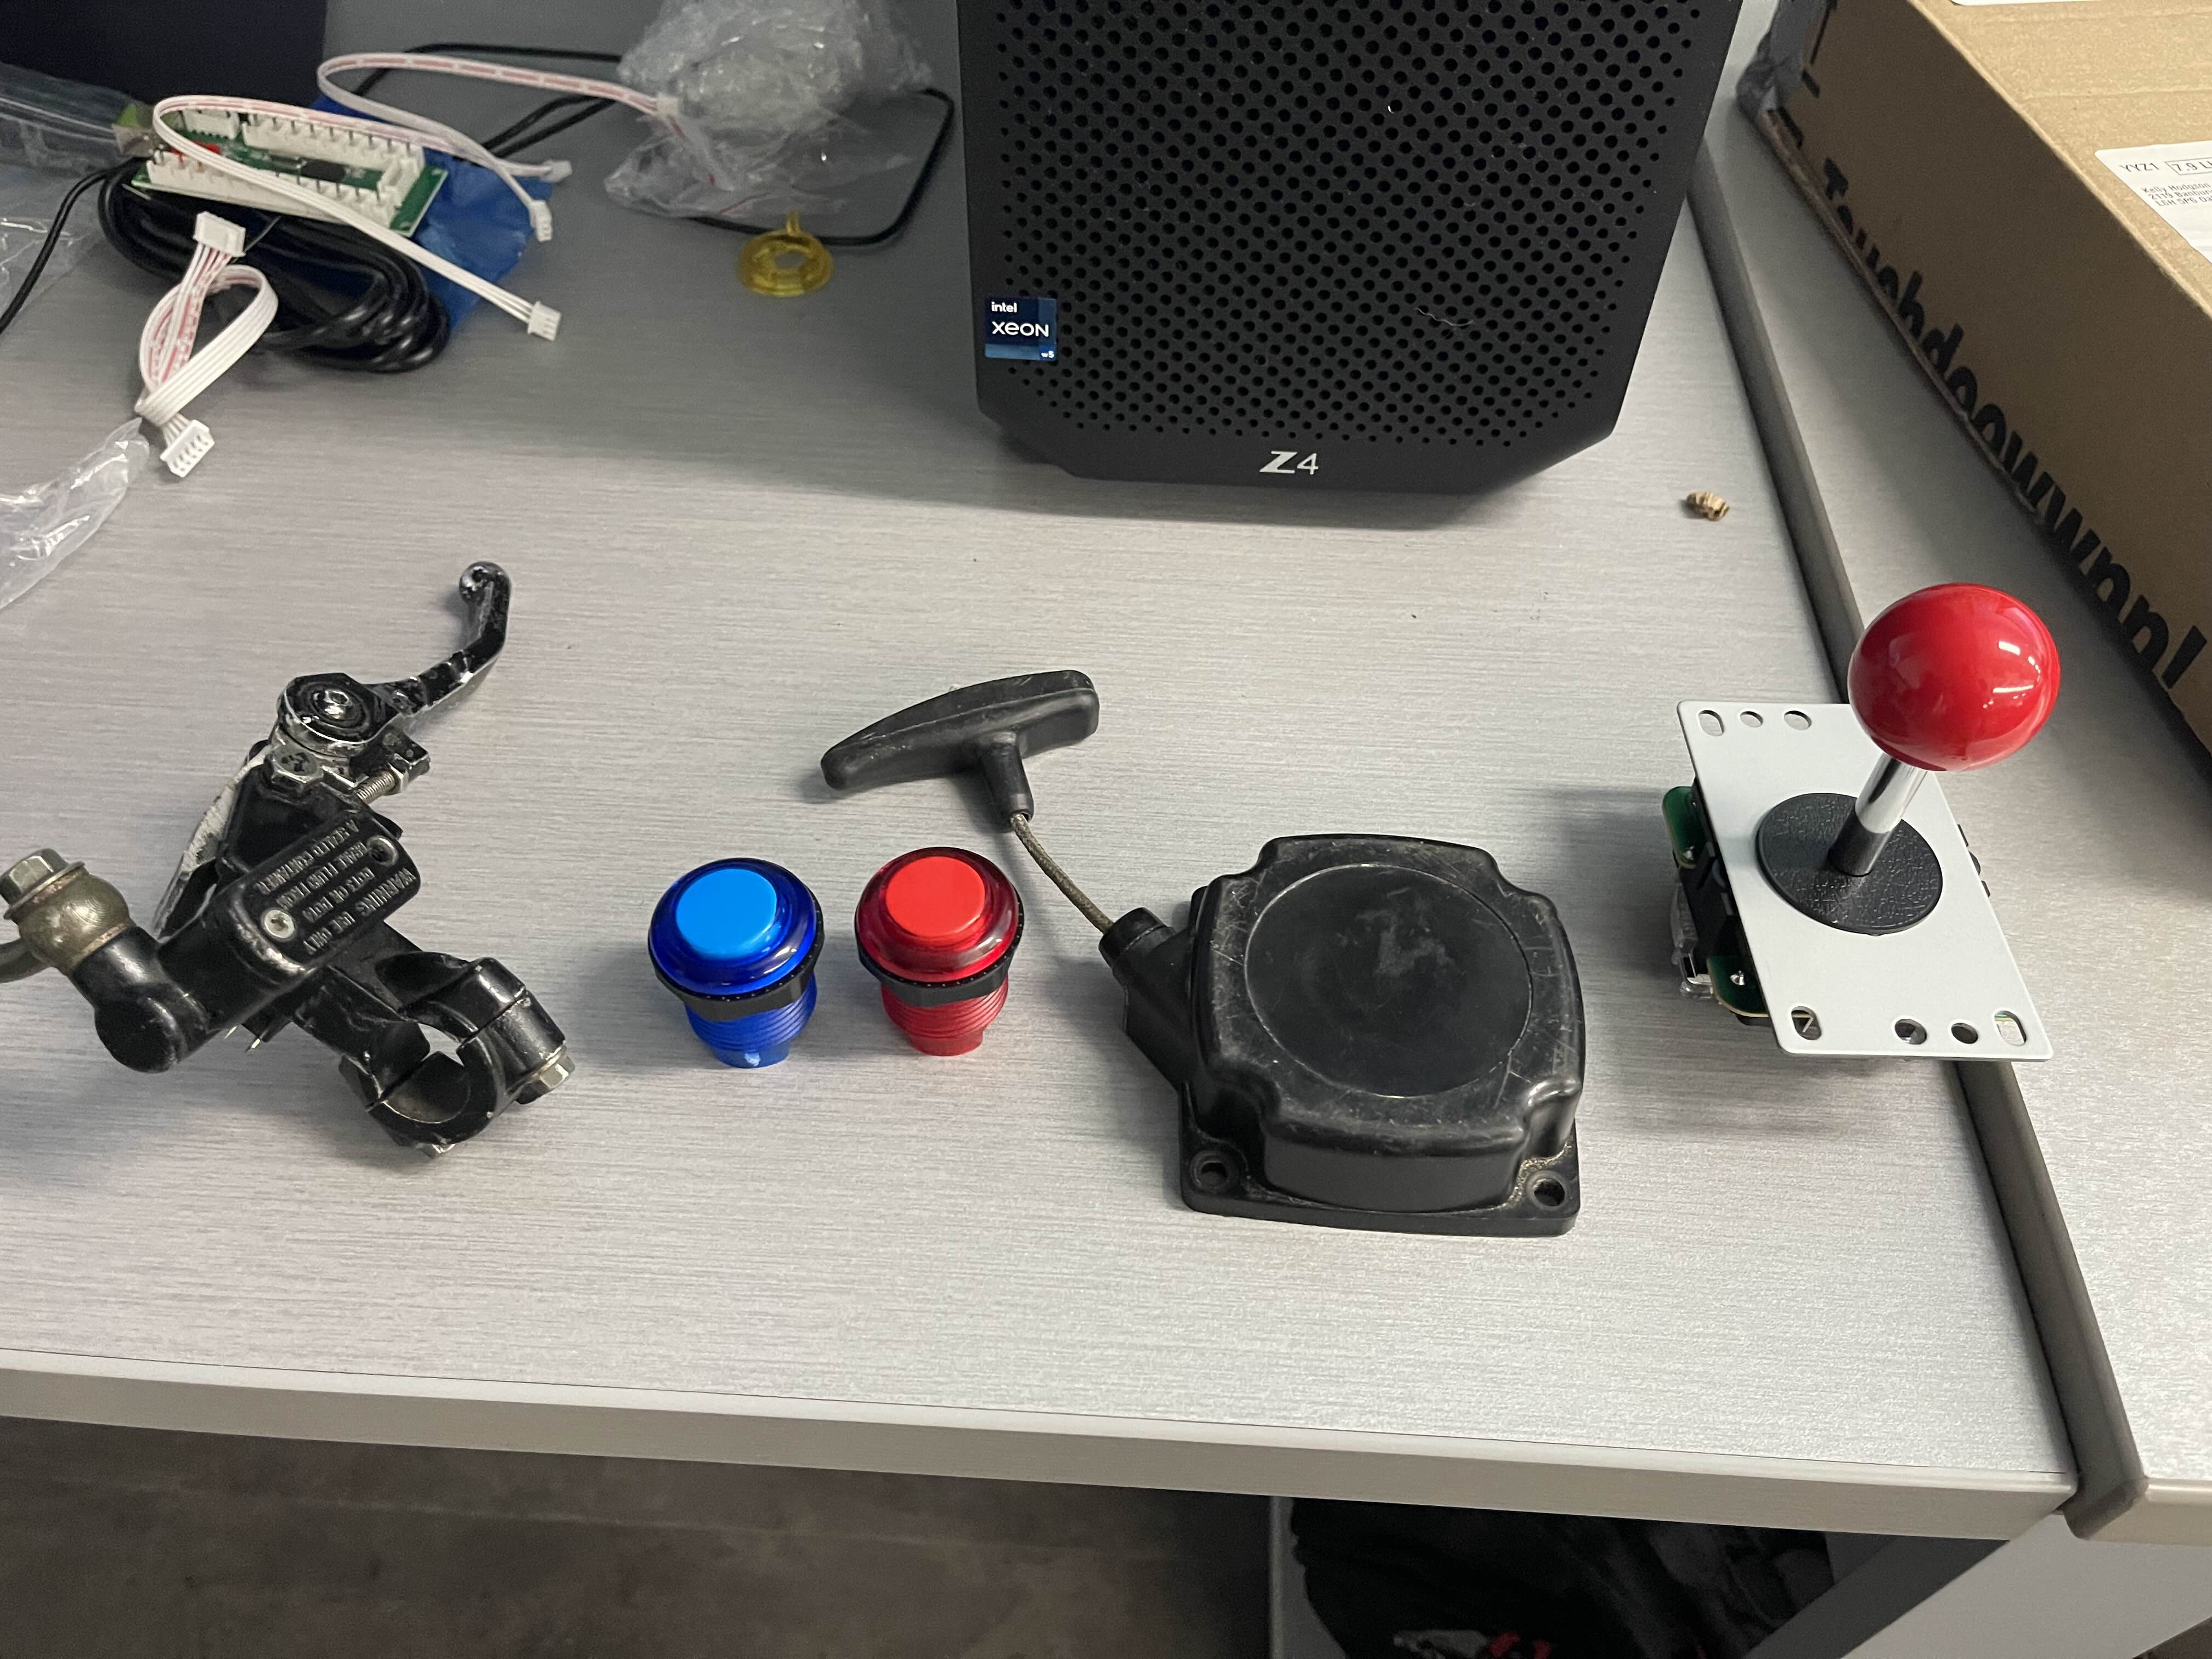
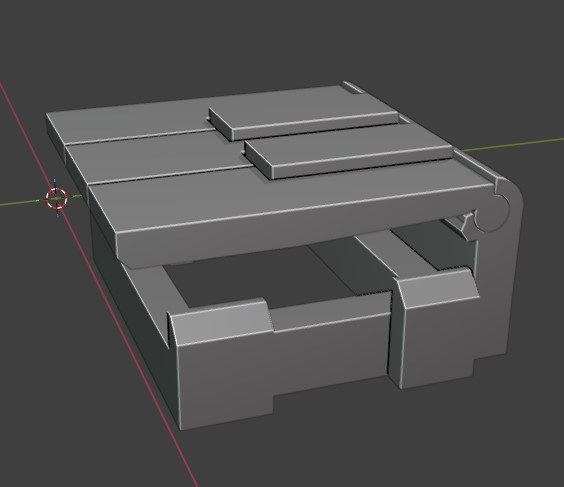
We got some boxes that felt like a good size to hold, collected random components that could be fun and quirky, and went to a thrift store to scavenge for supplies. In the end, we had some arcade parts, some minibike parts, and an old CD player:
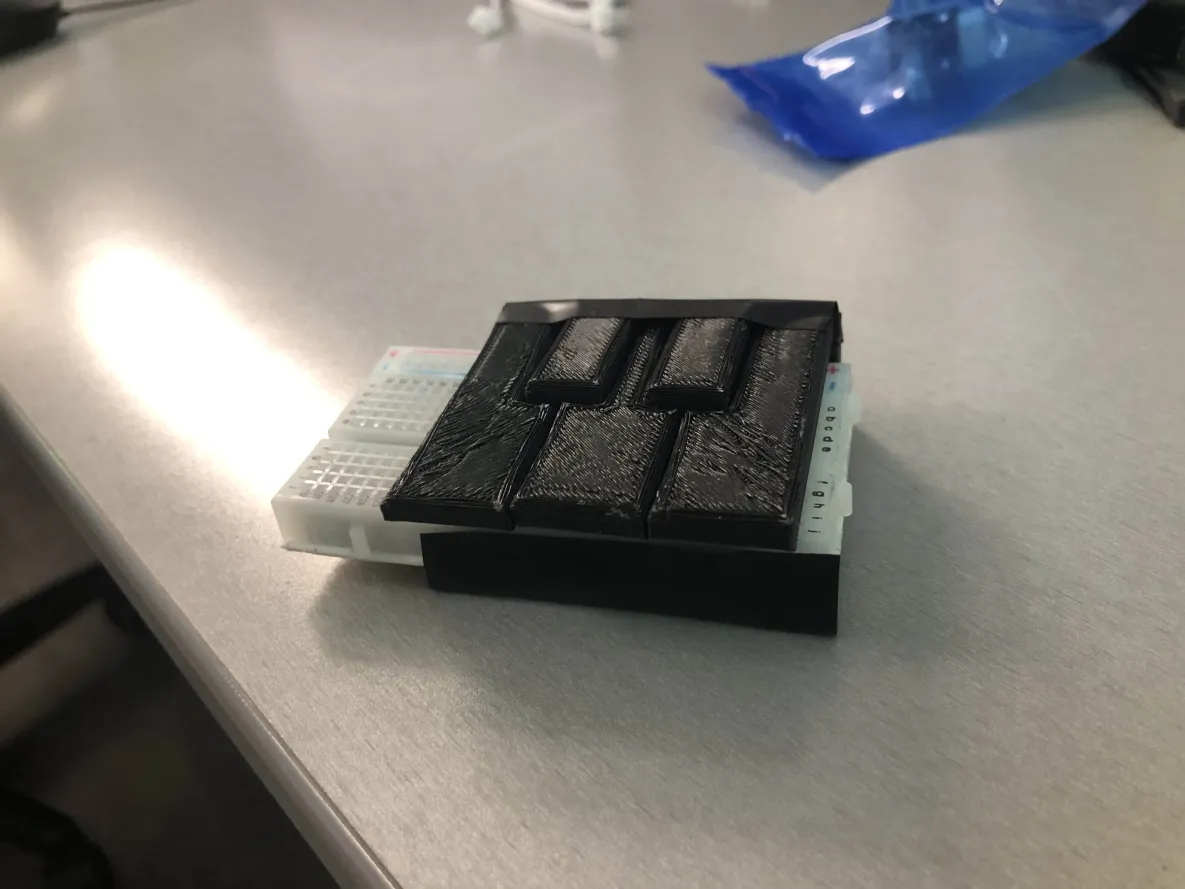
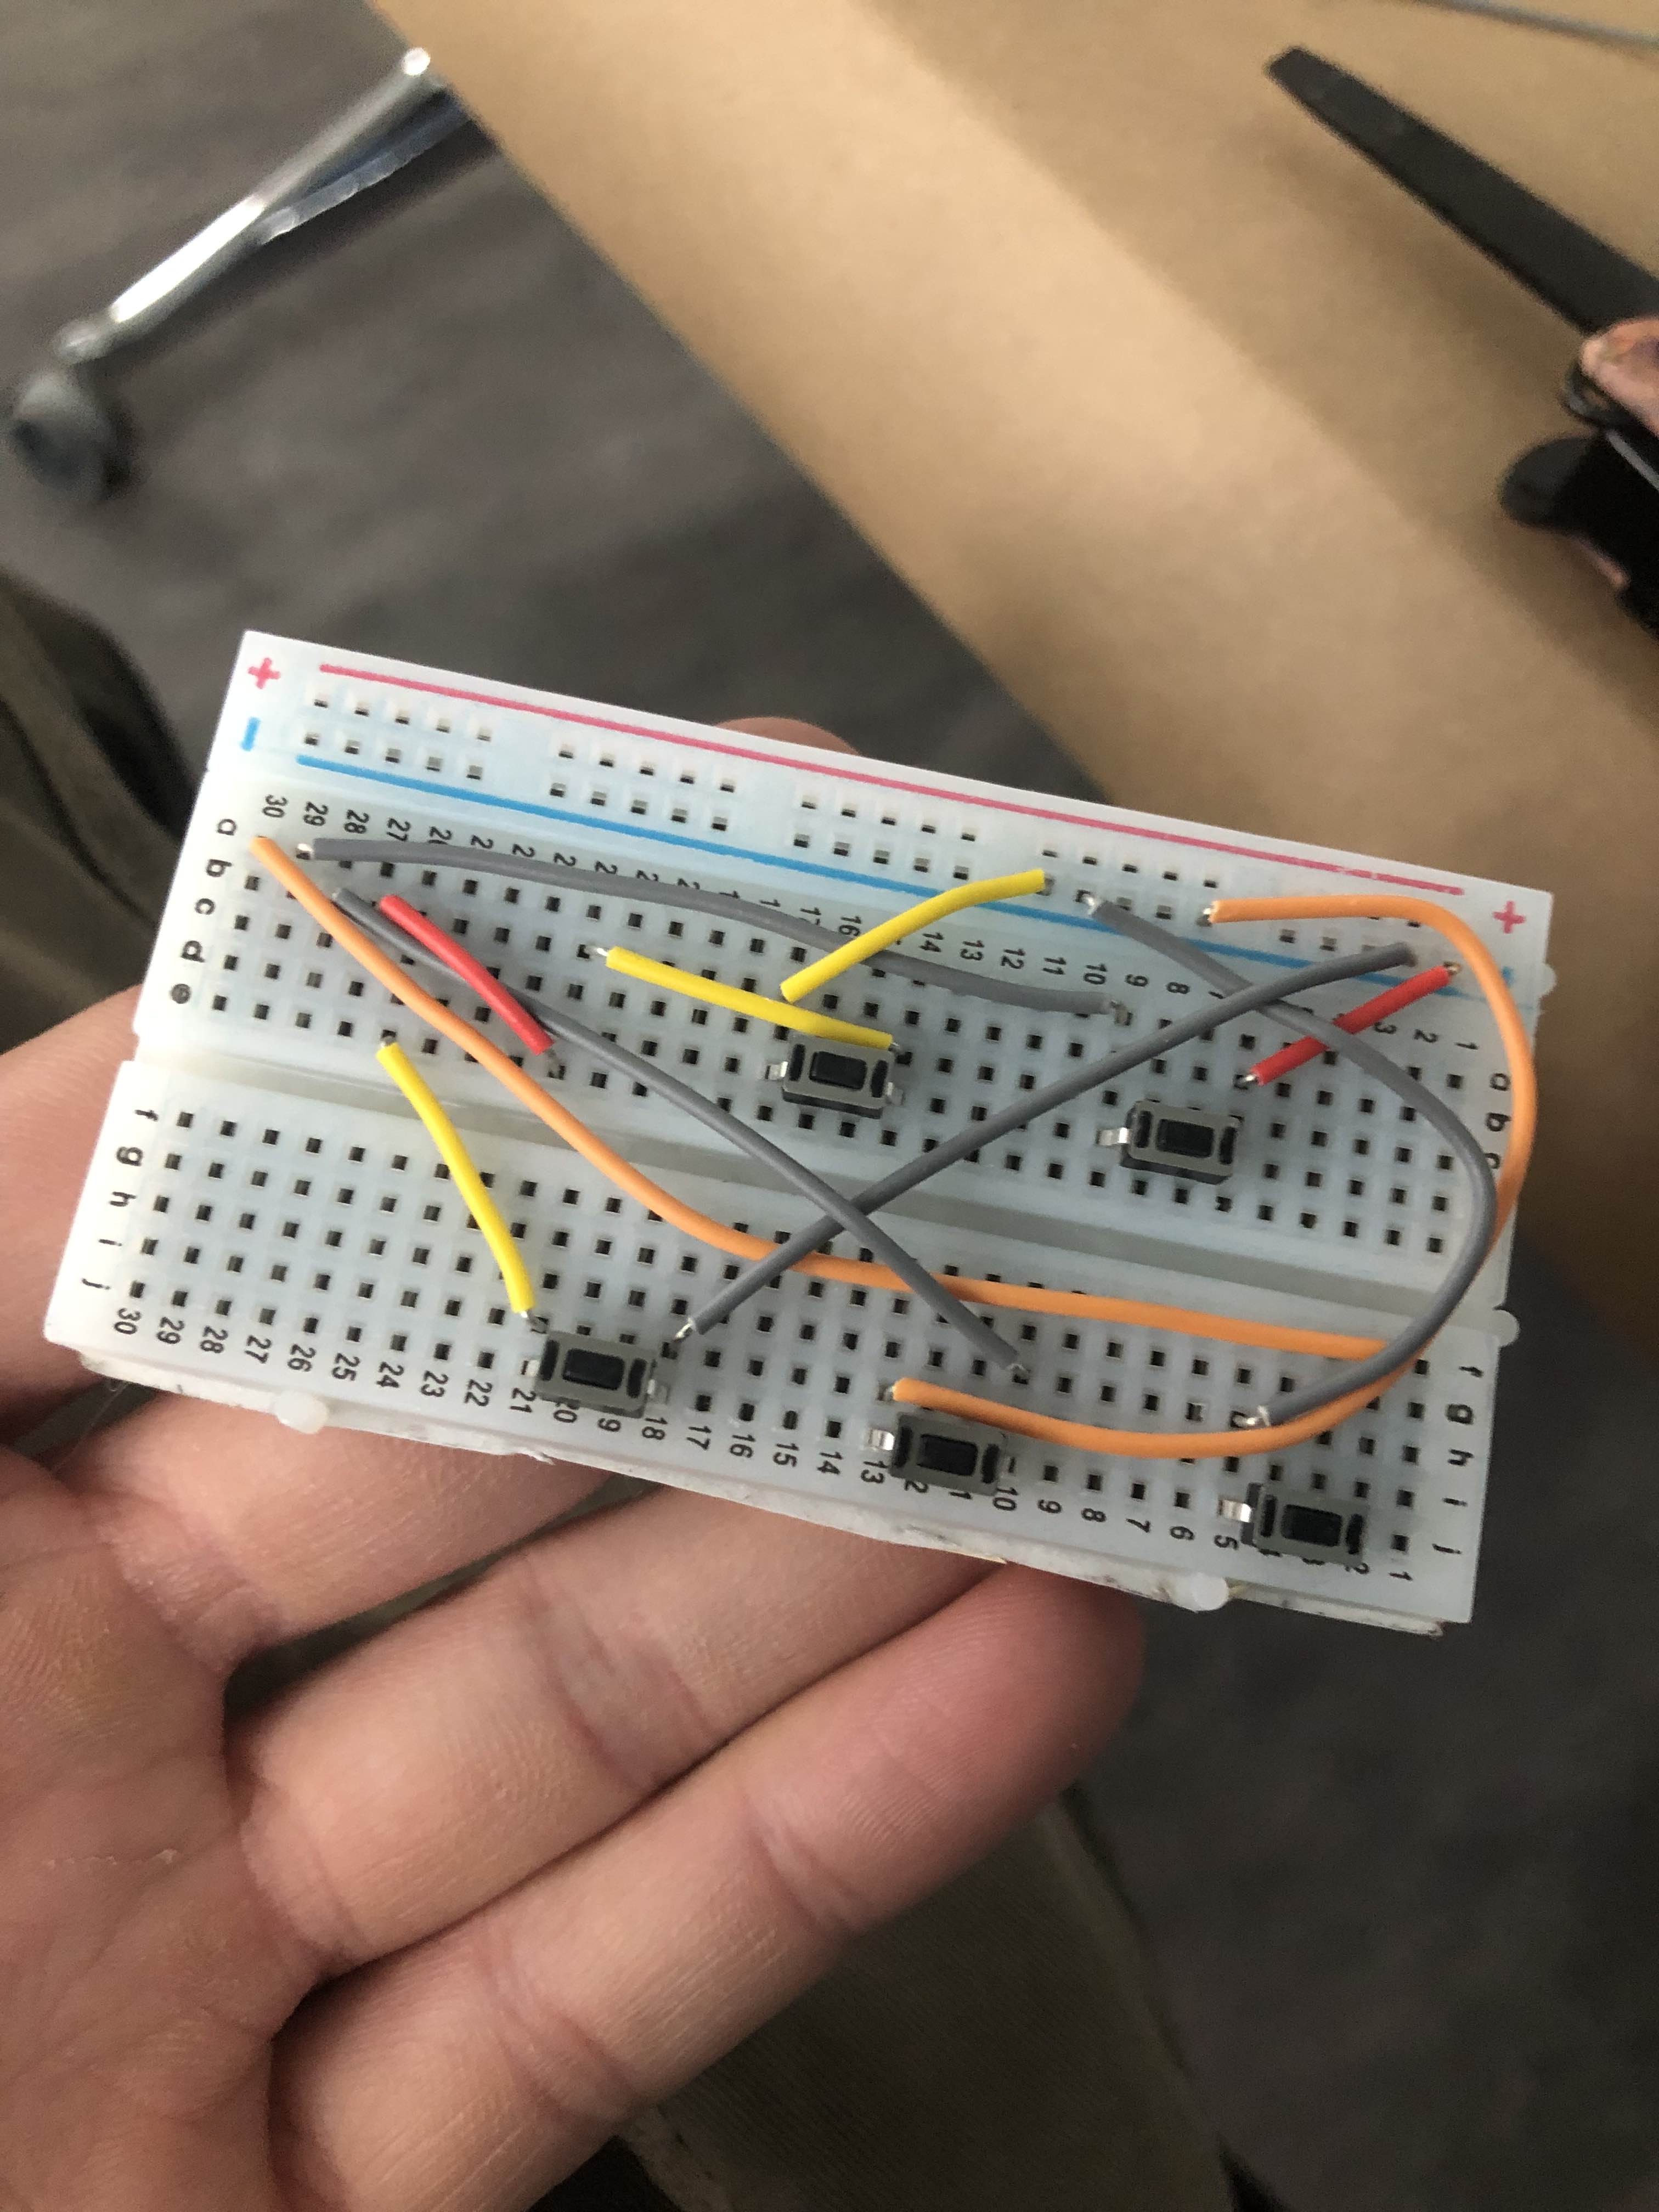
I worked on 3d printing a keyboard overnight (piano), which just clicked some small buttons on a breadboard. I did this after taking apart an old keyboard to harvest switches, only to find it was membrane :P
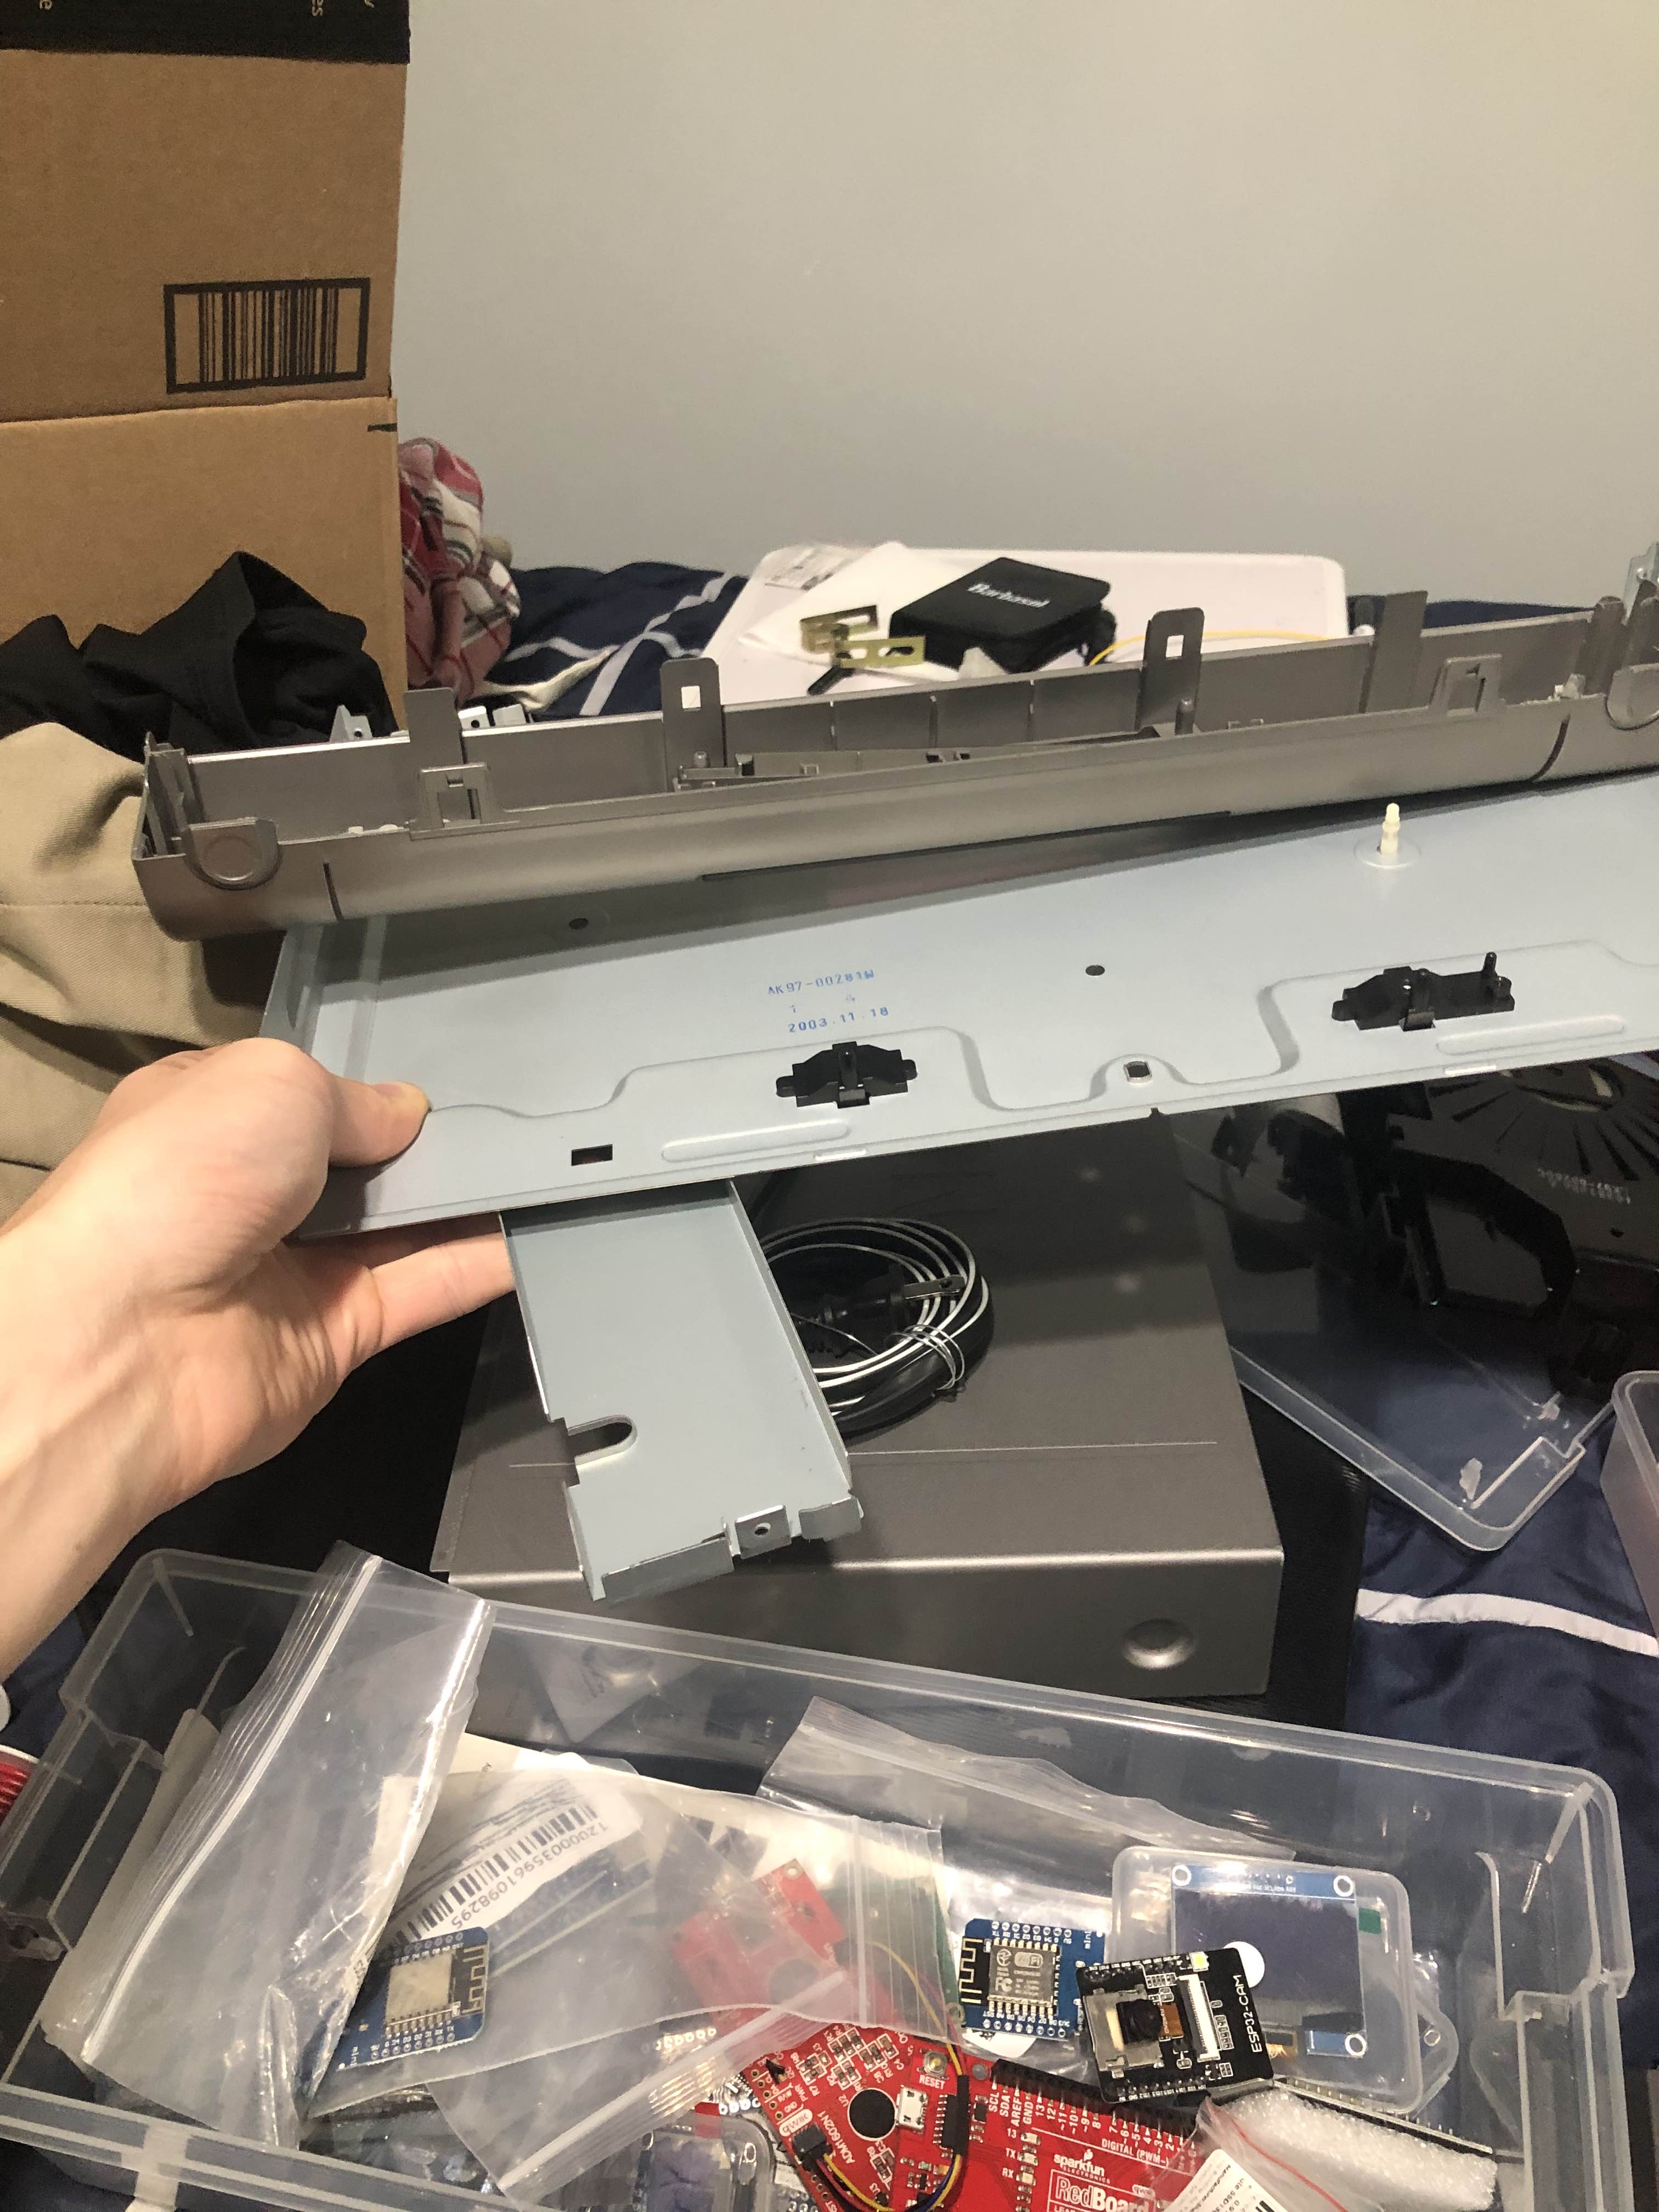
With that, Tuesday was over. Time for Wednesday and Thursday when we actually built the thing!
The Instrument
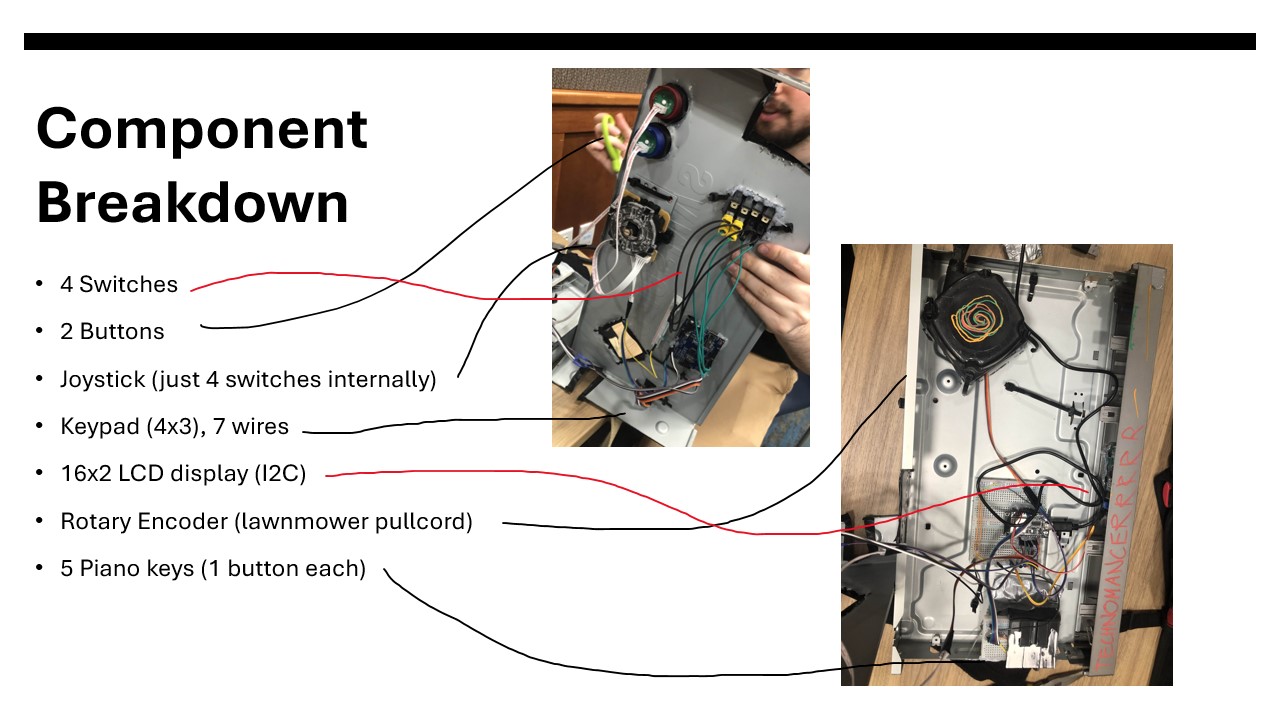
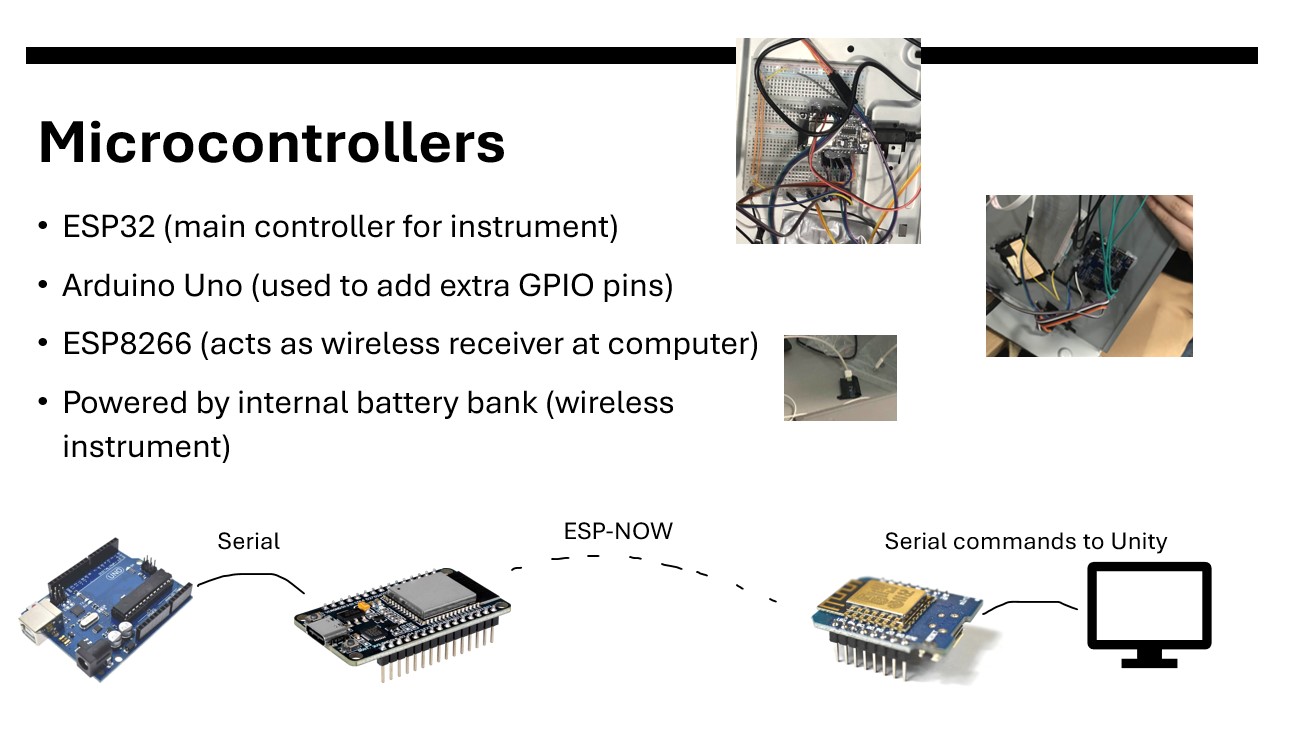
I'm going to skip over the process stuff and discuss what is in the final instrument. I did the hardware and software for the instrument (prepping and cutting the case, electronics), though Steven from our group helped me with wiring everything together. Here are some slides from a small presentation I made for the Technomancy club:
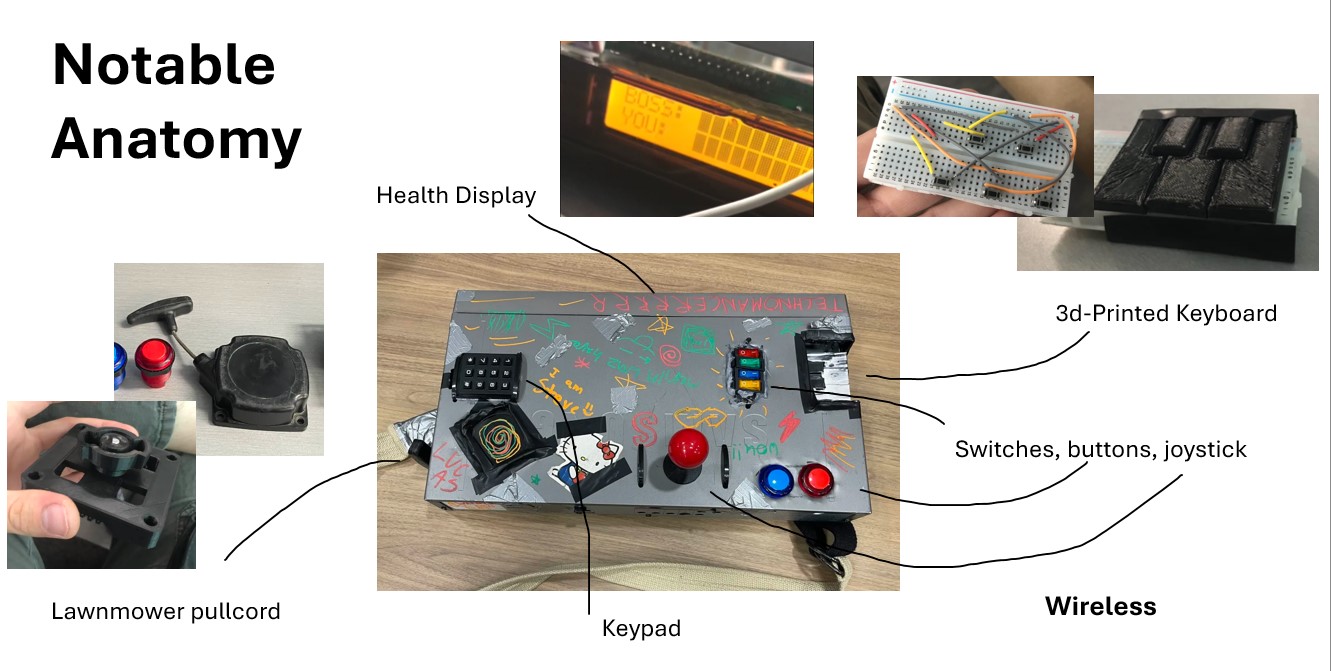
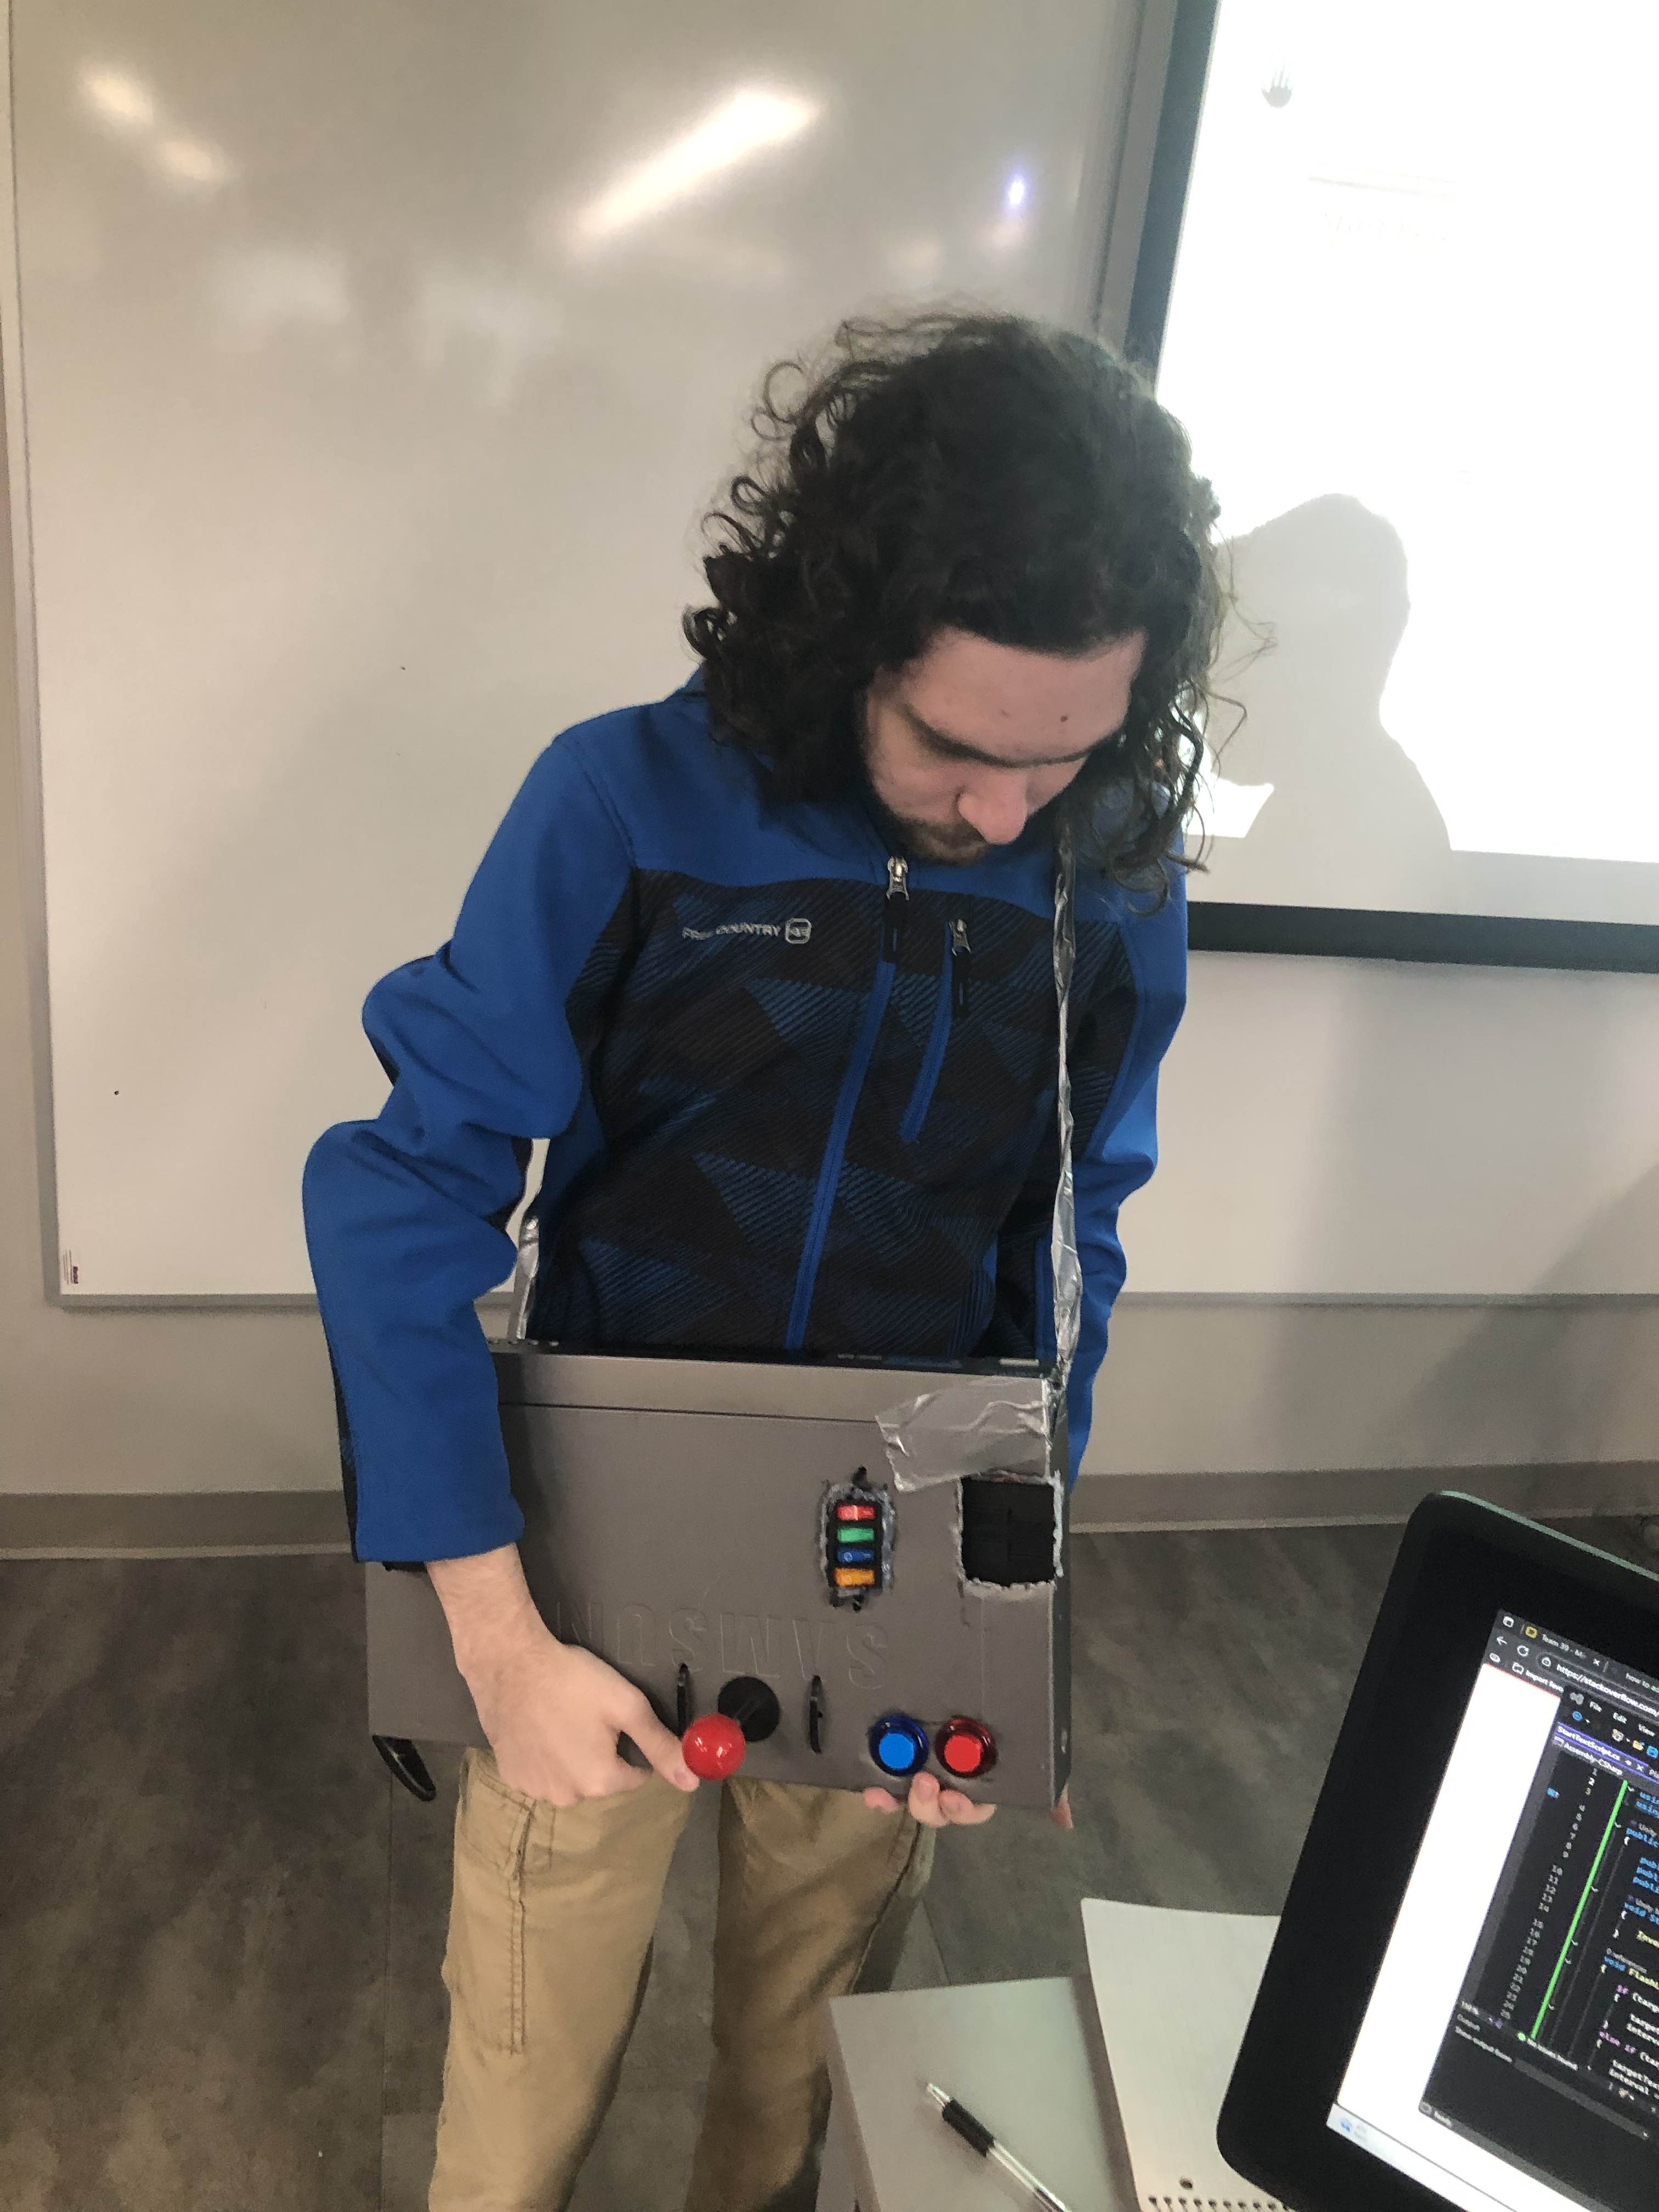
The end result was pretty sweet. People are ripping on the lawnmower pullcord, playing the keyboard, flipping switches and typing in numbers. All of that combined with your health showing up on a display in the case. AND it's fully wireless.
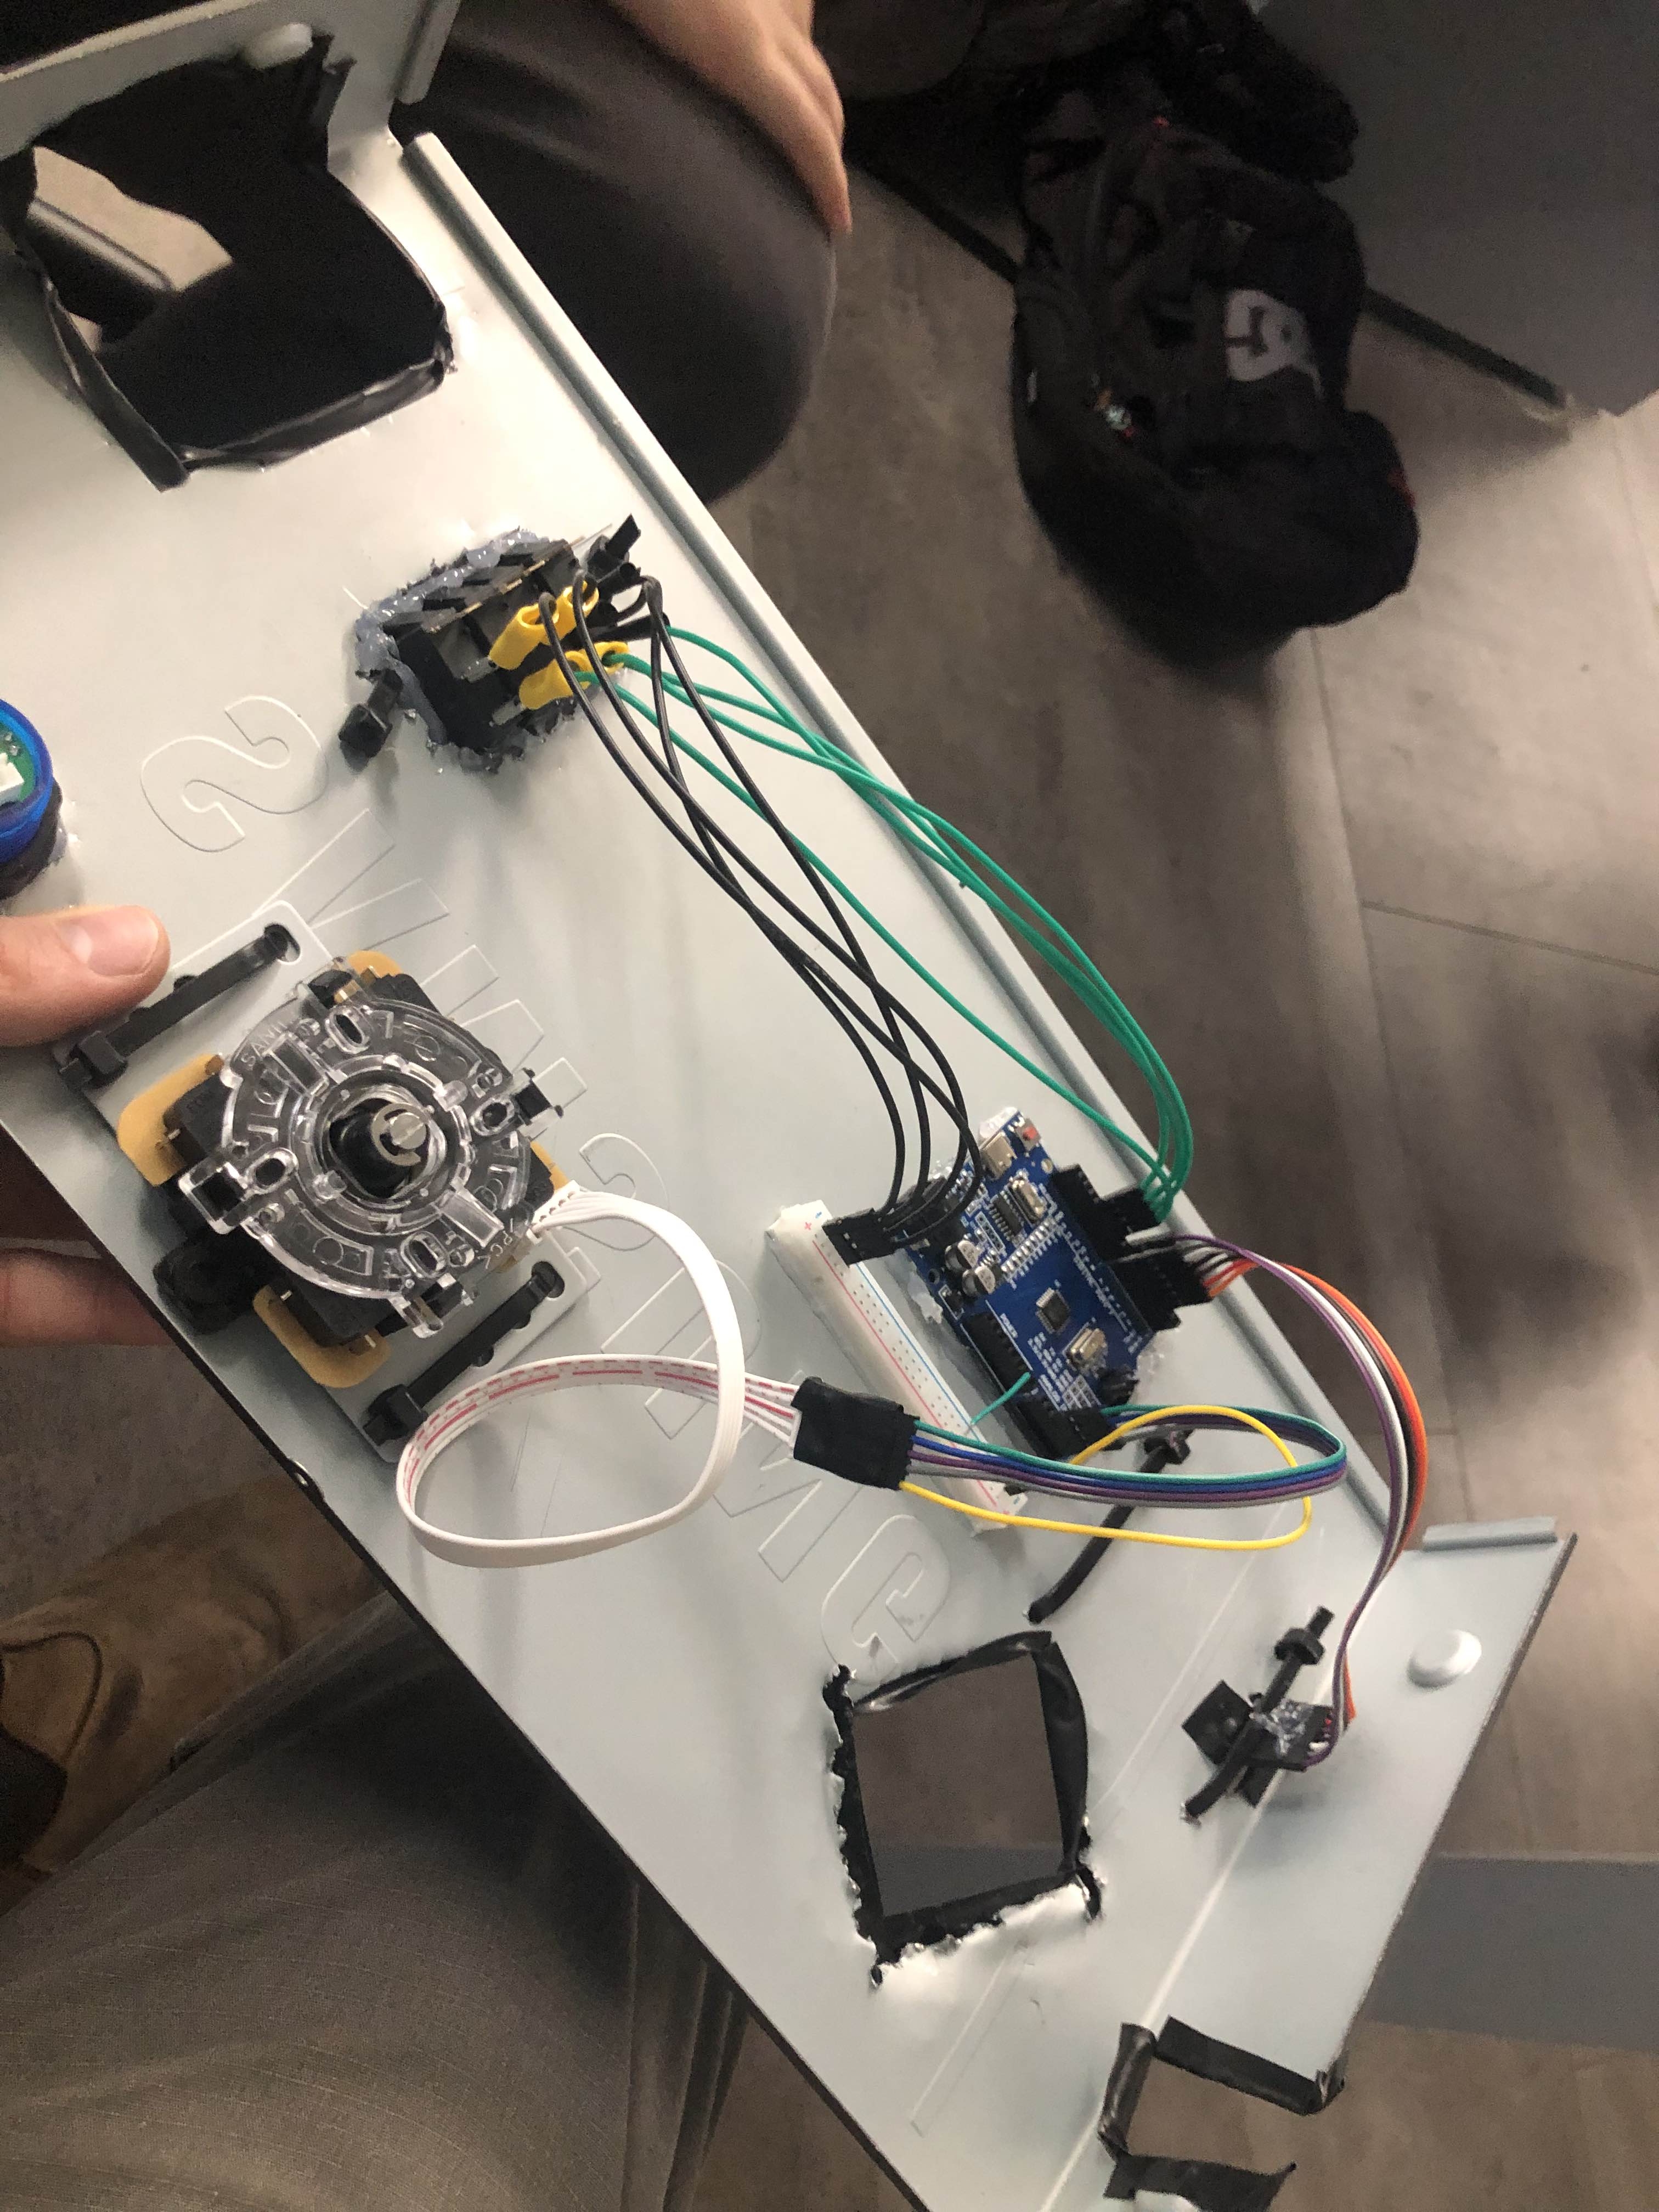
I want to bring up connecting the lawnmower pullcord as an input - I made a little 3d printed bracket that connected to a rotary encoder. I was worried it wouldn't worked but it ended up great:

Don't have a ton more to say. The code for the microcontrollers was really just reading input and using my CarComms library from my Mazda mods to send it to each other.
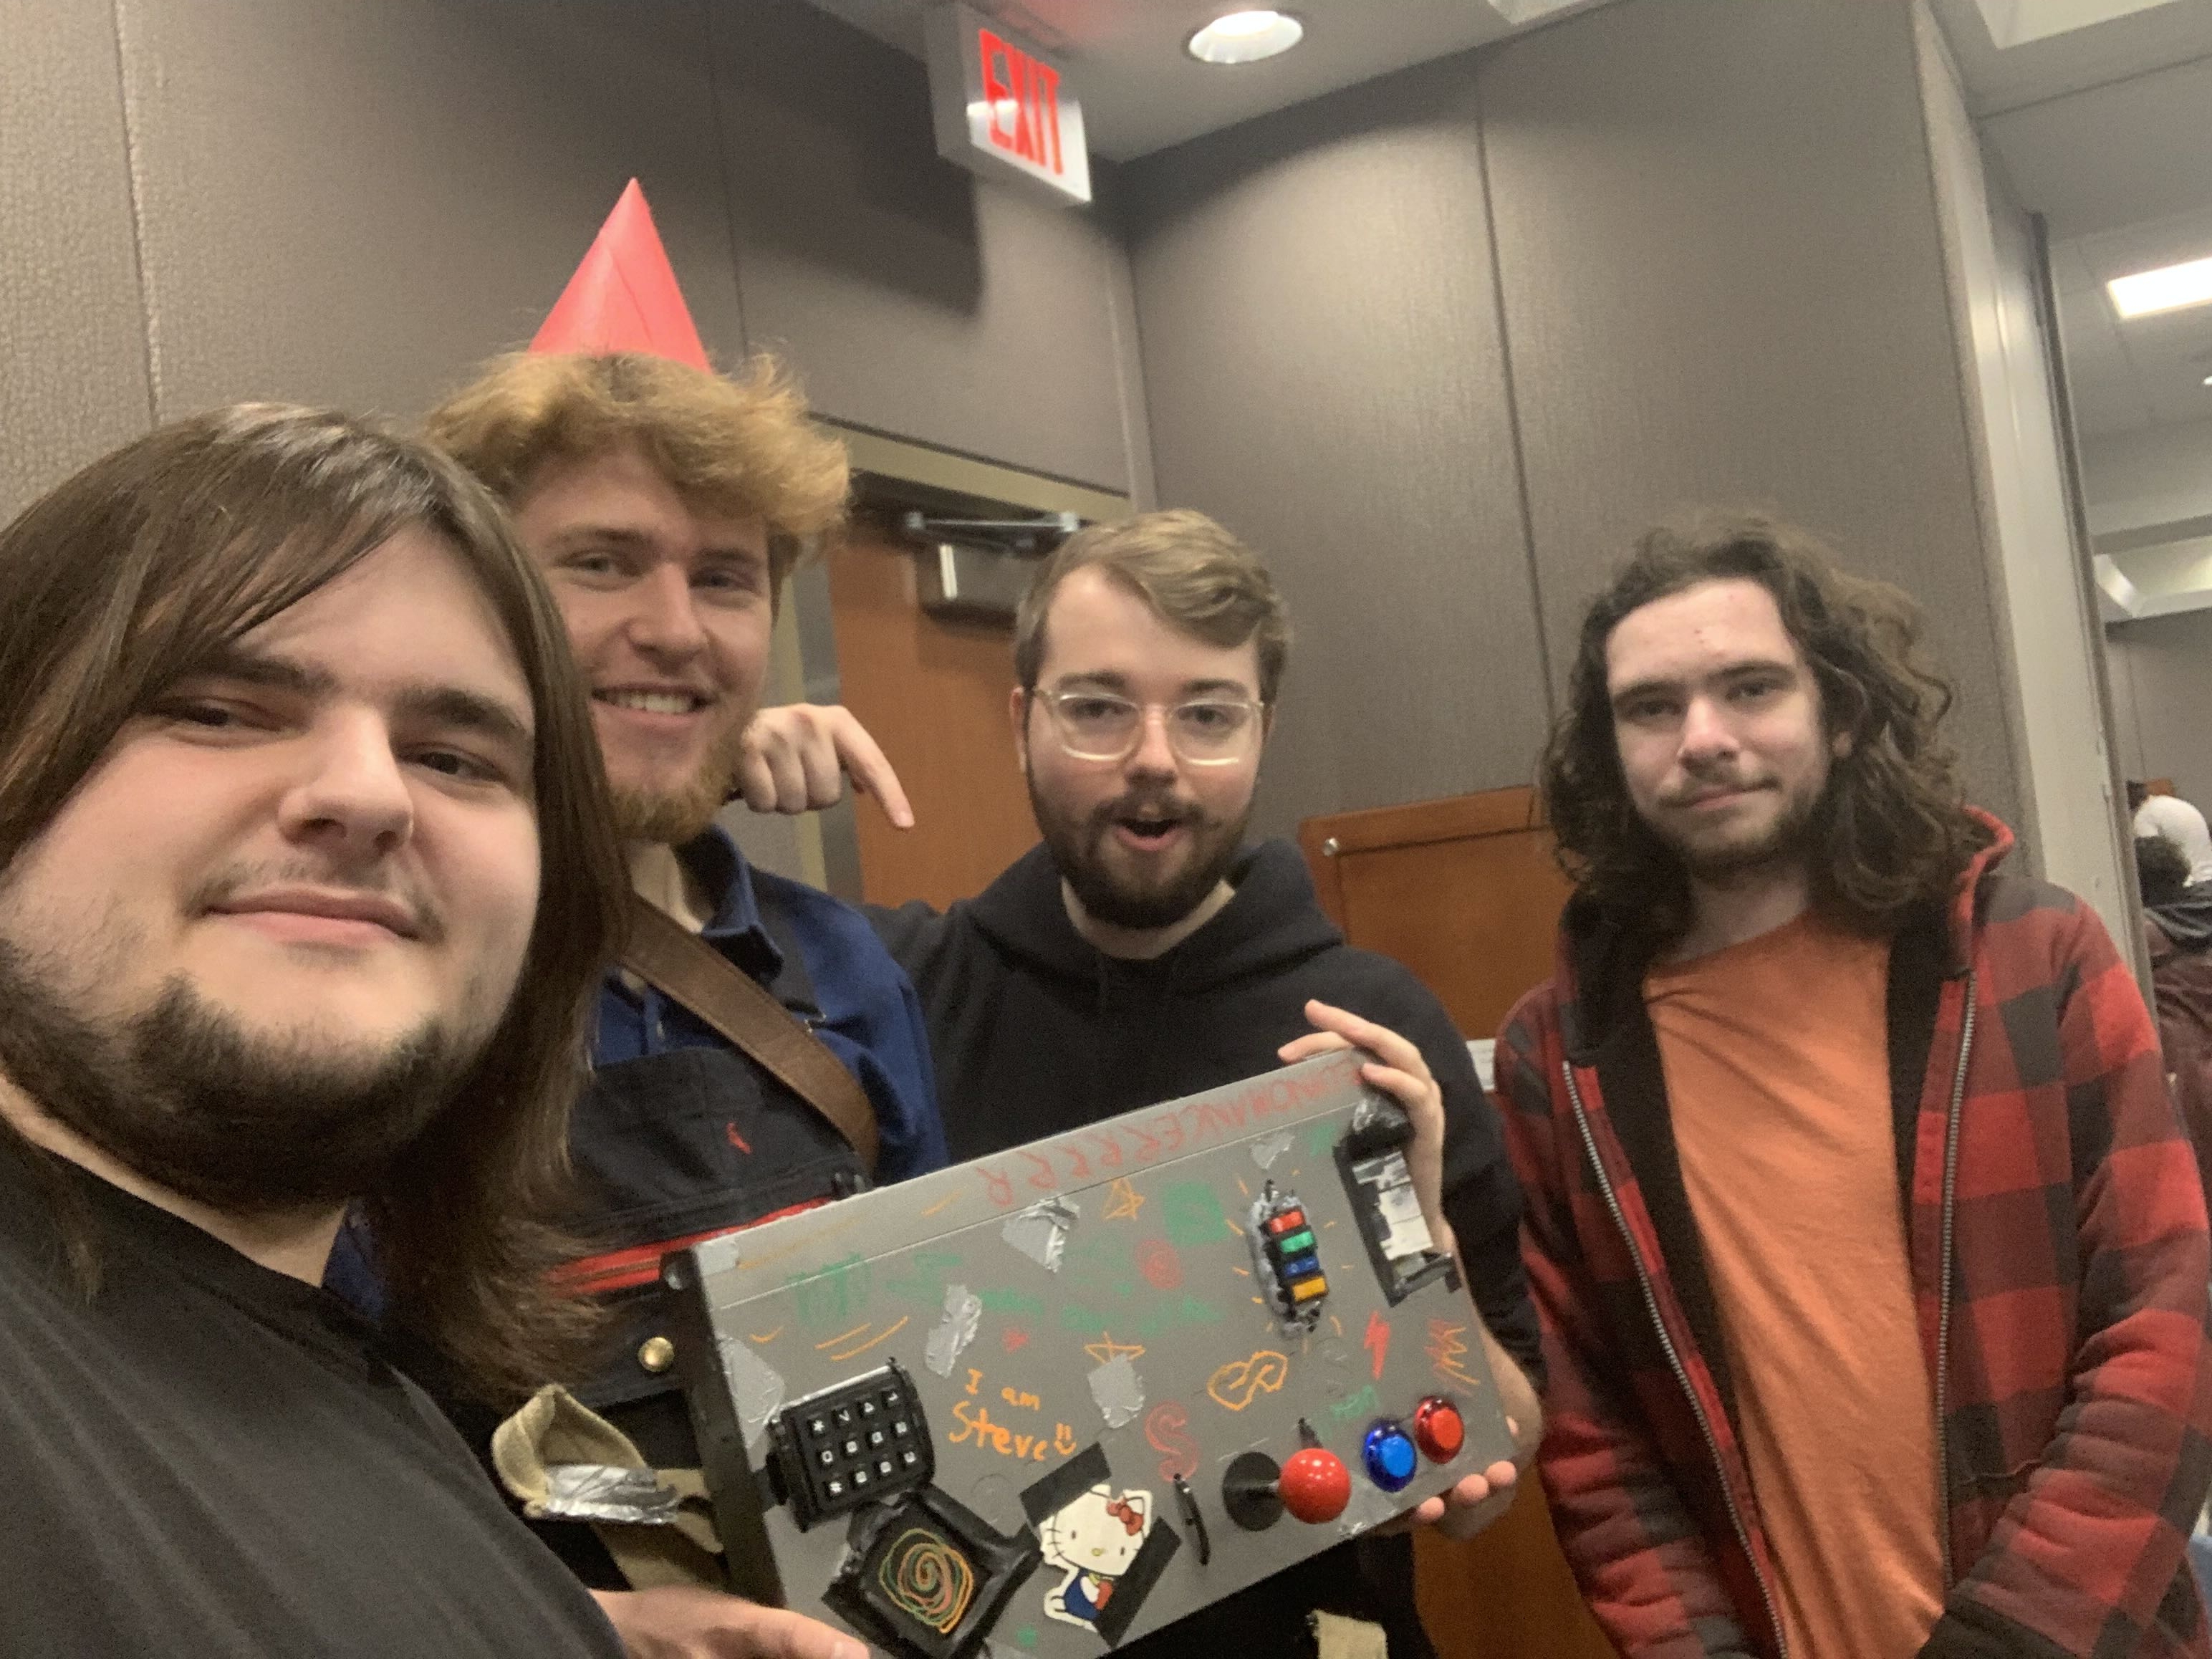
Good work Team 40! You can watch our design video here.
Here are a few more photos of the process:
Fit Check
Matt from Team 40 testing the ergonomics of an early version
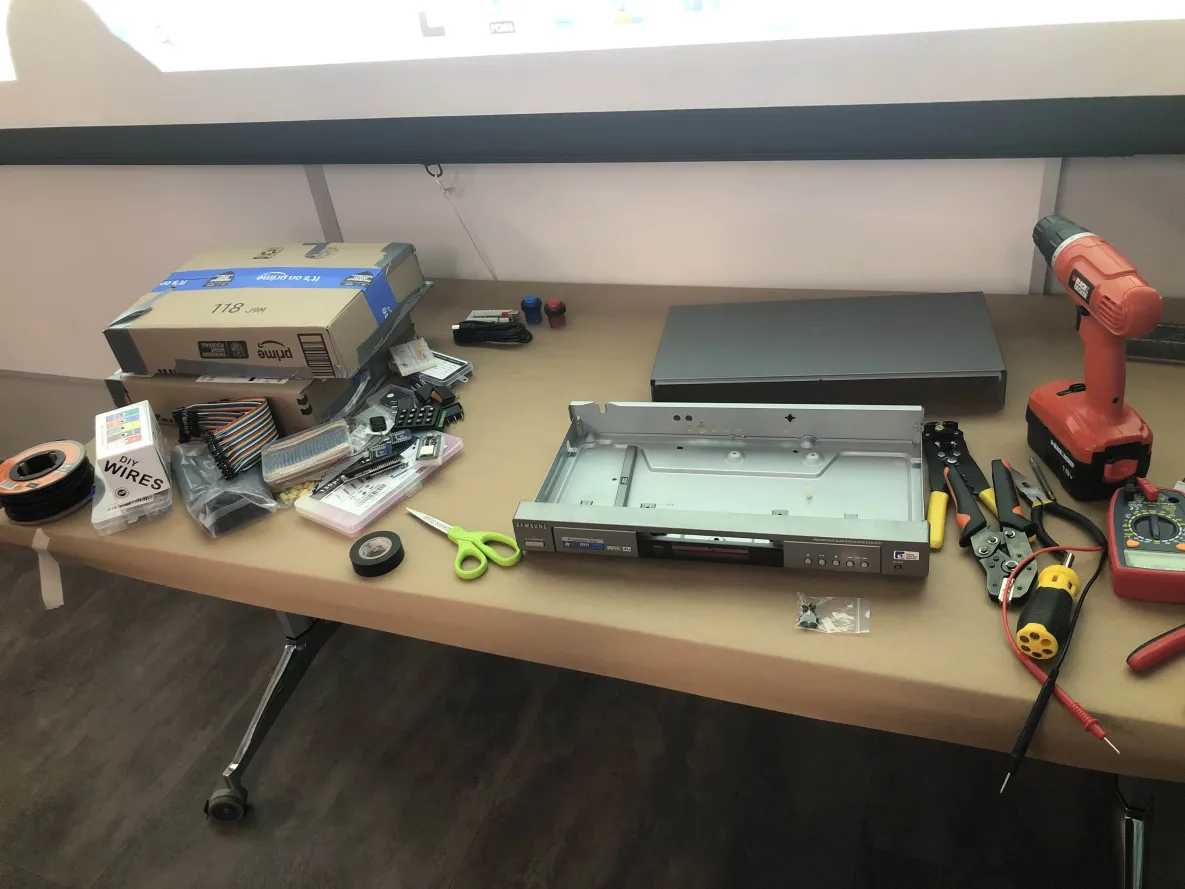
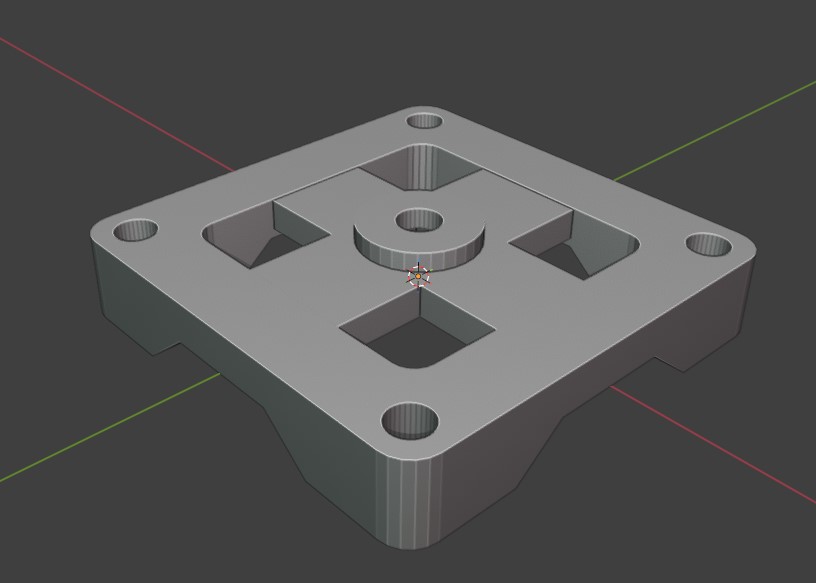
Parts
Wednesday morning, ready to start building
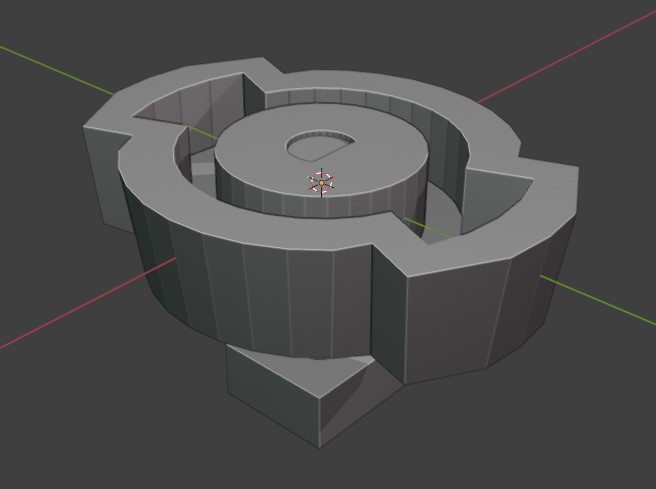
Top Cover
Easily removable for service

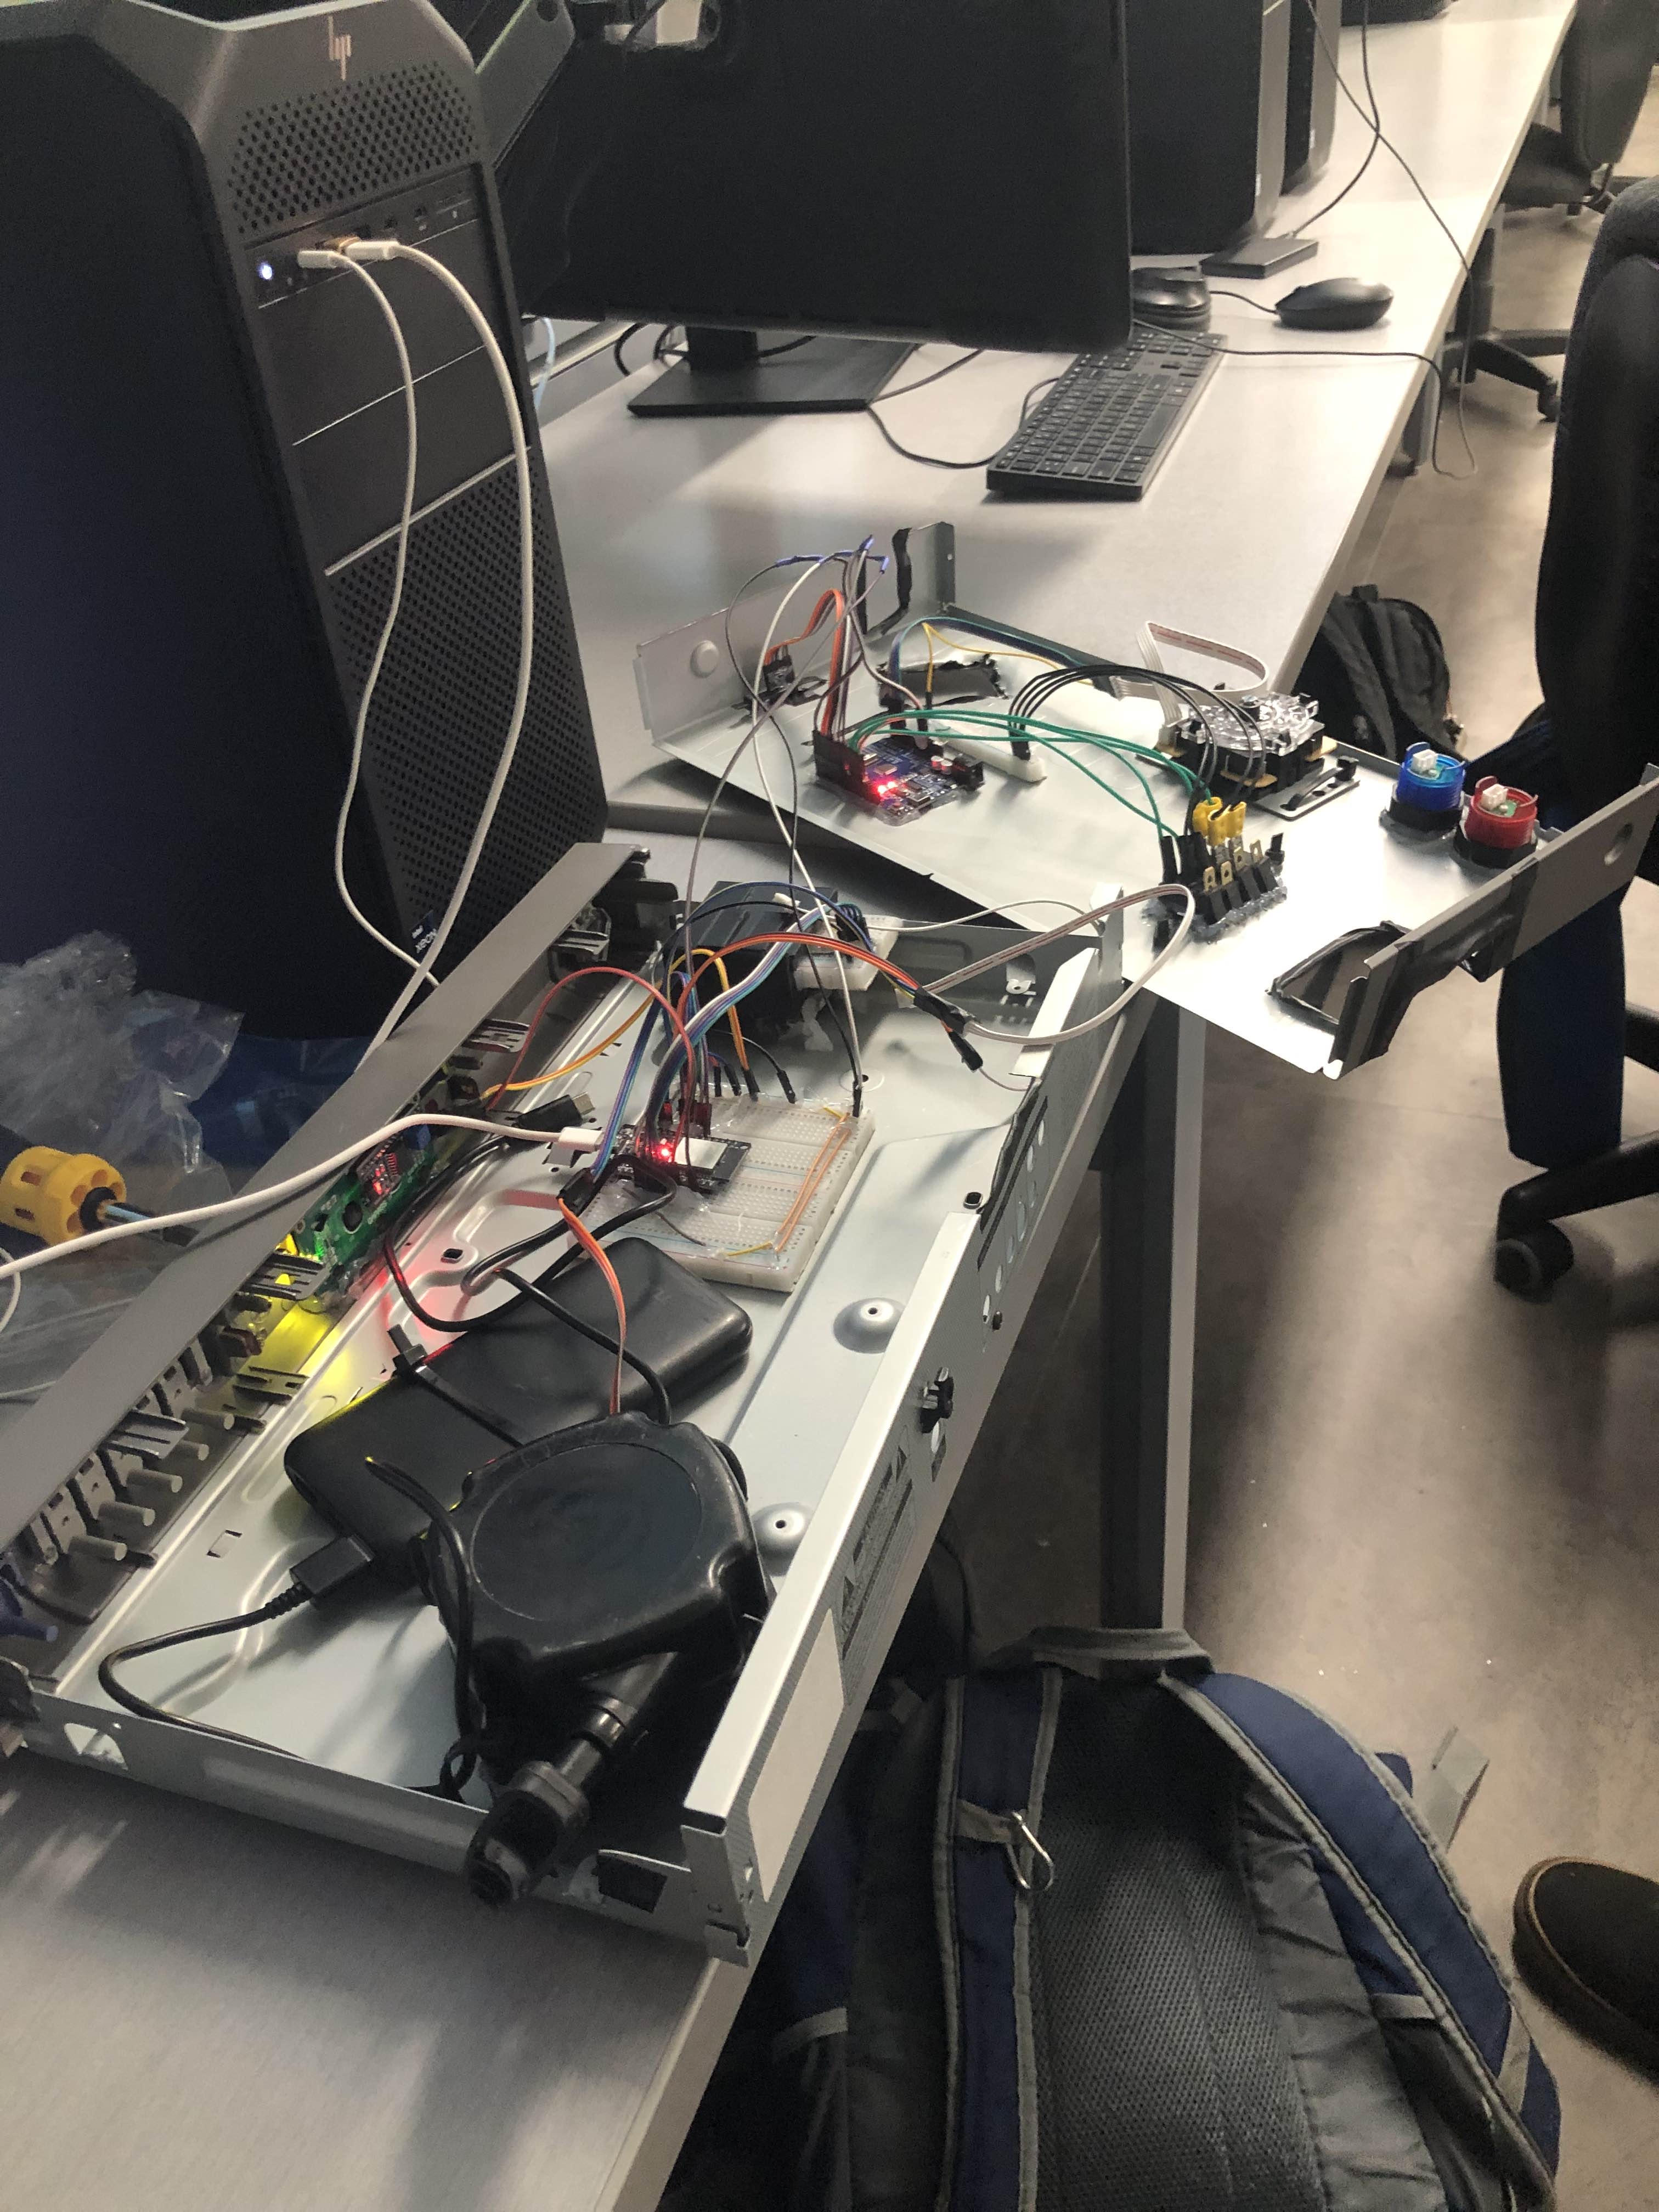
Assembly
It was tested mostly in halves like this
Testing
Fully self-powered and wireless test
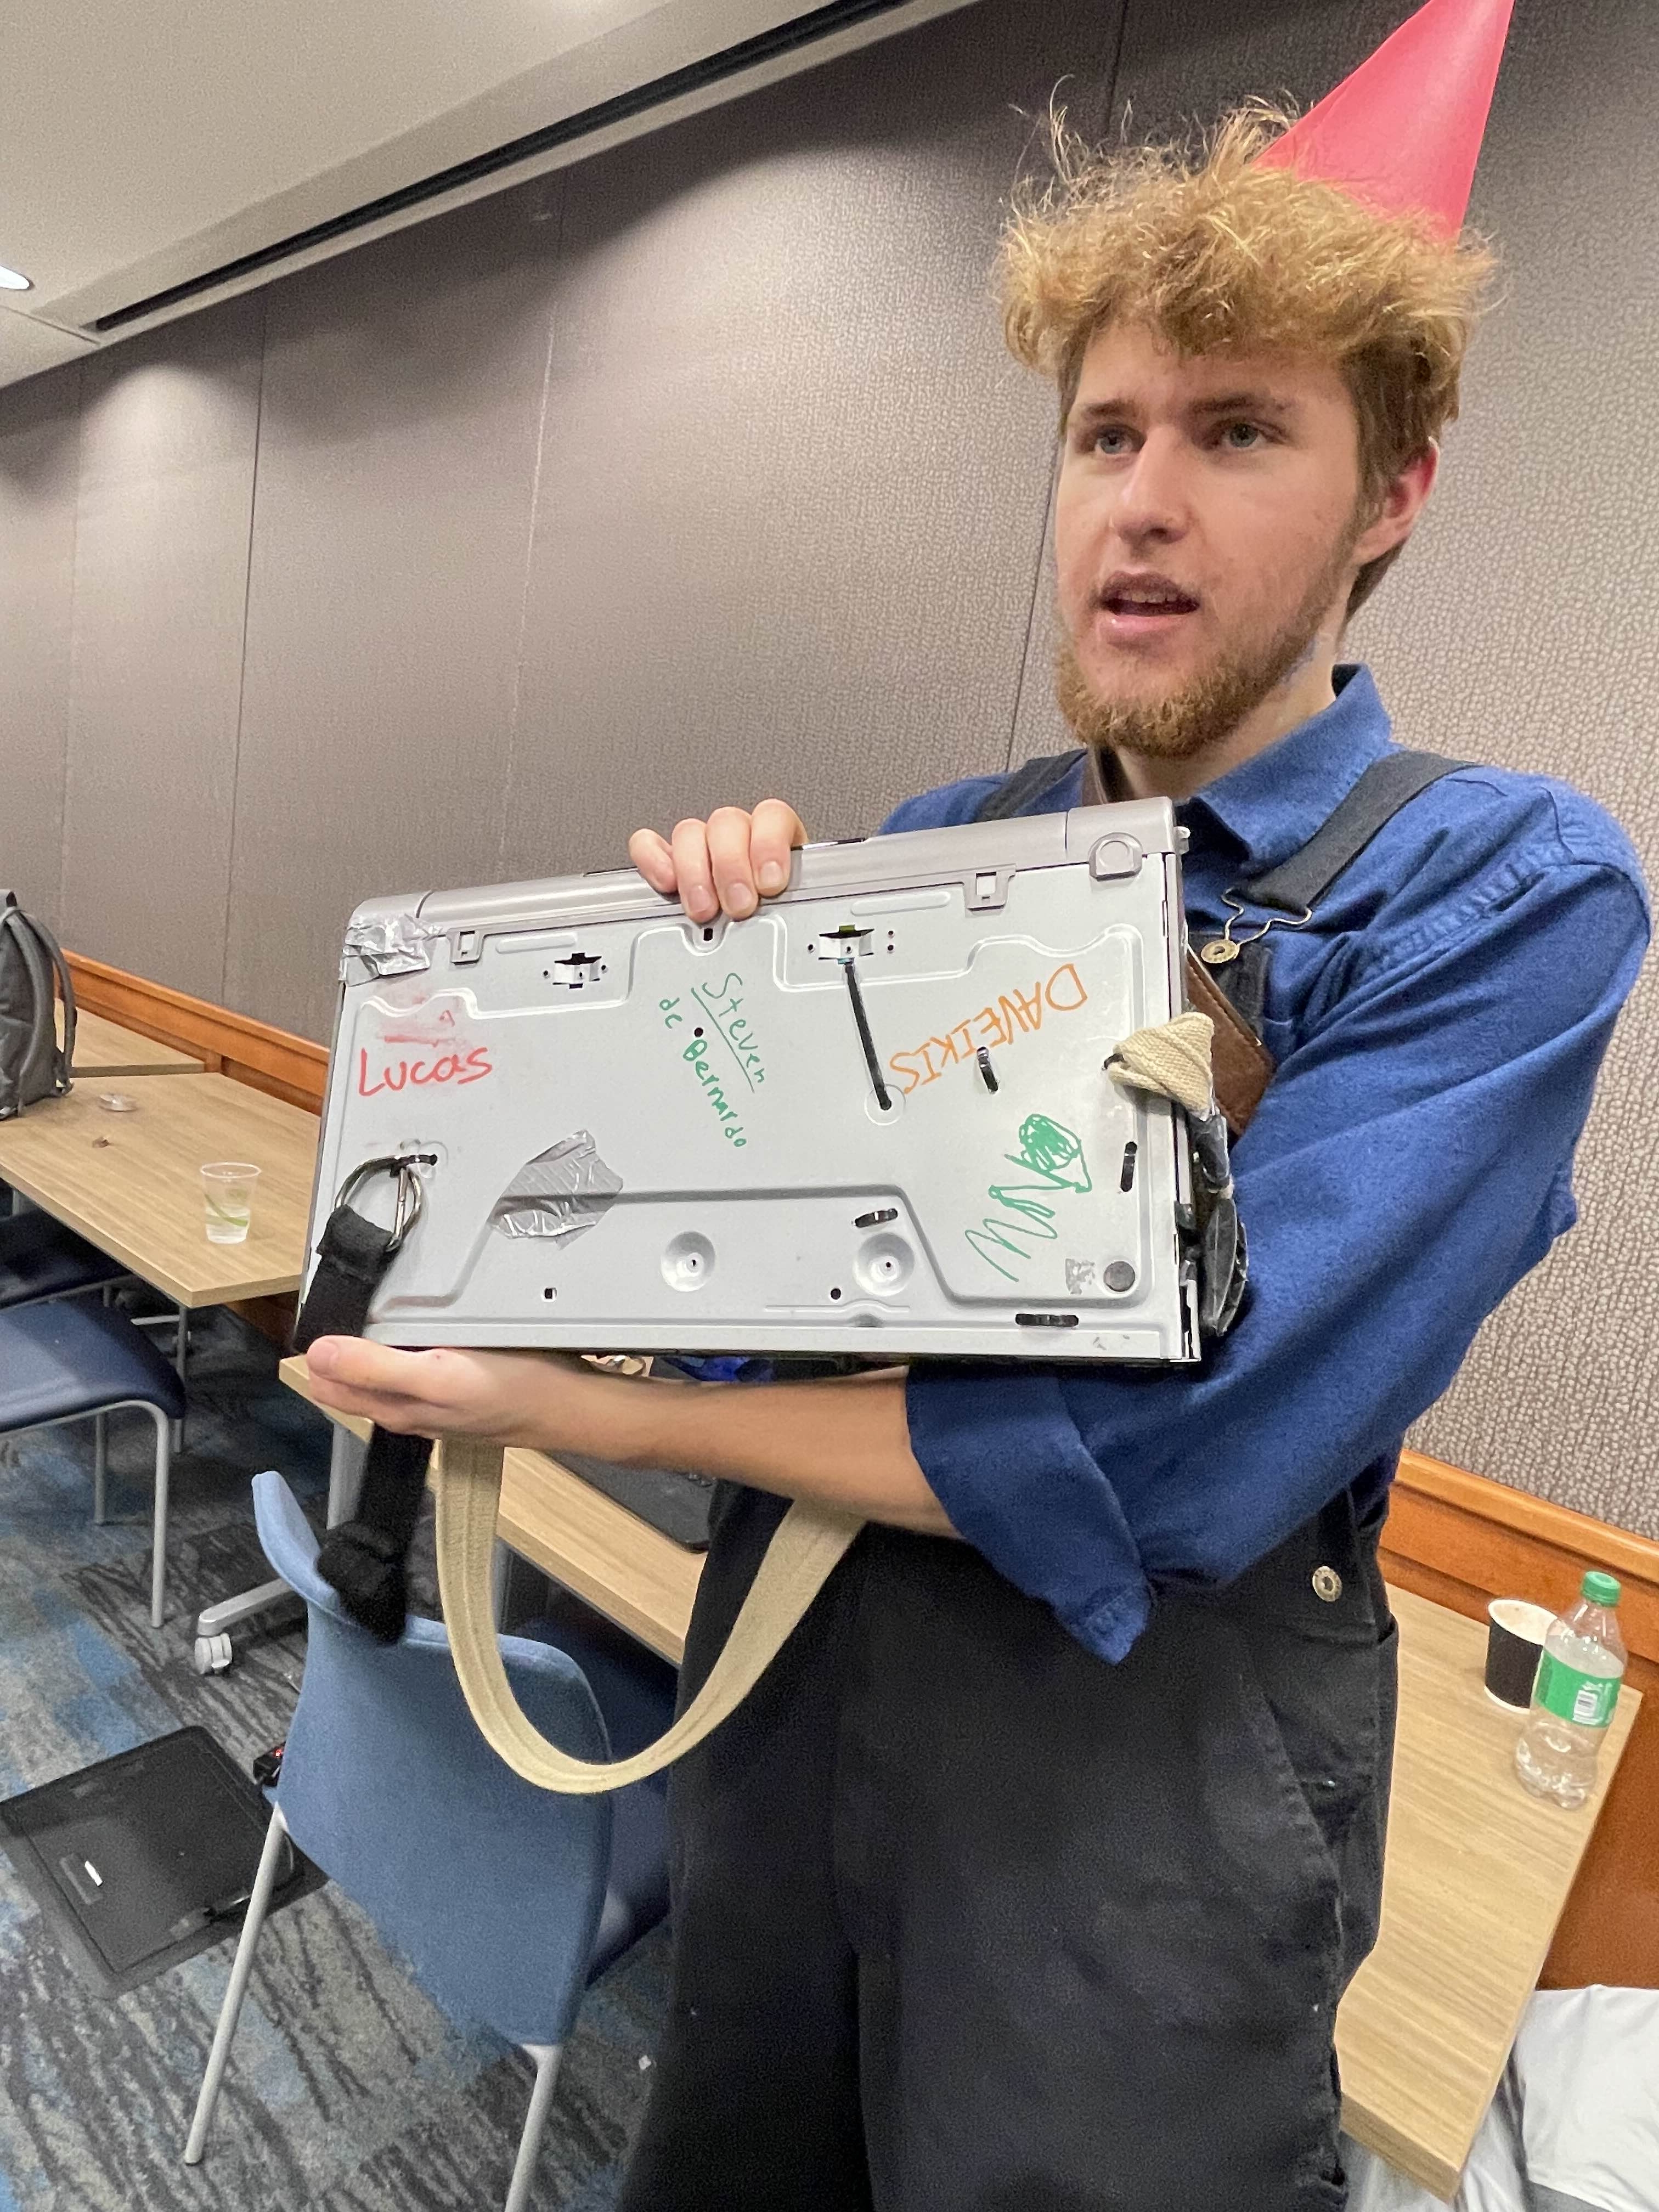
Signing
Of course the team had to sign the back :)